This post may contain affiliate links.
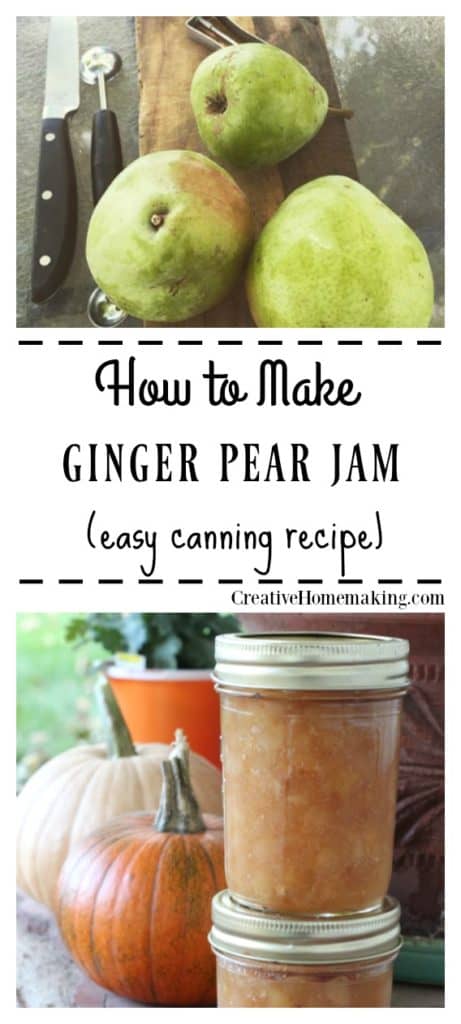
I love fall and all the recipes I get to prepare during the fall season every year. There are so many pear canning recipes to choose from. One of my family’s favorites are these cinnamon pears. This year I decided to try this ginger pear jam and it is AMAZING.
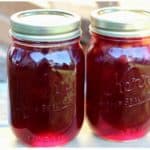
I tried making pear butter and cranberry pear jam last year, and they were both wonderful too. The cranberry and pear jam is fun to give away as a gift during the holidays.
I was excited to try this new recipe because I was curious how the ginger would taste with the pear. Oh my goodness it is so good. I can’t wait to stir a little into my yogurt I eat for breakfast.
Canning Expertise: Rachel Paxton is a certified Master Home Food Preserver with over 25 years of hands-on experience in safe home canning and food preservation.
Related Article: Best Pears for Canning: A Guide to the Juiciest and Most Flavorful Varieties
There are several different ways to prepare homemade jams. One way is to use pectin (did you know you can buy pectin in BULK now!?). Another way to make jam is to just cook the jam down until it thickens on its own. This method works particularly well with apples and pears, which contain a lot of natural pectin.
Want to try making your own jelly at home?
Get my free guide with 8 easy, beginner-friendly jelly recipes you can confidently make.
For this recipe, you will not be using pectin. You will be cooking the jam to thicken it. I found that it didn’t take very much time at all to prepare it this way.
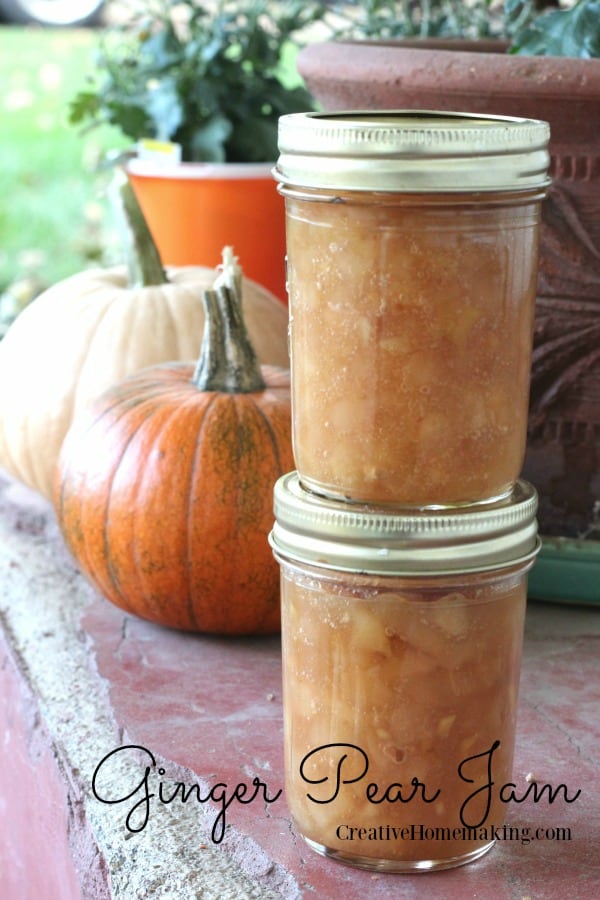
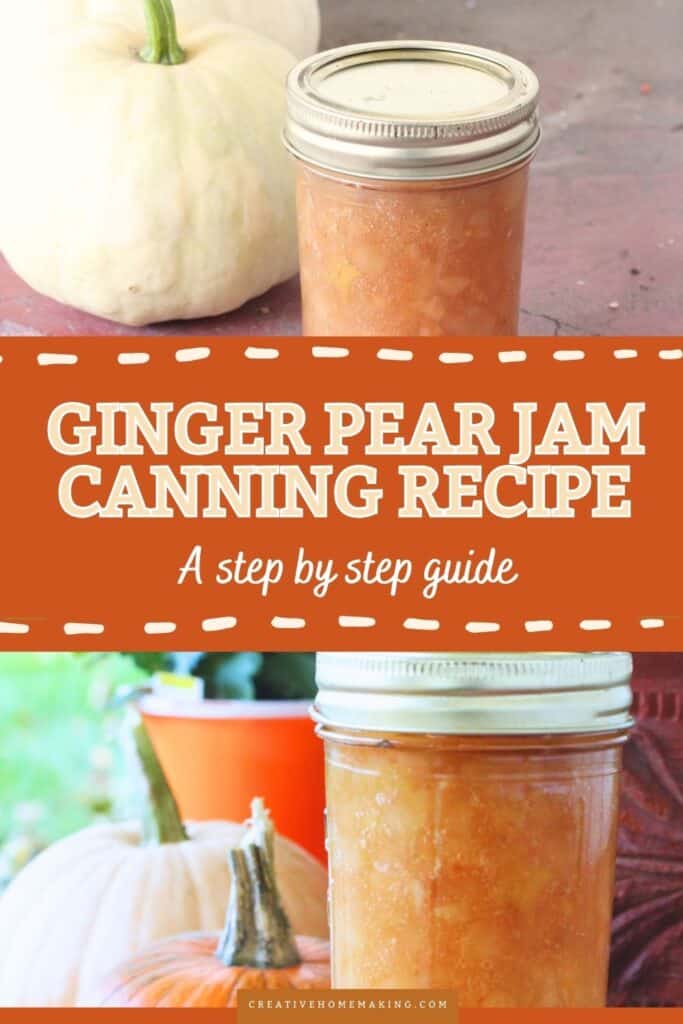
Pear Ginger Jam
Ingredients:
- 3 lbs pears (approx. 6-7 medium sized pears)
- 1 tablespoon fresh ginger, peeled and grated
- 1 cup light brown sugar
- 1/4 cup bottled lemon juice
Feel free to double this recipe if you like. This is a small batch canning recipe. It will make approximately 2 half pints or 1 pint of ginger pear jam. I only had a handful of pears on hand, so I decided to make the small batch.
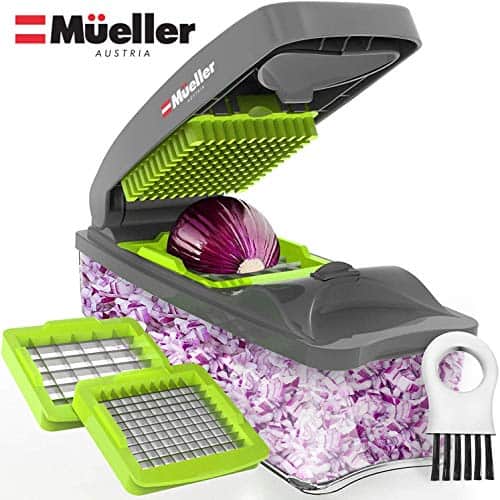
Peel and core your pears and chop them into small cubes. I used my handy vegetable chopper to quickly cut them into perfect little cubes.
Related Article: 8 Delicious Fall Desserts: Indulge in the Flavors of Fall
In a large stock pot, combine the pears, ginger, sugar, and lemon juice. Bring the pear mixture to a boil over medium heat. The jam will thicken fairly quickly, in 10-15 minutes or so.
Related Article: How to Quickly Ripen Pears
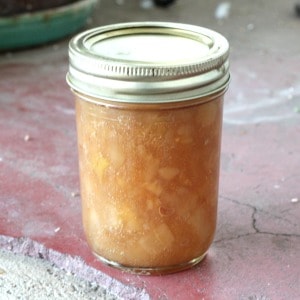
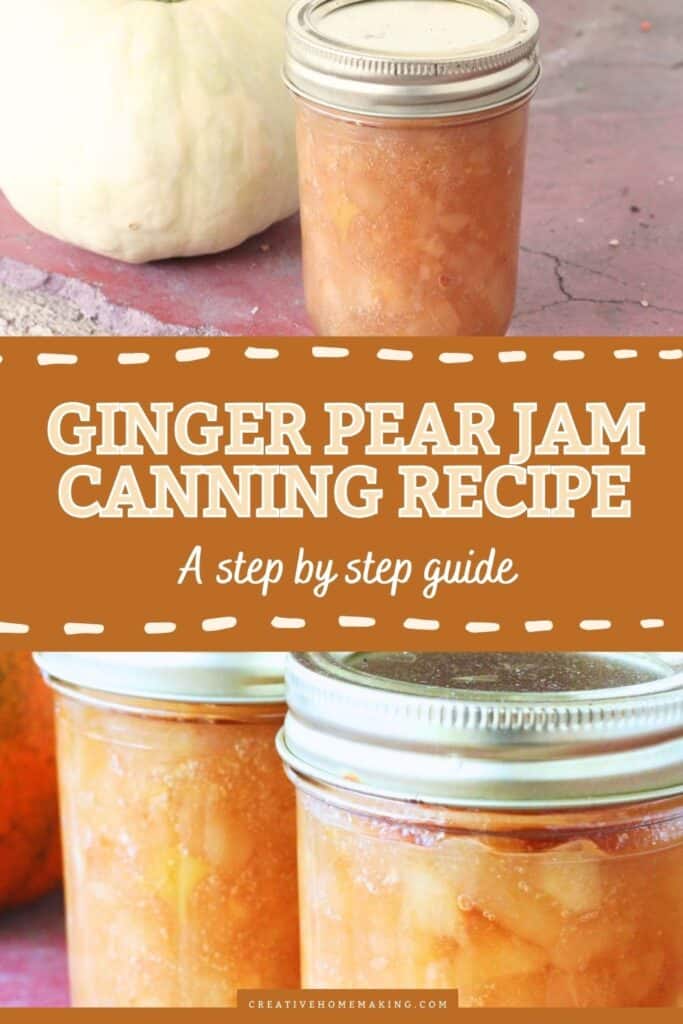
It is up to you as to the consistency of your finished jam. If you want a smooth jam, use an immersion blender to blend up the pears a bit, creating a smoother jam. If you like the pear cubes (I decided I liked the chunkiness of the jam), then just leave the pears as is.
When the jam is thickened to your liking, it is ready to pour into your prepared jars. Keep in mind that the jam will thicken slightly after processing.
Related Article: Best Pears for Baking: Top Varieties You Need to Try
Canning Directions
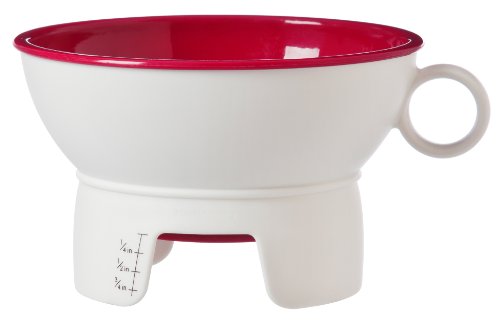
Pour the jam into sterilized canning jars, leaving 1/4 inch headspace. You can easily measure the headspace with this inexpensive canning funnel.
Prepworks by Progressive Canning Funnel for Regular and Wide Mouth Jars
Wipe the rims of the jars with a damp towel or paper towel and place the sterilized lids and rings on the jars finger tight.
Place the jars in your boiling water canner and make sure there is 1-2 inches of water covering the jars. Bring the water to a boil and process the jars for 10 minutes. Remove the jars from the canner and place on a towel on the kitchen counter to cool.
Test the seals by pressing down in the center of each lid. If the lid is sealed it will be flat and not give way when you press on it. If you have any jars that did not seal you can either re-process them with new lids or just place them in the refrigerator to eat in the next couple of weeks.
Sealed jars can be stored in a dark pantry for 1-2 years.
Enjoy!
Follow my canning and preserving board on Pinterest
Related Recipes


Such a delicious recipe!!! Mine did not exactly make a jam consistency, but more of a sauce, which is delicious on pancakes, waffles, and yogurt. Yum!! Have made twice. 🙂