This post may contain affiliate links.
There’s nothing quite like opening a jar of homemade raspberry jam in the middle of winter.
With its bright ruby color and sweet-tart flavor, raspberry jam is one of the easiest and most rewarding preserves you can make.
Whether you spread it on warm toast, swirl it into yogurt, or use it in your favorite desserts, this classic jam is a delicious way to preserve summer’s bounty.
Canning Expertise: Rachel Paxton is a certified Master Home Food Preserver with over 25 years of hands-on experience in safe home canning and food preservation.
This simple water bath canning recipe makes about four pints of jam and is perfect for beginners as well as experienced home canners.
Want to try making your own jelly at home?
Get my free guide with 8 easy, beginner-friendly jelly recipes you can confidently make.
Why You’ll Love This Recipe
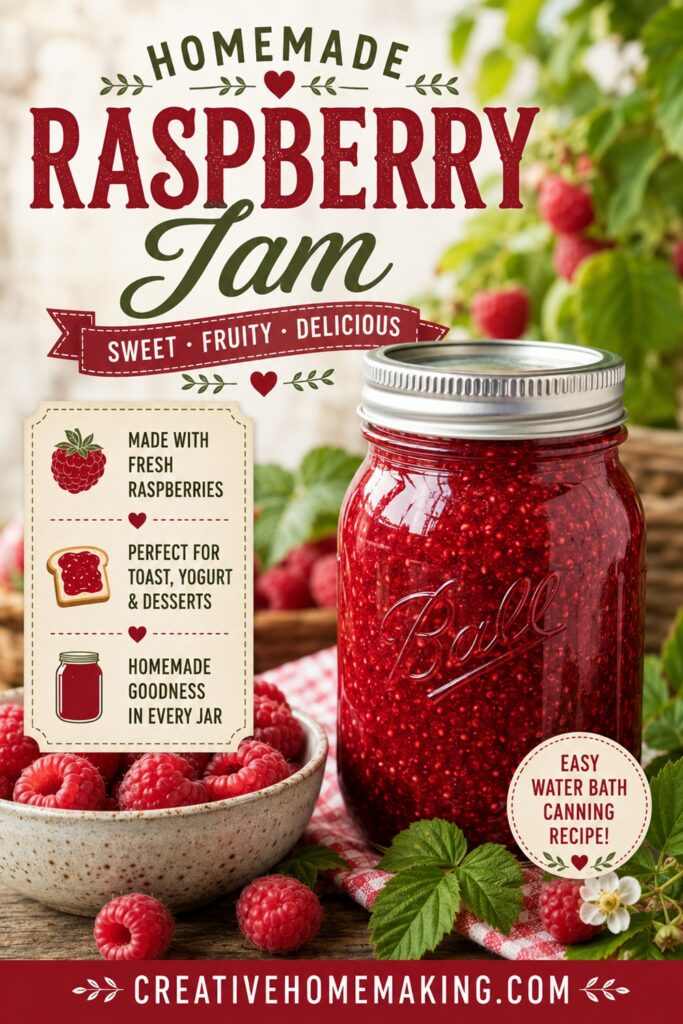
- Made with just three simple ingredients
- Bright, fresh raspberry flavor
- Perfect for beginners
- Great for gifting
- Water bath canning approved
- Makes about 4 pints
Ingredients
- 8 cups fresh raspberries
- 6½ cups granulated sugar
- 1 box powdered pectin*
Note: If you are going to make a lot of jam and/or jelly, then you HAVE to try this powdered pectin that you can buy in bulk from Amazon.
Six tablespoons of this pectin is the equivalent to one box of Suregel pectin. This is the ONLY way to buy pectin inexpensively if you are going to buy a lot of it (like I do!).
Equipment You’ll Need
- Water bath canner
- 4 pint canning jars with lids and rings
- Large stockpot
- Potato masher
- Ladle
- Jar funnel
- Jar lifter
How to Make Raspberry Jam
1. Prepare the raspberries
Rinse the raspberries in a colander to remove any leaves or debris.
Gently mash the berries with a potato masher. You don’t need a perfectly smooth puree—leaving a few small pieces of fruit gives the jam wonderful texture.
Measure out 5 cups of crushed raspberries. If you have more, simply reserve the extra for another use.
2. Prepare the jars
Sterilize your canning jars and keep them hot until ready to fill. Wash the lids and rings according to the manufacturer’s directions.
3. Cook the jam
Place the crushed raspberries and powdered pectin into a large stockpot.
Bring the mixture to a full rolling boil over medium-high heat, stirring constantly.
Once boiling, add the sugar all at once. Return the mixture to a hard boil that cannot be stirred down and boil for 1 minute, stirring constantly.
Remove the pot from the heat and skim off any foam with a metal spoon.
4. Fill the jars
Using a ladle and canning funnel, fill the hot jars, leaving ¼-inch headspace.
Wipe the jar rims clean with a damp cloth, then place the lids and rings on the jars, tightening the bands until fingertip tight.
5. Process the jars
Place the jars into a boiling water canner, making sure they’re covered by at least 1 inch of water.
Bring the water back to a full boil and process the jars for 10 minutes.
When the processing time is complete, carefully remove the jars and place them on a towel-lined counter to cool undisturbed for 12–24 hours.
More Jam Recipes
- The Best Homemade Apricot Jam You’ll Ever Make
- Easy Homemade Nectarine Jam Recipe
- The Best Homemade Peach Jam for Canning
- The Best Plum Jam for Canning Season
- Homemade Blackberry Jam Recipe
How to Tell if the Jars Sealed
After the jars have cooled completely, press the center of each lid. A properly sealed lid will not flex up and down.
Store sealed jars in a cool, dark pantry for up to one year. Refrigerate any unsealed jars and use them within a few weeks.
Serving Ideas
Homemade raspberry jam is delicious:
- Spread on toast, biscuits, or English muffins
- Swirled into yogurt or oatmeal
- Spooned over cheesecake or ice cream
- Layered into thumbprint cookies
- Used as a filling for cakes and pastries
- Paired with peanut butter sandwiches
Tips for Success
- Use ripe, flavorful raspberries for the best taste.
- Measure the crushed berries after mashing for the correct consistency.
- Stir constantly while cooking to prevent scorching.
- Skim the foam before filling the jars for a clearer finished jam.
- Always leave the recommended headspace for reliable seals.
Frequently Asked Questions
Can I use frozen raspberries?
Yes! Thaw the berries completely and measure 5 cups of crushed fruit after thawing.
How long does homemade raspberry jam last?
Properly sealed jars can be stored in a cool, dark pantry for up to 1 year. Once opened, refrigerate and enjoy within 3–4 weeks.
Why didn’t my jam set?
Jam may not set if the fruit, sugar, or pectin measurements were changed or if the mixture wasn’t boiled for the full minute after adding the sugar. If necessary, the jam can be remade using additional pectin.
Sweet, vibrant, and bursting with fresh berry flavor, this homemade raspberry jam is one of those timeless recipes you’ll find yourself making year after year.
A few jars tucked into your pantry mean you’ll always have a taste of summer ready whenever you need it.
- 8 cups fresh raspberries*
- 6 1/2 cups sugar
- 1 box powdered pectin
-
Rinse the raspberries in a colander to remove any dirt or leaves from the raspberries.
-
Gently mash the raspberries with a potato masher. You don’t want the raspberries totally mashed to a pulp, but you should still have a few chunks of raspberries left.
-
Measure the crushed raspberries. You should now have 5 cups of crushed raspberries. If you have too much or not enough, adjust the quantity so that you have exactly 5 cups of crushed berries.
-
This recipe makes 4 pints or 8 half pints, so sterilize your canning jars and rings and lids by running them through the rinse cycle in your dishwasher. Leave them in the dishwasher until you are ready to use them.
-
Place crushed berries and the box of powdered pectin in a large stock pot. Stir. Bring to a boil that cannot be stirred down.
-
Add the sugar and stir. Bring the mixture back to a boil that cannot be stirred down. Set the timer for 1 minute.
-
When the timer goes off remove the stock pot from the heat and skim any foam off the jam with a metal spoon.
-
Ladle the raspberry mixture into the jars, leaving 1/4 inch head space. You can easily measure the head space with this inexpensive canning funnel.
-
Wipe the rims of the jars with a damp paper towel or kitchen towel and place the lids and rings on the jars finger tight.
-
Place the jars in a boiling water canner that has been filled half way with water. Make sure that there is at least 1 inch of water covering the jars in the canner. Add additional water if necessary.
-
Bring the water to a rolling boil and process the jars for 10 minutes.
-
Remove the jars from the boiling water canner and place them on a towel on the kitchen counter to cool.
Like this recipe? Try my recipes for making raspberry freezer jam or canning plum blackberry jam or spiced peach jam.
Follow my canning and preserving board on Pinterest.




Love how easy this recipe was!!!! Can’t wait to try my jam