
This post may contain affiliate links.
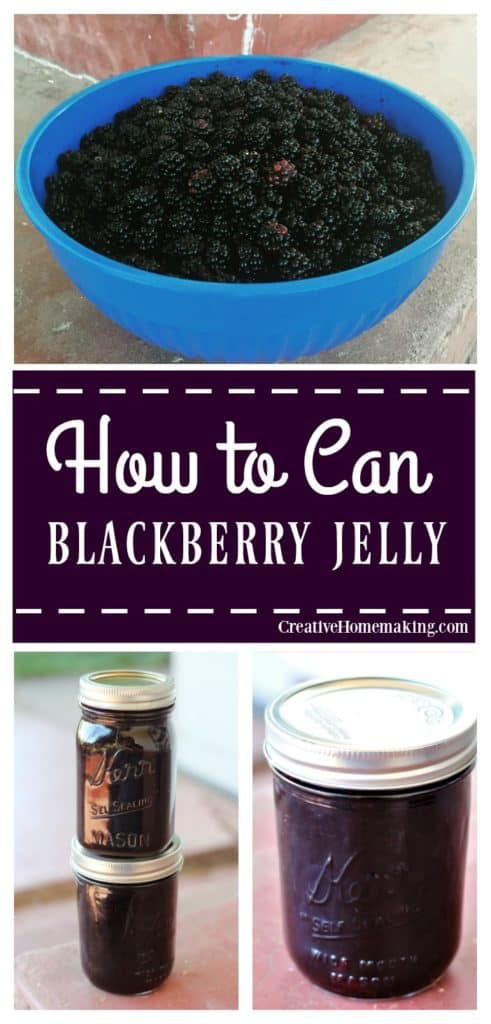
Canning blackberry jelly is a fun and rewarding experience, especially if you have a surplus of fresh blackberries.
Canning your jelly allows you to enjoy it all year round, and it makes a great gift for friends and family.
With a little bit of preparation and the right equipment, you can easily make your own delicious blackberry jelly.
Canning Expertise: Rachel Paxton is a certified Master Home Food Preserver with over 25 years of hands-on experience in safe home canning and food preservation.
Want to try making your own jelly at home?
Get my free guide with 8 easy, beginner-friendly jelly recipes you can confidently make.
To start, you’ll need fresh blackberries, sugar, and pectin. Pectin is a natural substance that helps the jelly set. You can find pectin at most grocery stores or online.
Related Article: Wild Violet Jelly Recipe: A Sweet and Floral Treat
If you’re new to canning, be sure to read my water bath canning for beginners guide and see the canning supplies you need here before getting started.
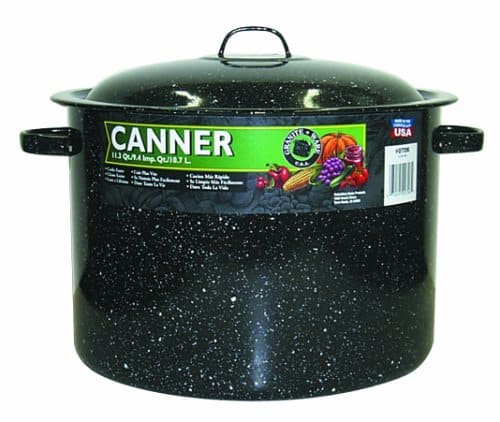
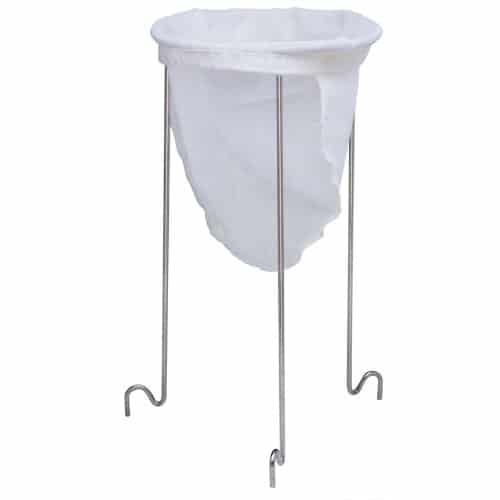
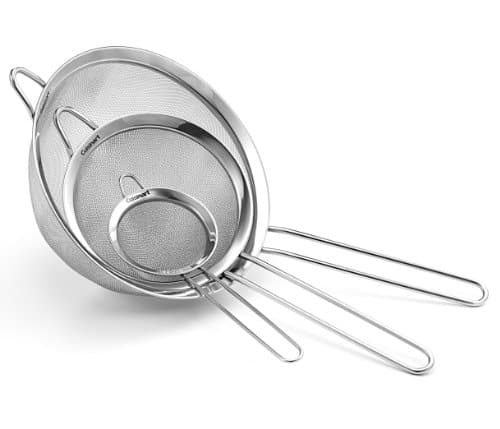
Granite Ware Covered Preserving Canner with Rack, 12-Quart Norpro Jelly Strainer Stand with BagCuisinart CTG-00-3MS Set of 3 Fine Mesh Stainless Steel StrainersPrepworks by Progressive Canning Funnel for Regular and Wide Mouth Jars
If you’re looking for more ideas, you can browse all of my jam and jelly recipes or my entire collection of canning recipes and preserving tips here.
Ingredients for Blackberry Jelly
When it comes to making blackberry jelly, you only need a few ingredients to get started.
In this section, we’ll go over the three main categories of ingredients: fruits and berries, sweeteners and pectin, and additional items.
Fruits and Berries
The star of the show when it comes to blackberry jelly is, of course, the blackberries themselves.
You’ll need 5 cups of fresh blackberries to make a batch of jelly. You can use either wild or commercially grown blackberries, as both have plenty of natural pectin.
Related Article: Canning Blackberry Pie Filling
Sweeteners and Pectin
To sweeten your blackberry jelly, you’ll need to add sugar. The amount of sugar you use will depend on your personal preference.
If you want to reduce the amount of sugar in your jelly, you can use a sugar substitute like stevia or honey.
You’ll also need some form of pectin to help your jelly set. There are two main types of pectin: powdered and fruit. Powdered pectin is the easiest to use.
Read next: What Is Pectin? (Types, Uses, and How to Use It for Canning)
If you enjoy making jelly from scratch, you might also like my honeysuckle jelly recipe, which follows a very similar process using homemade infused juice.
Preparation Process
Berry Preparation
To make the perfect blackberry jelly, the first step is to ensure that your berries are firm and ripe. You can use a colander to sort and wash the berries, and remove any stems or caps.
Crush the berries using a food processor or a potato masher. If they are very seedy, put part or all of them through a sieve or a food mill.
Related Article: Planting Blackberries: Tips for a Successful Harvest
Canning Preparation
Before you start making the jelly, you need to sterilize your equipment. This includes your metal canning lids, Mason jars, and any other utensils you will be using.
You can do this by boiling them in water for a few minutes. Make sure you follow the manufacturer’s directions for preparing the metal canning lids.
Blackberry Jelly Recipe
Ingredients:
5-6 c. blackberries
5 c. sugar
1 pkg. or 6 tbsp. powdered pectin*
1/4 tsp. butter
*Note: If you are going to make a lot of jam and/or jelly, then you HAVE to try this powdered pectin that you can buy in bulk from Amazon.
Six tablespoons of this pectin is the equivalent to one box of Suregel pectin. This is the ONLY way to buy pectin inexpensively if you are going to buy a lot of it (like I do!).
Hoosier Hill Fruit Pectin, 2 lb bag

You can prepare this recipe with any kind of berry. You can also combine berries if you want a mixed berry jelly. Just make sure you end up with 3 1/2 c. juice to prepare the jelly.
Wash blackberries and remove stems. Place blackberries in large stock pot with about 1 c. water to keep them from sticking to bottom of pot. Bring to boil and simmer for about 10 minutes, or until blackberries are soft.
Extract juice from blackberries with a jelly bag or fine mesh strainer. Measure juice, adding a little water if necessary to get exactly 3 1/2 cups of juice.
Related Article: Canning Blackberry Syrup
Pour blackberry juice into a large stock pot. Sprinkle the pectin on top of the juice and use a whisk to mix it together. Stirring constantly, heat until boiling. Boil for one minute.
Add the butter and return to a boil. Add the sugar to the pot all at one time (measure it and have it ready ahead of time). Stir until sugar is dissolved. Return to a boil and boil for one minute.
Related Article: Honeysuckle Jelly Canning Recipe: A Sweet and Floral Delight
Canning Process
Before filling your jars, make sure they are sterilized and ready to go.
You can sterilize your jars by boiling them in a pot of water for 10 minutes or by running them through a dishwasher cycle. Once your jars are sterilized, you can start filling them with your blackberry jelly.
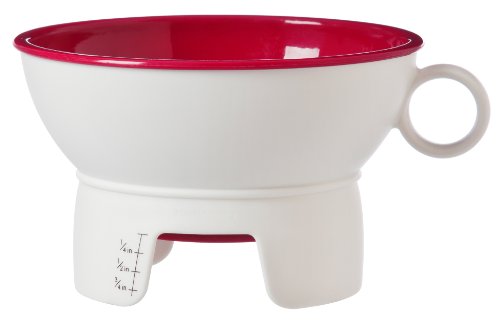
Using a funnel and a ladle, pour the hot jelly mixture into sterilized Mason jars, leaving about 1/4 inch of headspace. You can easily measure the head space with this canning funnel.
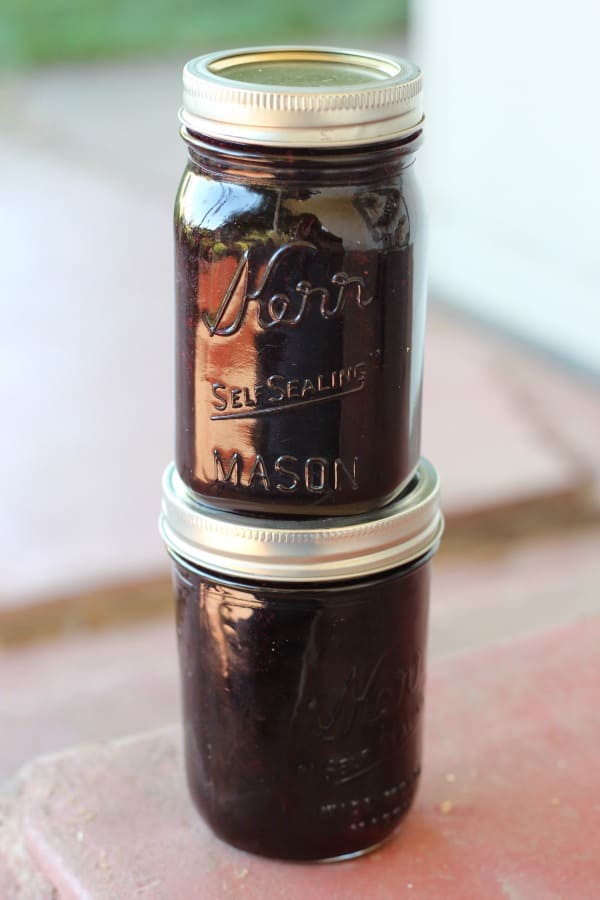
Wipe the rims of the jars with a dampened clean paper towel to remove any residue. Place the sterilized metal canning lids on the jars and screw on the rings.
Place the jars in a water bath canning pot and cover them with boiling water. Fill the canner with enough water to cover the jars by at least 1 inch. Boil pints for 10 minutes or half pints for 5 minutes.
Remove the jars from the pot and let them cool on a towel for 24 hours. This allows the jelly to set properly.
Related Article: Blackberry Pie Bars

Related Article: 10 Easy Homemade Jelly Recipes
Tips and Tricks for Perfect Jelly
Achieving the Perfect Texture
When it comes to making jelly, achieving the perfect texture is key.
You want your jelly to be firm but not too hard, with a smooth, spreadable consistency. Here are a few tips to help you achieve the perfect texture:
- Use the right amount of pectin: Whether you’re using liquid or powdered pectin, it’s important to measure it accurately. Too little pectin can result in a soft, runny jelly, while too much can make it hard and rubbery.
- Skim off any foam: As your jelly cooks, foam will rise to the surface. Skim it off with a spoon or a fine mesh skimmer to prevent it from affecting the texture of your jelly.
Ensuring a Good Seal
In addition to achieving the perfect texture, it’s important to ensure that your jelly seals properly.
Read next: How to Test Canning Jar Seals (3 Easy Methods)
Serving and Storing
Serving Suggestions
Congratulations, you’ve made your own delicious blackberry jelly! Now, it’s time to enjoy it. There are so many ways to serve this sweet treat. Here are some ideas:
- Spread it on toast or biscuits for breakfast.
- Use it as a glaze for roasted meats or vegetables.
- Mix it with cream cheese for a sweet and tangy dip.
- Drizzle it over ice cream or pancakes.
- Use it as a topping for cheesecake or other desserts.
The possibilities are endless! Get creative and find your favorite way to enjoy your homemade blackberry jelly.
Storing Your Jelly
Proper storage is essential to ensure your blackberry jelly stays fresh and tasty for as long as possible. Here are some tips for storing your jelly:
- After canning, let the jars cool completely before storing them.
- Store your jars in a cool, dry place, away from direct sunlight.
- Use within one year for best quality.
- Once opened, store in the refrigerator and use within a few weeks.
If you have any leftover blackberry jelly, you can also use it to make syrup.
Simply mix equal parts jelly and water in a saucepan and heat until the jelly has dissolved. Use this syrup to sweeten tea or cocktails, or drizzle it over pancakes or waffles.
Remember, homemade jelly doesn’t contain preservatives, so it won’t last as long as store-bought jams.
But with proper storage and timely consumption, you can enjoy your delicious blackberry jelly for months to come.

- 5-6 c. blackberries
- 5 c. sugar
- 1 pkg. or 6 tbsp. powdered pectin*
- 1/4 tsp. butter
-
Wash blackberries and remove stems. Place blackberries in large stock pot with about 1 c. water to keep them from sticking to bottom of pot. Bring to boil and simmer for about 10 minutes, or until blackberries are soft.
-
Extract juice from blackberries with a jelly bag or fine mesh strainer. Measure juice, adding a little water if necessary to get exactly 3 1/2 cups of juice.
-
Pour blackberry juice into a large stock pot. Sprinkle the pectin on top of the juice and use a whisk to mix it together. Stirring constantly, heat until boiling. Boil for one minute.
-
Add the butter and return to a boil. Add the sugar to the pot all at one time (measure it and have it ready ahead of time). Stir until sugar is dissolved. Return to a boil and boil for one minute.
-
Related Article: Honeysuckle Jelly Canning Recipe: A Sweet and Floral Delight
-
Before filling your jars, make sure they are sterilized and ready to go.
-
You can sterilize your jars by boiling them in a pot of water for 10 minutes or by running them through a dishwasher cycle. Once your jars are sterilized, you can start filling them with your blackberry jelly.
-
Using a funnel and a ladle, pour the hot jelly mixture into sterilized Mason jars, leaving about 1/4 inch of headspace. You can easily measure the head space with this canning funnel.
-
Wipe the rims of the jars with a dampened clean paper towel to remove any residue. Place the sterilized metal canning lids on the jars and screw on the rings.
-
Place the jars in a water bath canning pot and cover them with boiling water. Fill the canner with enough water to cover the jars by at least 1 inch. Boil pints for 10 minutes or half pints for 5 minutes.
-
Remove the jars from the pot and let them cool on a towel for 24 hours. This allows the jelly to set properly.
More Jelly Recipes
- Rose petal jelly
- Rootbeer jelly
- Mountain dew jelly
- Apricot jelly
- Pear jelly
- Chokecherry jelly
- Grape jelly
- Dandelion jelly
- Pomegranate jelly
- Lilac jelly
Frequently Asked Questions
My jelly didn’t set. What can I do?
Jelly can take from several hours to several days to completely set.
Place the jars on a towel on the kitchen counter to cool and don’t disturb them for several days so the jelly has time to set. If after several days the jelly is still not set, then follow these instructions.
What is the difference between blackberry jam and blackberry jelly?
Blackberry jam is made by cooking the fruit and sugar together until it thickens and sets. It contains pieces of fruit and has a spreadable texture.
Blackberry jelly, on the other hand, is made by straining the fruit to remove the seeds and pulp. It is a clear, smooth spread with no fruit pieces.
How do you can blackberries in jars?
To can blackberries, wash them thoroughly and remove any stems. Pack the berries into hot, sterilized jars, leaving 1/2 inch headspace. Cover the berries with boiling water, leaving 1/2 inch headspace.
Wipe the rims of the jars with a clean, damp cloth, and place the lids and rings on the jars. Process the jars in a boiling water bath for 15 minutes.
How do you deseed blackberries for jelly?
To deseed blackberries for jelly, crush the berries in a saucepan and bring them to a boil.
Simmer for 5 minutes, stirring occasionally. Pour the mixture through a cheesecloth-lined strainer or jelly bag, and let it drip into a bowl until all the juice has been extracted.
What is the best way to prepare blackberries for canning?
The best way to prepare blackberries for canning is to wash them thoroughly and remove any stems.
You can choose to leave the berries whole or crush them slightly to release some of their juices. Pack the berries into hot, sterilized jars, leaving 1/2 inch headspace.
What are some tips for making a small batch of blackberry jelly?
For a small batch of blackberry jelly, use 2-3 cups of blackberries and 2-3 cups of sugar.
Follow the instructions for deseeding the blackberries and cooking the jelly. Use a candy thermometer to ensure that the jelly reaches the correct temperature for setting.
Follow my canning and preserving board on Pinterest.

Mine only made 5 half pints plus tiny bit more would not have been enough for 3 pints
Can this recipe be doubled or tripled
Can I double the recipe
Good, basic recipe. Used wild blackberries with much success!
I just made this recipe today. A friend and I picked the blackberries on their farm. Lots and lots of thorns but all that was worth it. My first time making blackberry jelly. The jelly turned out perfect and it is delicious!!! Thank you so much for posting this recipe!!!
I’ve tried various other recipes I’ve found but this one seems to be the best out of all of them. I’ve used this recipe to make all kinds of jellies from mixed berry to blackberry to strawberry and I’ll keep using it. The only thing I can say is try to get a real fruit pectin. It’s much better than sure jel. I get mine in bulk from an Amish market in Tennessee, luckily I have family there that can ship it to me but definitely worth the effort. Thanks for the recipe.
Wondering if you could make sugar free jelly with this recipe and if so how much sweetener and what type or kind is best. I have not been able to find a sugar free blackberry jelly recipe. Thank you!
I LOVE this recipe. It was perfect and my littles went through almost all the bottles within a week.
The only thing I would say that would help me and probably other is to have a print option for just the recipe. I had to use my phone and it got sticky quickly!
Thanks for sharing!
This looks so good! What a fun project to do with kids too!
Got a lil ahead of myself n added my sugar same time as the pectin. Will this affect my jelly setting up?
That’s a great tip, thanks for sharing!
For all you ladies who like to make blackberry jelly here’s a heads up. Instead of going through the mess and hassle of using cheese cloth… I bought a berry steamer,the best invention ever…Just put your berries in the steamer and about 45 minutes pure blackberry juice with no seeds It’s a little bit of an investment about fifty dollars,maybe a little more now I bought mine about ten years ago so I’m sure the price has gone up some….it has more then paid for it’s self…if you do a lot jelly this is the best ever..happy jelly.
Hi! The butter is totally optional. It helps reduces the foaming that occurs when you are cooking the jelly. You can just skim the foam off with a spoon, whether or not you decide to use the butter.
What is the reason for the butter?
Hi! Sorry for the confusion 🙂 Either recipe will work fine, but the 5 cups will definitely be a bit sweeter if that’s what you’re looking for. I just made some last week. Yum!
I just have a quick question. The written recipe has 5-6 cups and the video has 11 cups, however the sugar for the 5-6 is 5 cups where the video is only 4 1/2. I don’t want a tart jelly so is the the correct amount of sugar for the 11 cups? I tend to like things on the sweet side. My first time so didn’t dare to change anything. HELP!!
Yay! So glad your jelly turned out 🙂
Hi! I looked up a couple of other recipes, and it doesn’t look like the lemon juice is necessary, so I am going to go ahead and take it out of the recipe. It certainly doesn’t hurt if you did add it to your recipe, but it is not necessary for this recipe. Thanks for catching that!
Thank you for this recipe! I was able to fill up one dozen 4oz jam jars perfectly! The only thing I didn’t find was when to put the lemon juice in. I read your recipe a couple times and listened to your video 3 times, but didn’t hear/read any mention of when to add the 2 tbsp of lemon juice.
Thank you so much. After going thru several sites, this one seemed to have the simplicity I was looking for. The jelly came out great, with the perfect sweet and tangy taste because of the berries being the tamed berries that are so much more sour that the berries in the fields. I truly appreciate it and will have it as my stand-by recipe for blackberry jelly from now on. No need to look anymore.
Thanks again