Basic Kombucha Recipe
This post may contain affiliate links.
I first tasted kombucha a couple of years ago. I was skeptical about it at first, but wanted to see what all the hype was about. I was surprised how sour it was, almost like drinking vinegar! But after I gave it a couple of tries, it started to grow on me. I decided to learn how to brew kombucha.
A lot of people drink kombucha for its nutritional properties. It is a natural probiotic that helps create healthy bacteria in your stomach (I have actually managed not to catch the stomach flu that has been going around since drinking kombucha every day!)
Other sources claim that it helps prevent cancer, arthritis, and that it helps reduce cholesterol, among other things. I am also almost certain it has lowered my blood pressure, but I’ll write more on that another day.
I recently discovered that kombucha is actually fermented sweet tea! I was a little intimidated to try making it, I have never brewed anything before, and it looked like there were too many steps involved in making it.
One of the reasons I decided to give making it a try, was that it is so expensive to buy! At $3-4 for a single serving, that is definitely NOT something I will be buying very often.
It is very, very inexpensive to brew your own kombucha. Once you get the supplies you need to get started, it is way less than $1 gallon to make!
Kombucha Making Supplies
Above are all the supplies you can order easily from Amazon, if you don’t already have them on hand. You can also buy a complete kombucha brewing kit that has everything you need to get started. It’s also a great gift idea!
Before you begin, make sure all your utensils are really clean and sterilized. You don’t want to introduce any harmful bacteria to your scoby.
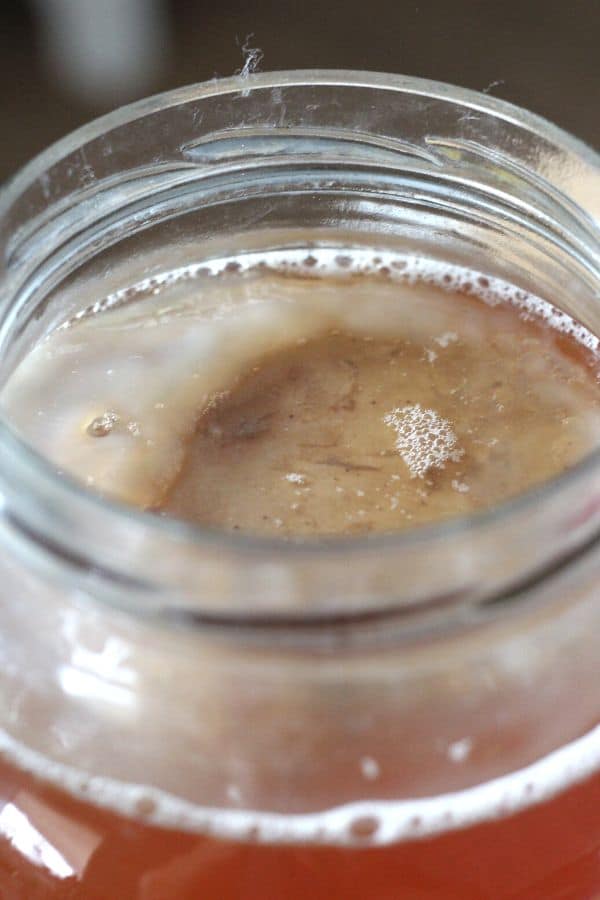
Choosing Your Tea for Brewing Kombucha
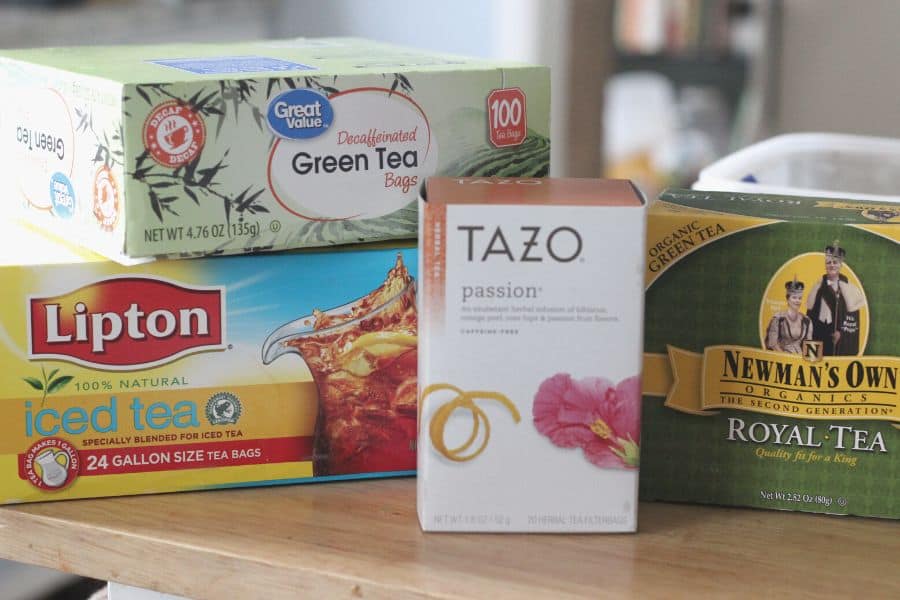
You can use many different types of tea to make kombucha. It is great using just black Lipton tea. You can also use green tea. Sometimes I use half green tea and half black tea.
You can also mix some herbal tea in with the other teas. Sometimes I put a tea bag or two of this Tazo Passion Tea in with my black and/or green tea. You just have to try different mixtures to see what you like.
Can You Use Decaffeinated Tea to Brew Kombucha?
If you are wondering if you can use decaffeinated tea, the answer is that you need to use at least a little caffeine in your tea because the scoby needs the caffeine to grow and thrive.
The scoby feeds on the sugar and caffeine, so both are necessary to brewing kombucha. You can mix caffeinated and decaffeinated teas together. You want to have least 25% caffeinated and 75% decaffeinated.
With this ratio, the scoby will eat most of the caffeine, and leave you with very little.
Choosing the Sugar for Your Kombucha
A lot of people recommend you use organic sugar to brew kombucha. Organic sugar works great, but regular white sugar does as well. It’s up to you.
Agave syrup and honey, however, are not recommended for brewing kombucha because of bacteria they contain that will interfere with the scoby. One source I researched said to use honey diluted with water.
I have tried brewing kombucha with diluted raw honey and it turned out great, so that is really up to you if you want to try that or not. Again, don’t cut down on the sugar in the recipe. The scoby feeds on the sugar.
If you let the kombucha sit long enough, it will eventually turn to pure vinegar and there will be no sugar left!
Preparing the Sweet Tea
To brew kombucha, prepare the tea like you are making regular sweet tea. I boil my water in an electric tea kettle. I love it! You want to use 8 regular sized tea bags per gallon container.
Place the tea bags in the container and cover the bags with about 4 cups of boiling water. After the tea bags have steeped for 10 minutes or so, remove the tea bags and add the sugar. Stir until dissolved.
Fill the glass container almost the rest of the way full with cool water. Place the kombucha starter liquid you received in the mail when you ordered your scoby in the container with your sweet tea, and gently place the scoby on top of the liquid.
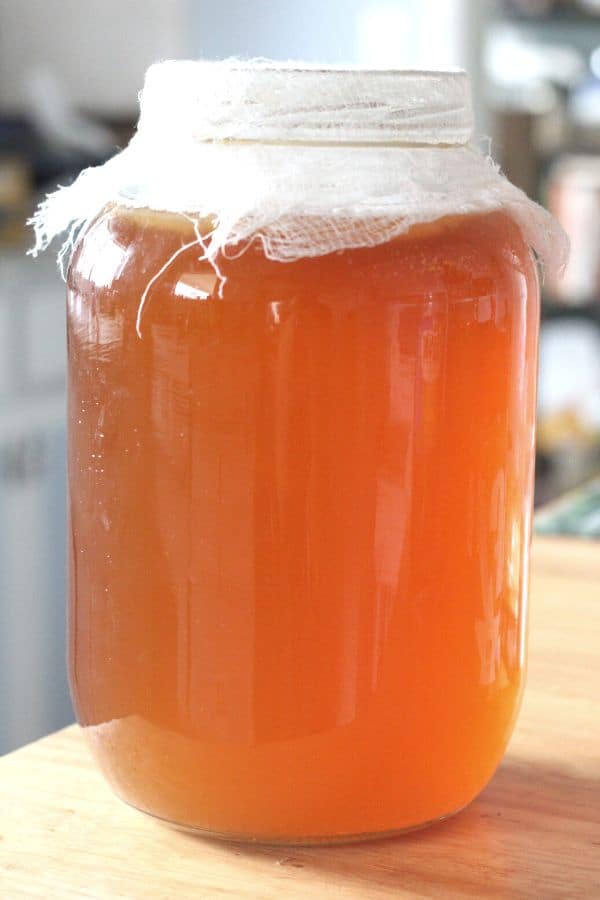
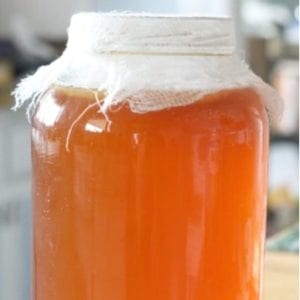
Place a piece of cheesecloth on top of the jar, and put a rubberband around it. The cheesecloth will keep things from getting in your tea. You want air to be able to go in and out of the jar, however.
(Note: your kombucha will be a fruit fly magnet, so during the summer months make sure you have enough layers of cheesecloth to keep the fruit flies out). Click here to find out how to make your own fruit fly trap.
How to Brew Kombucha
Place your jar of kombucha tea in a warm place (about 70-75 degrees) for at least 7 days. Our house is cold in the winter time, so we have our jar(s) near our woodstove. If the tea doesn’t stay warm enough the scoby won’t grow like it should.
If you aren’t going to be able to keep your kombucha at the necessary 70-75 degrees, you might consider purchasing a kombucha heating wrap. It’s a heating pad that wraps around a gallon sized jar and keeps your kombucha the correct temperature.
If it isn’t warm enough, you won’t have the results you are looking for, so it’s definitely worth the investment!
During the 7 days the scoby should start growing and eventually duplicate itself! At the end of the 7 days start tasting the kombucha.
If it is not sour enough for your taste, then let it sit another couple days and taste again! It is then ready to drink. Remove the scoby and save 1 cup of liquid for your next batch.
Place the finished kombucha in the refrigerator and enjoy! Note: Don’t store your scoby in the refrigerator. Place your starter liquid and scoby in a small jar covered with cheesecloth and leave out until ready to start a new batch.
You will actually have two scobies now, after your first batch. Your scoby duplicates itself every time you use it. Share your extra scobies with friends!
Ready to flavor your kombucha? Here are my 5 favorite kombucha flavors for beginners.
These instructions are just to get you started. The Big Book of Kombucha: Brewing, Flavoring, and Enjoying the Health Benefits of Fermented Tea is an excellent resource for more information and recipes. Happy brewing!
Related Recipes
- Raspberry Lime Kombucha
- Lavender Lemonade Kombucha
- Blackberry Lavender Kombucha
- Strawberry Lemonade Kombucha
- Lemon Ginger Kombucha
- How to Make Cider with a Cider Press
- How to Make Hard Cider
- Rose Petal Iced Tea
- Lavender Lemonade
- Ginger Simple Syrup
- Rhubarb Simple Syrup
- Lilac Simple Syrup
Follow my Favorite Recipes board on Pinterest.


Hi! Would be possible to use a starter only to brew my second batch? My mother in law does it without the scoby and also she keeps the starter in the fridge. I am confused
My friend is going to give me a starter going to try this thank you for information
Thank you this helped me out A LOT !!! Thanks again