This post may contain affiliate links.
I love to grow green beans in my garden every year. On good years, I end up canning many pints of green beans to store away for winter. To can green beans, you need a pressure canner to process them. If you like pickled vegetables, you should give these pickled green beans a try! Because they are pickled there is no need to pressure can them, you can process them in your boiling water canner.
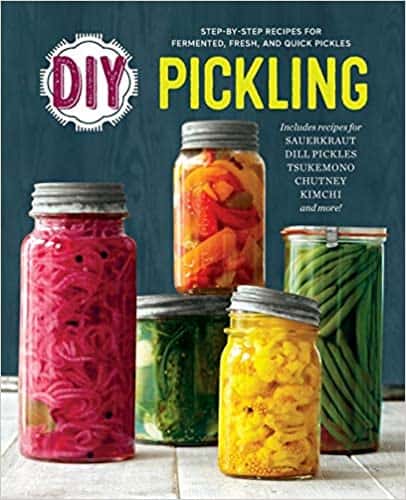
DIY Pickling: Step-By-Step Recipes for Fermented, Fresh, and Quick Pickles
Canning Expertise: Rachel Paxton is a certified Master Home Food Preserver with over 25 years of hands-on experience in safe home canning and food preservation.
Want to try making your own jelly at home?
Get my free guide with 8 easy, beginner-friendly jelly recipes you can confidently make.
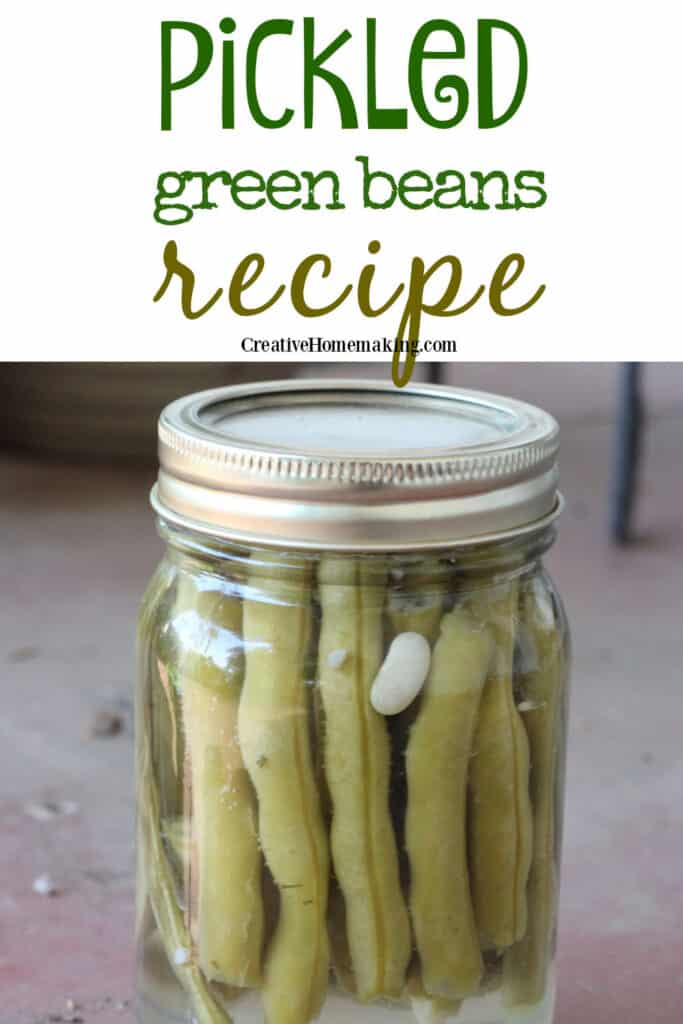
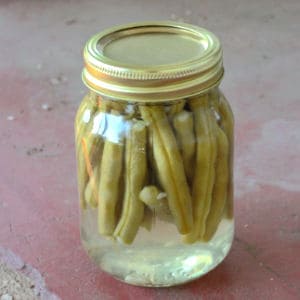
Pickled Green Beans Recipe
Ingredients
- 2 lbs. green beans (makes 4 pints)
- 4 sprigs fresh dill
- 4 garlic cloves
- 2 1/2 c. white vinegar
- 2 1/2 c. water
- 1/4 c. pickling salt
This recipe makes 4 pints of pickled green beans. You can easily double this recipe.
Rinse off the green beans and snap off the ends of the beans so that they will fit into the jars.
Add a garlic clove and a sprig of dill to each jar. If you can’t find any fresh dill, just add a teaspoon of dried dill to each jar.

Related Article: Bush Beans Square Foot Gardening
Combine the vinegar, water, and pickling salt in a large sauce pan. Let simmer until the salt dissolves.
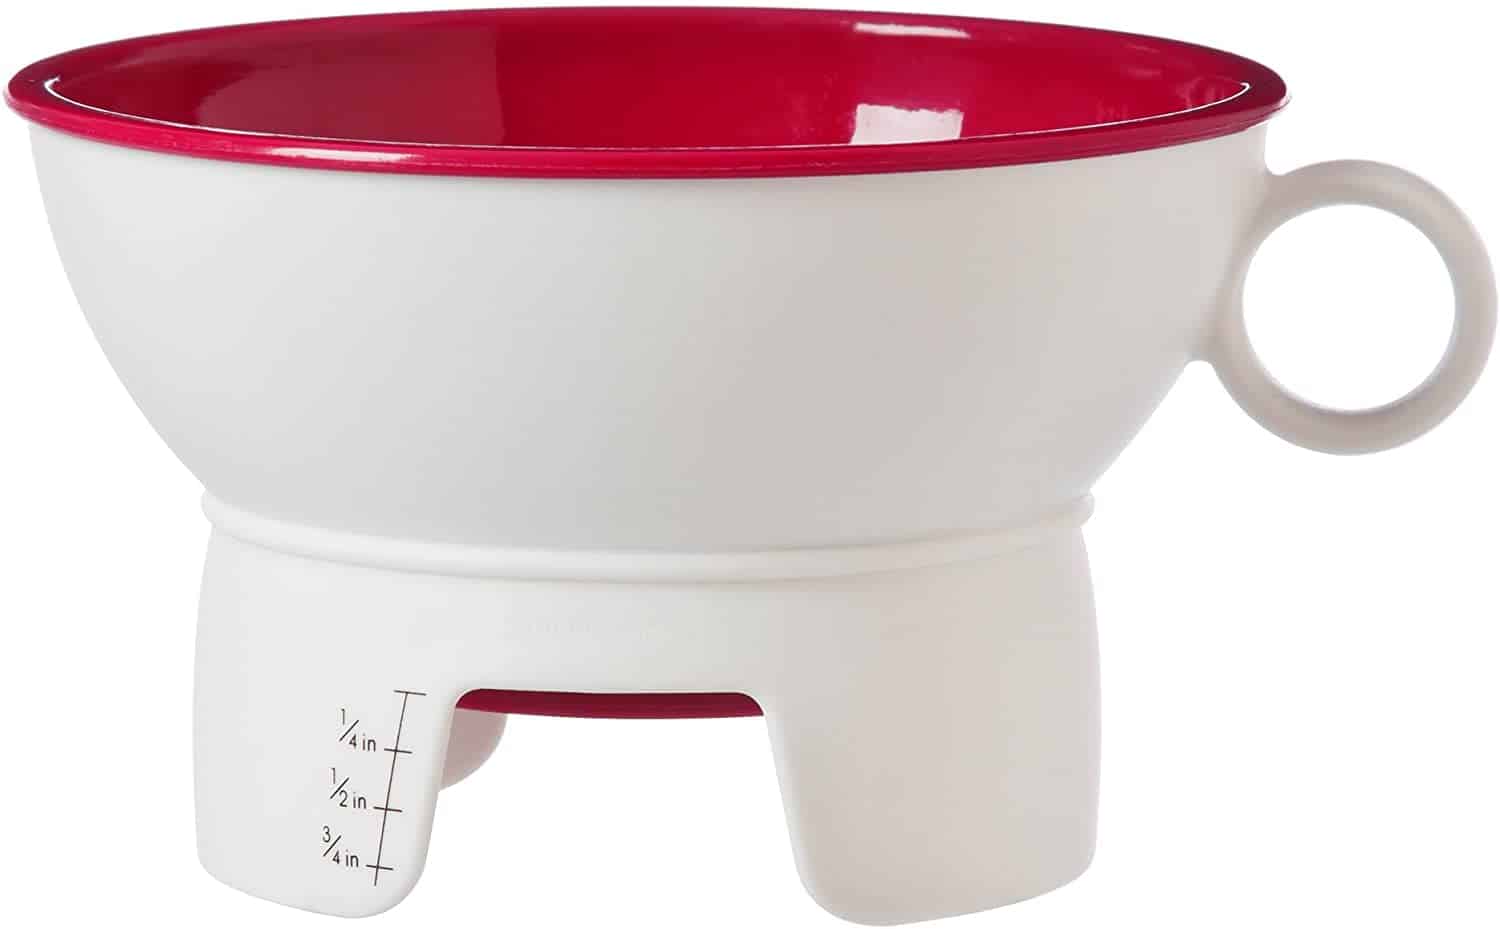
Place the green beans in the jars lengthwise. Pour the hot vinegar mixture into each jar, leaving 1/4 inch headspace. You can easily measure the headspace with this inexpensive canning funnel.
Prepworks by Progressive Canning Funnel for Regular and Wide Mouth Jars
If you don’t want to seal the jars for long term storage, at this point you can just place the jars in the refrigerator and eat the turnips in the next couple of weeks. If you would like to can them to last for a year or more, follow the directions below.
Canning Directions
Wipe the rims of the jars with a paper towel or clean dish towel. Place sterilized lids and rings on the jars, screwing the rings on fingertight.
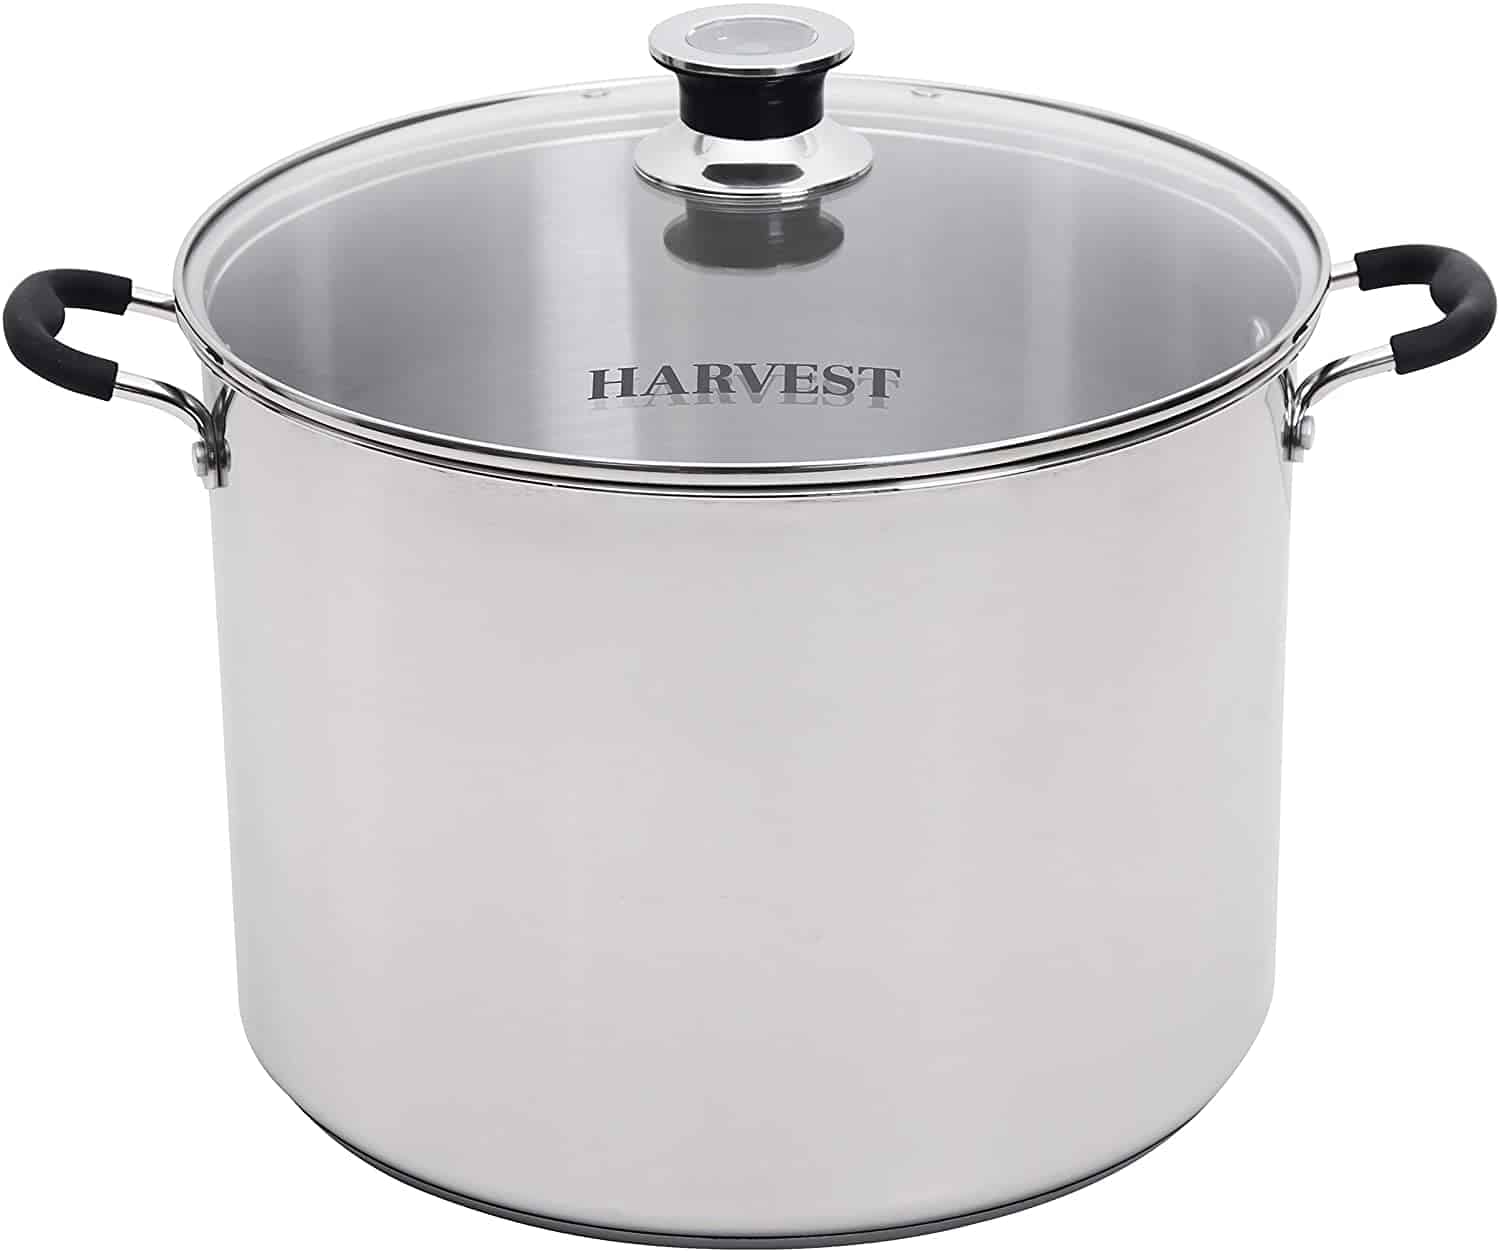
Place your prepared jars in a boiling water canner and cover the jars with 1-2 inches of water. Bring the water to a boil and process the jars for 10 minutes.
Remove your jars from the canner and place them on a kitchen towel on the counter to cool.
Sealed jars can be stored in a cool, dark place for 1-2 years.
Follow my canning and preserving board on Pinterest.
Related Recipes
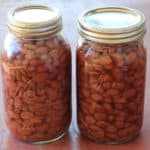
- Quick Pickled Turnips for Canning
- Canning Pickled Beets
- Pickled Brussel Sprouts
- Pickled Red Onions
- Canning Pickled Asparagus
- Pickled Cherry Tomatoes
- Pickled Zucchini
- Canning Pickled Jalapenos
- Pickled Cauliflower