This post may contain affiliate links.
Canning is becoming more and more popular as people are looking to save money and live a more healthy lifestyle. Not only does canning allow you to control what goes into your food, you can store canned foods in your pantry for more than a year.
There are two types of canning: water bath canning and pressure canning. Water bath canning is for canning high acid foods such as peaches, pears, cherries, jams, etc.
Canning Expertise: Rachel Paxton is a certified Master Home Food Preserver with over 25 years of hands-on experience in safe home canning and food preservation.
Pressure canning is for low acid foods such as most vegetables, including salsas. Any foods containing meat products must also be pressure canned.
Want to try making your own jelly at home?
Get my free guide with 8 easy, beginner-friendly jelly recipes you can confidently make.
If you grew a garden this year, then you probably have produce that you want to put away for winter. If you didn’t grow a garden, consider purchasing fresh produce from a farmer’s market or straight from a farm or orchard to can.
Not only is the food fresher, but you can’t beat the taste either. Fresh tastes best!
Preparing the Jars
First sterilize your canning jars, lids, and rings. The easiest way to sterilize them is to run them through the dishwasher and then remove them from the dishwasher for use while they are still hot.
While the jars are being sterilized, place 3 to 4 inches of water in the pressure canner and place it on the stove to heat while you prepare the vegetables.
Preparing the Vegetables
To can mixed vegetables, you will need an inexpensive pressure canner that you can easily find at Walmart or order from Amazon. Pressure canners have a little bit more of a learning curve than water bath canners, but you will find that with practice that they are actually very easy to use.
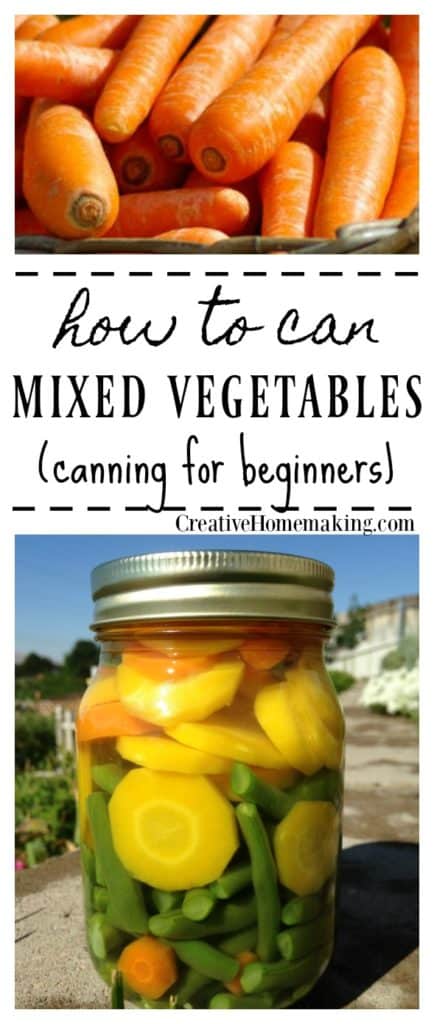
To can vegetables, first you will need to prepare the vegetables. The great thing about mixed vegetables is that you can use what you have on hand, such as green beans, peas, and carrots, etc.
Green beans are one of the easiest crops to grow. In many growing areas you can plant green beans two times a year, once in the spring, and once in the fall.
Make sure that the vegetables you are canning are as fresh as possible. If green beans are several days old and starting to get limp, they will not can well.
To prepare the vegetables, first wash them well. For green beans, snap off and discard the ends, and then snap them in half if they are long. Place the prepared green beans in a large sauce pan.
Peel the carrots, and cut them into small slices. Place the carrots in the pan with the green beans. Add any other vegetables you would like to add.
Barely cover the vegetables with water and bring to a boil. Simmer for 5 minutes.
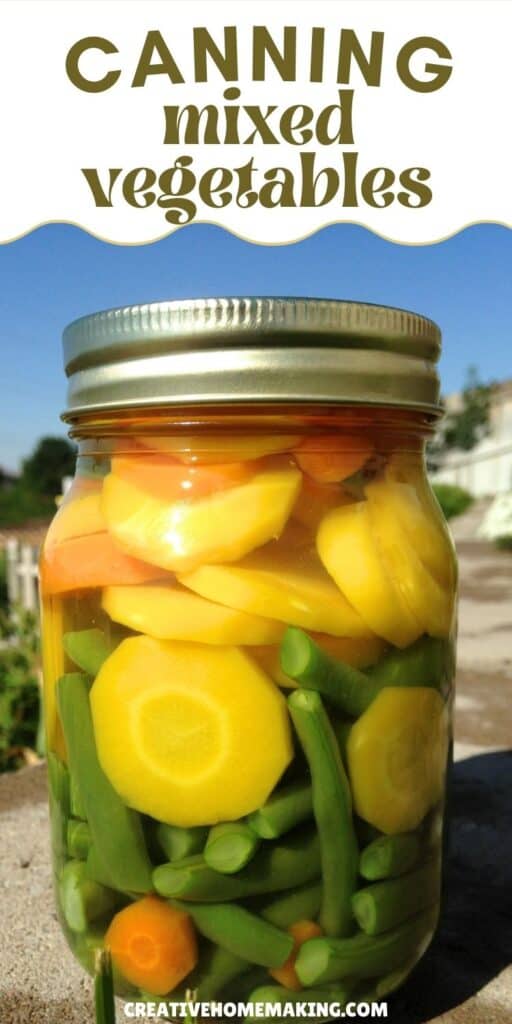
Place the vegetables in the sterilized jars and fill jars with the water used to cook the vegetables in, adding extra hot water if necessary. Fill jars to within 1 inch of the top of each jar.
The vegetables should be completely covered with water.
Wipe the rims of the jars with a clean damp rag and place the lids and rings on the jars.
Canning the Vegetables
Using jar tongs, carefully lift the jars and place them in the boiling water in the pressure canner.
Place the lid on the canner and let the water boil with the steam escaping through the vent for 10 minutes before placing the weight on the vent.
After 10 minutes, place the weight on the vent and let the pressure in the canner build until it reaches 11 pounds of pressure (at sea level). After the canner reaches the correct level of pressure, start the timer and cook for 25 minutes.
Adjust the stove temperature as necessary to maintain the correct pressure. If the canner loses pressure, you will need to start timing over again after it reaches the correct pressure.
After the timer goes off turn off the heat and let the pan set until the pressure of the canner drops to zero. This can take 45 minutes or more. Do not attempt to open the canner until the pressure has been released.
Remove the jars from the pressure canner and let them set on a towel on the kitchen counter overnight so that they can cool and the lids can finish sealing.
If a jar does not seal, place it in the refrigerator and eat the contents of the jar within a week. Sealed jars can be stored in a dark pantry for at least a year.
Pressure canning, like any skill, takes time to master, but once you learn how to do it, you will take much pleasure in canning and preserving your garden harvest.
Make sure to read and follow any instructions that come with your pressure canner, and have fun canning vegetables for your family to enjoy all winter long.
Follow my canning and preserving board on Pinterest.
Related Recipes
- Canning Cherries
- Canning Green Beans
- Refrigerator Sweet Pickles
- Canning Greens
- Sweet and Sour Sauce
- Canning Homemade Chili
- Canning Potatoes