This post may contain affiliate links.
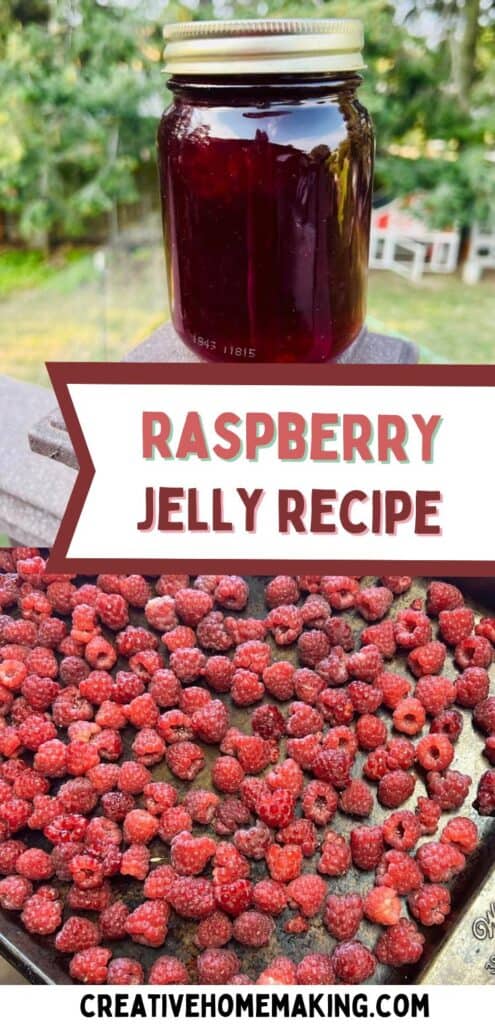
If you have fresh raspberries, this homemade raspberry jelly is one of the best ways to preserve them.
After a rough growing season last year, my raspberry plants finally produced a beautiful harvest—and I couldn’t wait to make jelly. This is my go-to recipe, and it turns out perfectly every time.
If you’ve never made jelly before, don’t worry—I’ll walk you through the process step by step.
Canning Expertise: Rachel Paxton is a certified Master Home Food Preserver with over 25 years of hands-on experience in safe home canning and food preservation.
What You Need to Know Before You Start
Making jelly is a little different than jam.
Want to try making your own jelly at home?
Get my free guide with 8 easy, beginner-friendly jelly recipes you can confidently make.
Instead of using the whole fruit, you’ll:
- cook the raspberries
- extract the juice
- strain out the pulp
- use the juice to make jelly
If you’re new to canning, start with my water bath canning guide for beginners and see the canning supplies you need here before getting started.
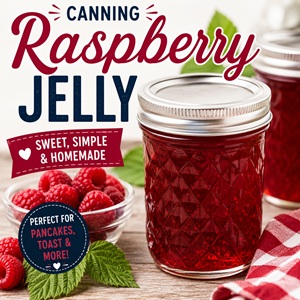
Raspberry Jelly Recipe
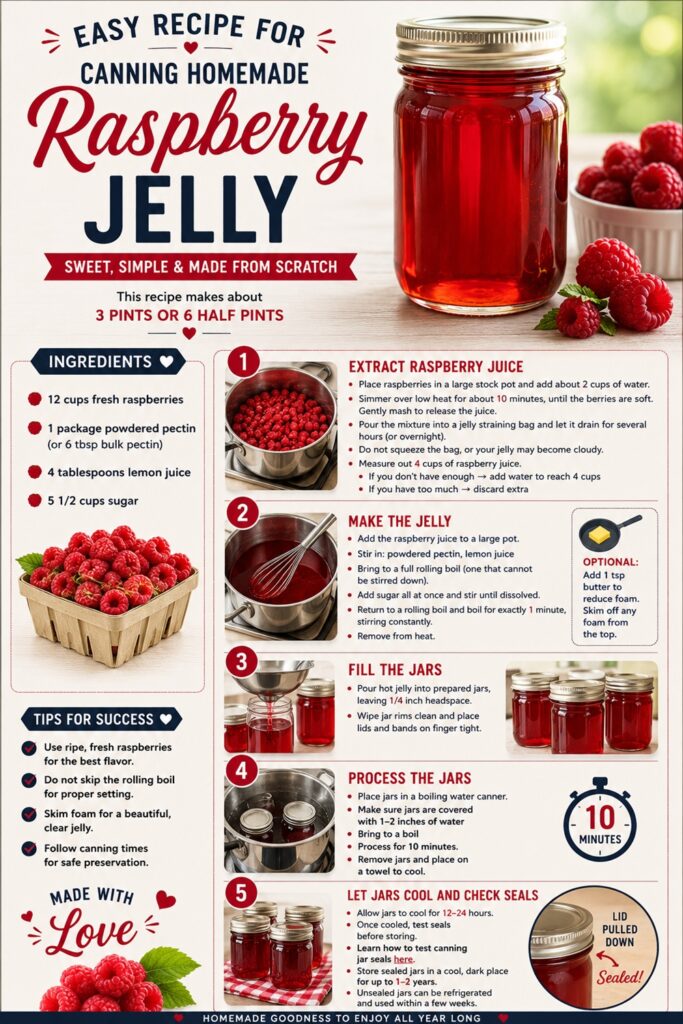
Ingredients
- 12 cups fresh raspberries
- 1 package powdered pectin (or 6 tbsp bulk pectin)
- 4 tablespoons lemon juice
- 5 1/2 cups sugar
This recipe makes about 3 pints or 6 half pints
If you’re not sure which pectin to use, see my guide on what pectin is and how to use it.

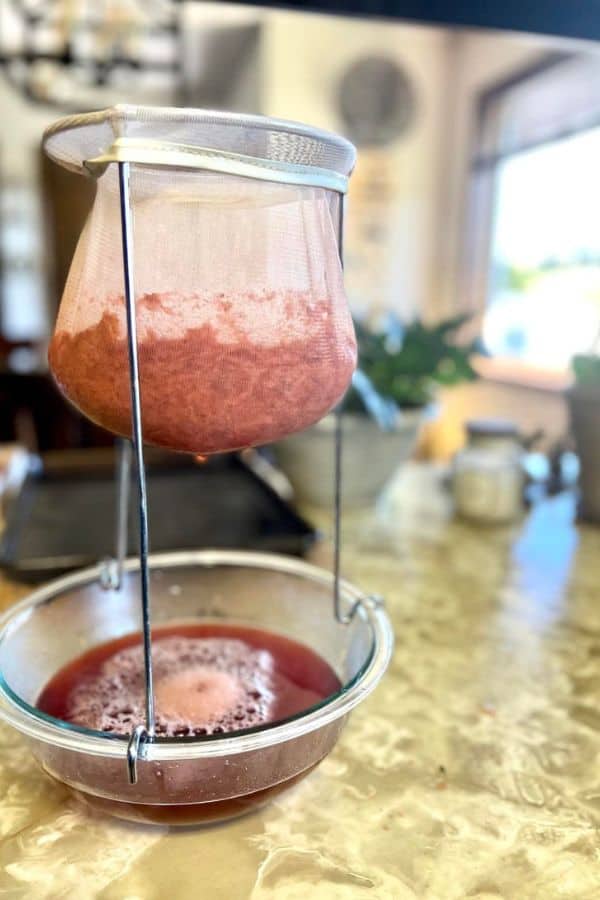
Step 1: Extract Raspberry Juice
Place raspberries in a large stock pot and add about 2 cups of water.
Simmer over low heat for about 10 minutes, until the berries are soft. Gently mash to release the juice.
Pour the mixture into a jelly straining bag and let it drain for several hours (or overnight).
Do not squeeze the bag, or your jelly may become cloudy.
Measure out 4 cups of raspberry juice.
If you don’t have enough → add water to reach 4 cups
If you have too much → discard extra
Step 2: Make the Jelly
Add the raspberry juice to a large pot.
Stir in:
- powdered pectin
- lemon juice
Bring to a full rolling boil (one that cannot be stirred down).
Add sugar all at once and stir until dissolved.
Return to a rolling boil and boil for exactly 1 minute, stirring constantly.
Remove from heat.
Optional: Add 1 tsp butter to reduce foam.
Skim off any foam from the top.
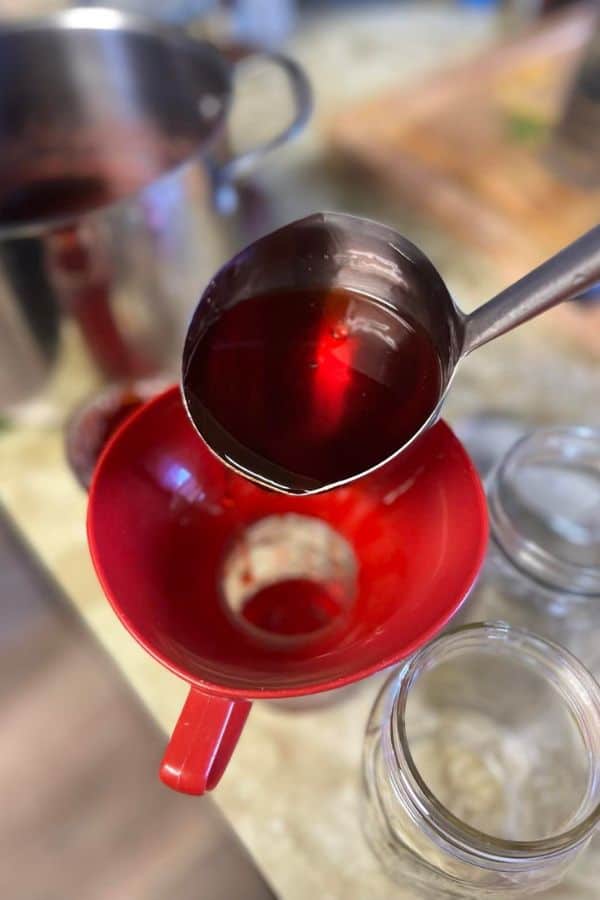
Step 3: Fill the Jars
Pour hot jelly into prepared jars, leaving 1/4 inch headspace.
Not sure about headspace? See my guide on how much headspace to leave when canning.
Wipe jar rims clean and place lids and bands on finger tight.
Step 4: Process the Jars
Place jars in a boiling water canner.
- Make sure jars are covered with 1–2 inches of water
- Bring to a boil
Process for 10 minutes.
Remove jars and place on a towel to cool.
Step 5: Let Jars Cool and Check Seals
Allow jars to cool for 12–24 hours.
Once cooled, test seals before storing.
Learn how to test canning jar seals here.
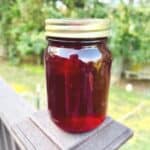
Store sealed jars in a cool, dark place for up to 1–2 years.
Unsealed jars can be refrigerated and used within a few weeks.
What to Do If Your Jelly Doesn’t Set
Jelly can take a day or two to fully set, so don’t worry right away.
If it still hasn’t set after a couple of days:
See exactly what to do if your jelly doesn’t set.
More Jelly Recipes to Try
If you enjoyed this recipe, try these:
If you enjoy preserving seasonal flavors, be sure to browse all of my canning recipes here and my full collection of jam and jelly recipes for more ideas.
This homemade raspberry jelly is made from fresh raspberry juice and is perfect for preserving the flavor of summer. A simple, step-by-step canning recipe that’s great for beginners.
- 12 cups fresh raspberries
- 2 cups water for extracting juice
- 1 package powdered pectin or 6 tbsp bulk pectin
- 4 tablespoons lemon juice
- 5 1/2 cups sugar
-
Place raspberries and water in a large pot. Simmer for 10 minutes, mashing gently.
-
Pour into a jelly strainer bag and let drain for several hours or overnight. Do not squeeze.
-
Measure 4 cups of raspberry juice.
-
Pour juice into a large pot. Stir in pectin and lemon juice.
-
Bring to a rolling boil that cannot be stirred down.
-
Add sugar all at once and stir until dissolved.
-
Return to a rolling boil and boil for 1 minute.
-
Remove from heat and skim foam.
-
Pour hot jelly into sterilized jars, leaving 1/4 inch headspace.
-
Wipe rims and apply lids and bands finger tight.
-
Place jars in boiling water canner.
-
Ensure jars are covered by 1–2 inches of water.
-
Process for 10 minutes.
-
Remove jars and let cool for 12–24 hours.
-
Check seals before storing.
-
Store sealed jars in pantry for 1–2 years.
Follow my canning and preserving board on Pinterest.