
This post may contain affiliate links.
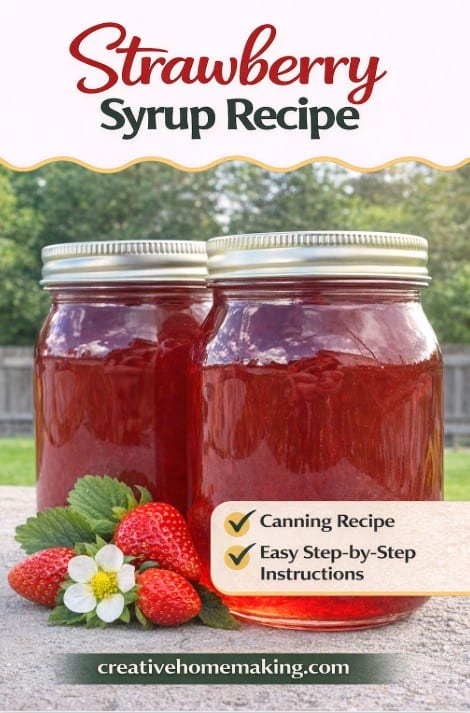
If you love strawberries, making homemade strawberry syrup is one of the easiest and most delicious ways to preserve their flavor.
This syrup is sweet, smooth, and perfect for pancakes, drinks, desserts, and more. It’s also a great way to enjoy fresh strawberries long after the season is over.
Tap to jump right to recipe.Looking for more ways to preserve strawberries? See all the best methods here.
If you enjoy preserving homemade foods, be sure to browse all of my canning recipes here and my collection of homemade syrup recipes for canning.
If you’re new to canning, be sure to read my water bath canning for beginners guide and see the canning supplies you need here before getting started.
Want to try making your own jelly at home?
Get my free guide with 8 easy, beginner-friendly jelly recipes you can confidently make.
Why You’ll Love This Strawberry Syrup
- Easy beginner-friendly recipe
- Made with simple ingredients
- Perfect for pancakes, drinks, and desserts
- Great way to preserve fresh strawberries
- Tastes better than store-bought syrup
Ingredients for Strawberry Syrup
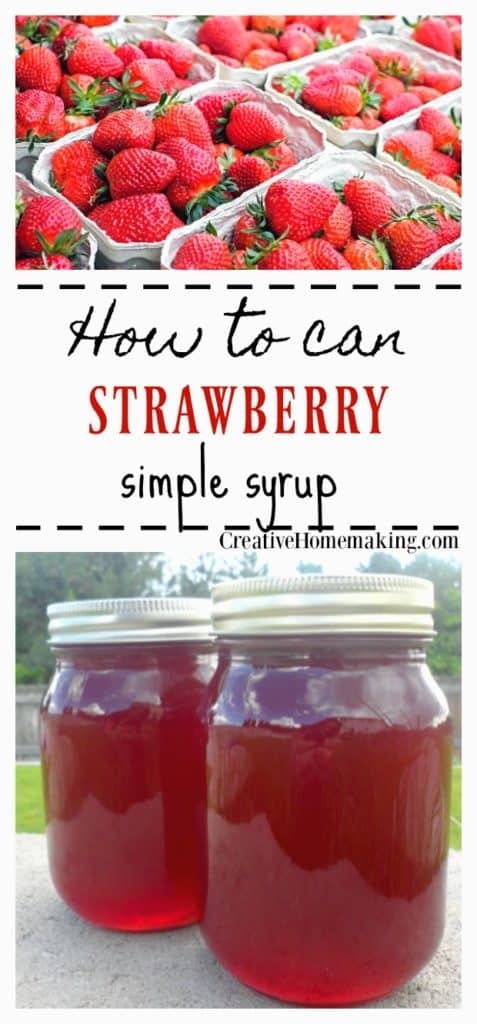
- 12 cups of fresh or frozen strawberries
- 7 cups of granulated sugar
How to Make Strawberry Syrup
Step 1: Prepare the Strawberries
Wash, hull, and chop the strawberries.
Blend until smooth.
Step 2: Cook the Syrup
In a large saucepan, combine:
- Blended strawberries
- Sugar
Bring to a boil, then reduce heat and simmer for 15–20 minutes, until slightly thickened.
Step 3: Strain the Syrup
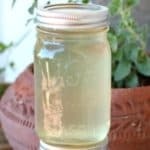
Pour the mixture through a fine mesh strainer to remove seeds and pulp.
Return the strained syrup to the stove if needed to reheat before canning.
How to Can Strawberry Syrup
If you’re new to canning, read my water bath canning for beginners guide before starting.
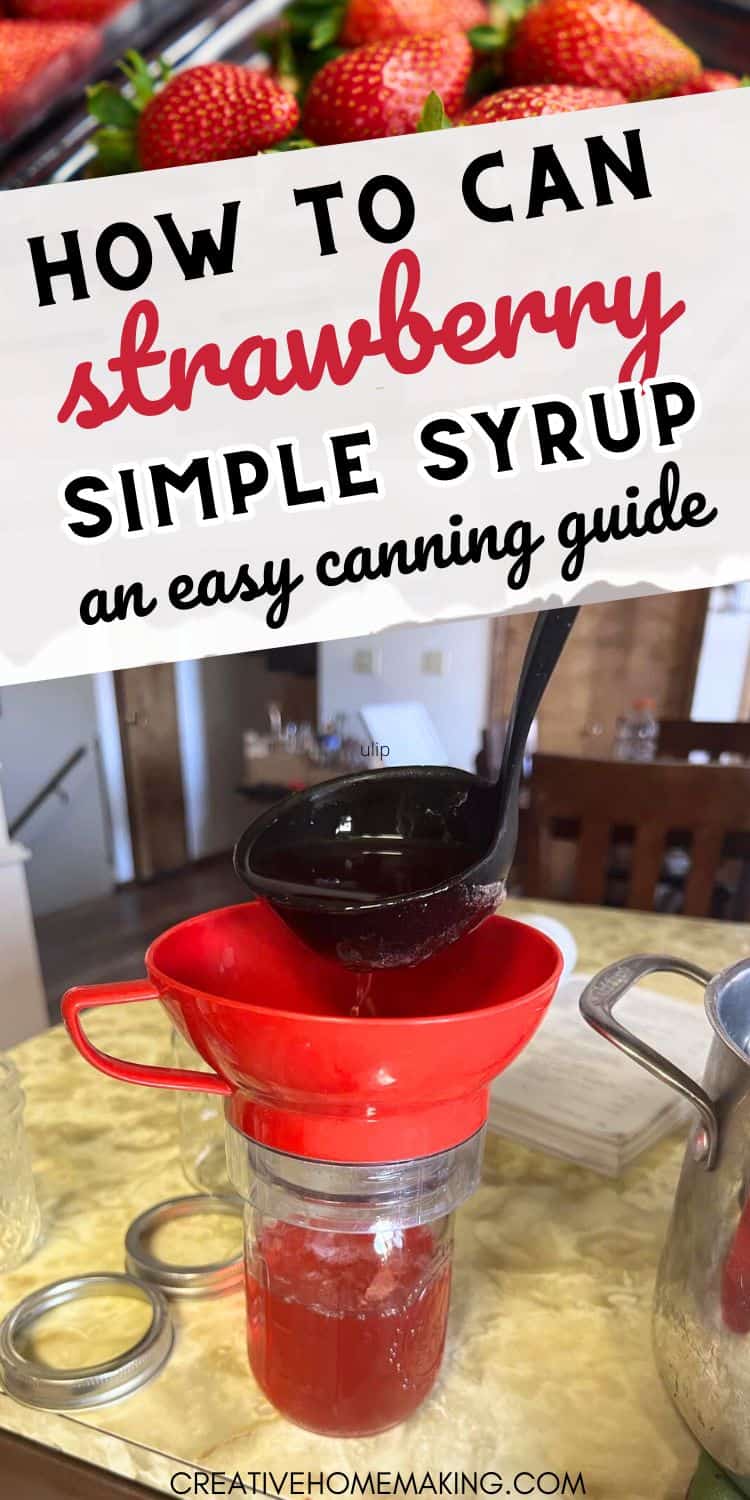
Step 1: Prepare Jars
Wash jars, lids, and rings and keep them hot.
Step 2: Fill the Jars
- Pour hot syrup into jars
- Leave 1/2 inch headspace
- Wipe rims clean
Step 3: Seal the Jars
Place lids and rings on jars and tighten finger tight.
Step 4: Process in Water Bath
- Place jars in boiling water canner
- Ensure jars are covered by at least 1 inch of water
- Bring to a boil
- Process for 10 minutes
Remove jars and let cool undisturbed. When they have cooled, test the jar seals
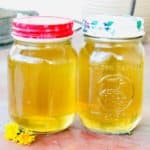
Yield and Storage
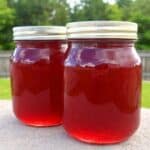
- Makes about 3 pints
- Store sealed jars in a cool, dark place for 1–2 years
- Refrigerate after opening
Important Canning Tips
- Use ripe strawberries for best flavor
- Strain thoroughly for smooth syrup
- Keep jars hot before filling
- Let jars cool completely before checking seals
Ways to Use Strawberry Syrup
Strawberry syrup is incredibly versatile. Try it:
- Drizzled over pancakes, waffles, or French toast
- Mixed into lemonade, iced tea, or soda
- Added to cocktails or milkshakes
- Spoon over ice cream or cheesecake
- Stirred into yogurt or oatmeal
More Syrup & Canning Recipes to Try
If you enjoyed this recipe, you might also like:
You can also browse all of my canning recipes here for more ideas.
Ready to make it? Scroll down to the recipe card below for the full step-by-step instructions. Print it, save it, or come back to it anytime.
- 12 cups strawberries
- 7 cups sugar
-
Blend strawberries until smooth.
-
Combine with sugar and bring to a boil.
-
Simmer 15–20 minutes.
-
Strain through fine mesh sieve.
-
Pour into jars (1/2″ headspace).
-
Process 10 minutes in water bath.
-
Yield: 3 pints
Follow my canning and preserving board on Pinterest.


Can the solids be left in the syrup?
Yes, you definitely could make this with peaches! 🙂
Can I do this with peaches?
Also for peach tea or lemonade?
Thanks, Paige