This post may contain affiliate links.
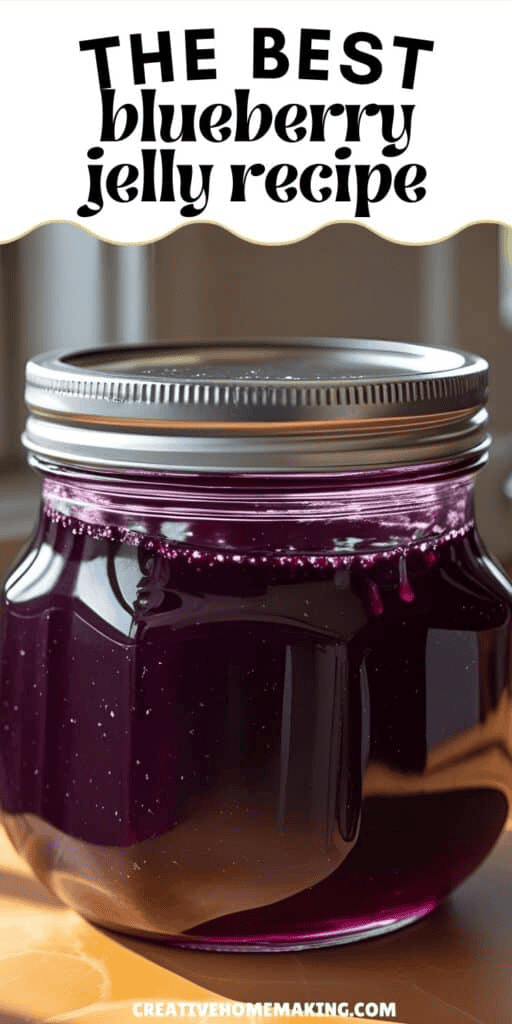
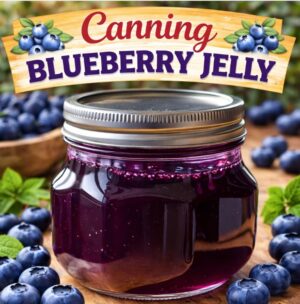
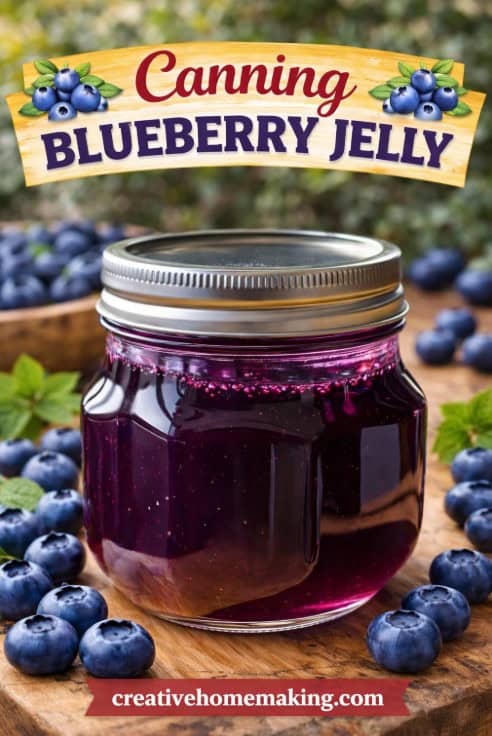
Canning blueberry jelly is a simple way to preserve fresh blueberries and enjoy them all year long.
This homemade jelly is smooth, sweet, and perfect for toast, biscuits, or even a pretty brunch spread. The process is easier than it sounds, and once you try it, you’ll want to make it every season.
Tap to jump right to recipe.Looking for more ideas? Visit my full Blueberry Recipes & Growing Guide (Fresh Ideas + Garden Tips).
Canning Expertise: Rachel Paxton is a certified Master Home Food Preserver with over 25 years of hands-on experience in safe home canning and food preservation.
Ingredients for Blueberry Jelly
- 4 cups fresh blueberries (about 1 1/4 pounds)
- 1/4 cup water
- 1 box (1.75 oz) fruit pectin
- 5 cups sugar
- 1 tablespoon lemon juice
Equipment
You don’t need anything complicated, but having the right tools makes canning much easier.
Want to try making your own jelly at home?
Get my free guide with 8 easy, beginner-friendly jelly recipes you can confidently make.
If you’re new to canning, see my full guide to essential canning equipment.
How to Make Blueberry Jelly
Prepare the Blueberries
Rinse blueberries and remove any stems or debris. Crush them slightly to release juice.
Add blueberries and water to a saucepan. Bring to a boil, then reduce heat and simmer for about 10 minutes.
Strain the Juice
Remove from heat and strain through a jelly bag or fine mesh strainer.
Let it drip naturally for several hours (or overnight). Do not press the pulp if you want clear jelly.
Make the Jelly
Measure 4 cups of blueberry juice into a large pot.
- Stir in pectin
- Bring to a full rolling boil over high heat
- Add sugar all at once
- Boil hard for 1 minute, stirring constantly
Pectin helps the jelly set properly—if you’re new to using it, read my guide on what pectin is and how it works in canning.
Remove from heat and skim off any foam.
Test for Doneness
Place a small amount on a cold plate. If it wrinkles when pushed, it’s ready.
Stir in lemon juice.
Water Bath Canning Instructions
Prepare jars and keep them warm
Fill jars with hot jelly, leaving 1/4 inch headspace
Learn how to measure it here: How to Measure Headspace for Canning
Wipe rims clean and apply lids
Place jars in a boiling water bath
Follow my full step-by-step guide here: Water Bath Canning for Beginners
Process for 10 minutes (adjust for altitude)
Cooling and Storage
Remove jars and let them cool undisturbed for 12–24 hours.
Once cooled, check seals:
Here’s how to check: How to Test Canning Jar Seals
- Lids should not flex when pressed
- Store sealed jars in a cool, dark place
Properly sealed jelly can last up to a year.
Ways to Use Blueberry Jelly
Blueberry jelly is perfect for:
- Toast and English muffins
- Biscuits and scones
- Peanut butter and jelly sandwiches
- Tea party spreads
You might also like:
Common Mistakes to Avoid
- Pressing pulp when straining (cloudy jelly)
- Skipping headspace
- Not boiling long enough
- Not sealing jars properly
Take your time—small details make a big difference.
FAQs
Can I use frozen blueberries?
Yes—just thaw them first.
Why is my jelly not setting?
It may need more cooking time or proper pectin measurement.
Learn more: What to do if Your Jelly Does Not Set
Do I have to can it?
No—you can refrigerate and use within a few weeks.

- 4 cups fresh blueberries about 1 1/4 pounds
- 1/4 cup water
- 1 box 1.75 oz fruit pectin
- 5 cups granulated sugar
- 1 tablespoon lemon juice
-
Rinse blueberries and remove stems or debris. Crush slightly with a potato masher.
-
Combine crushed blueberries and water in a large saucepan. Bring to a boil, then reduce heat and simmer for about 10 minutes.
-
Remove from heat and strain through a jelly bag or fine mesh strainer. Let drip naturally for several hours or overnight for clear juice.
-
Measure 4 cups of blueberry juice into a large pot. Stir in pectin and bring to a full rolling boil over high heat.
-
Add all sugar at once, stirring to dissolve. Return to a full rolling boil and boil hard for 1 minute, stirring constantly.
-
Remove from heat, skim off foam, and stir in lemon juice.
-
Ladle hot jelly into prepared jars, leaving 1/4 inch headspace.
-
Process in a boiling water bath for 10 minutes (adjust for altitude).
-
Remove jars and let cool undisturbed for 12–24 hours. Check seals before storing.
-
Store sealed jars in a cool, dark place for up to 1 year
-
Refrigerate after opening
Do not press pulp when straining if you want clear jelly
Adjust sugar slightly based on berry sweetness
Pectin is essential for proper setting
Always follow safe canning practices
Follow my canning and preserving board on Pinterest.