How to Make String Easter Eggs with Liquid Starch
This post may contain affiliate links.
String eggs have been around a long time, and they are very easy to make. They are a little messy, but the end result is worth the effort.
You can make big ones, little ones, place them together in bowls, or hang them from the ceiling. If you make a large one, after it is dry you can cut an opening in the side of it and make it into a cute Easter basket or create an Easter scene inside of it.
Supplies Needed:
- Balloons
- liquid starch
- Crochet string
- Plastic drinking cups
* Note: You can stiffen the string on your eggs in several different ways. For my project I chose to use liquid starch.
Other people have also used plain old Elmer’s glue. You can thin any of these liquids with water and still achieve a great result.
First blow up balloons in several sizes to resemble eggs. I bought round balloons, so I had to stretch mine a little to get them to look egg shaped.
I decided to create small, medium, and large egg shapes because I wanted to place several in a bowl and also create an Easter scene in a larger one.

Next pour the liquid starch into a flat pan. You might want to place newspapers underneath you. All of these products are water based so they will clean up fairly easily, but they are a bit messy. You can thin the liquid starch with water if you wish to make it go further.
How much string you need depends on how many eggs you make. One large egg might require most of one ball of crochet string. I made three medium sized eggs with one ball of string, and one large one and one small one with another ball of string.
Roll a blown up balloon around in the liquid to cover it completely. Next you are going to wind the string around the balloon, in every direction, until the balloon is completely covered.
You can either cut lengths of string and place them on individually, or you can just unwind the ball of string as you go. I found this to be a bit tricky, to get the ball to continue to unwind while my hands were covered with the sticky liquid.
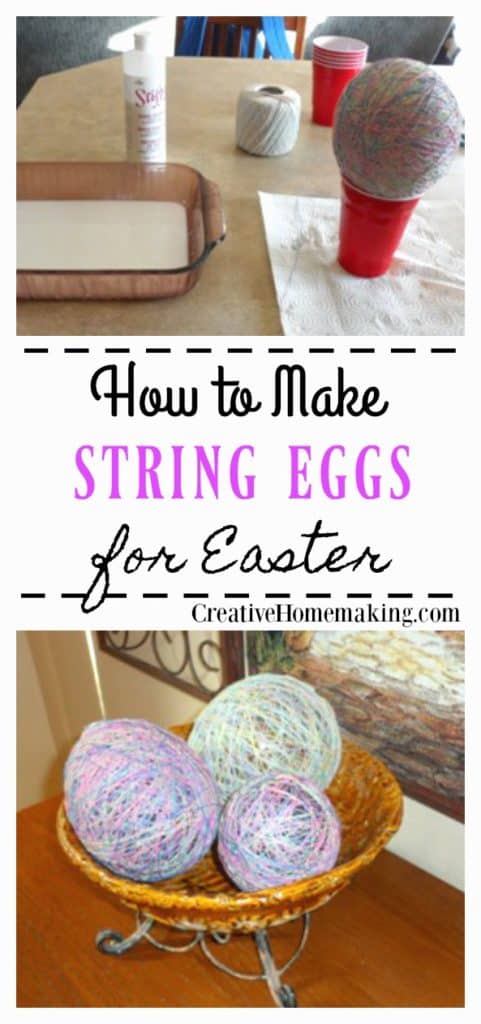
When you are happy with how the egg looks, roll the balloon around in the liquid again and place it to dry on the open end of a plastic drinking cup (see photo). They will be dry in about 12 hours.
You might have to turn them once to get both ends to dry. If any loose ends are sticking out, keep pressing them down until they start to dry.
I just went to check on mine every half hour or so until they started to dry. After they are completely dry you can trim strings that are sticking out or in the wrong place.
When the string is completely dry, hold on to the tied end of the balloon and stick something sharp into the balloon to pop it. The balloon should pull right out.
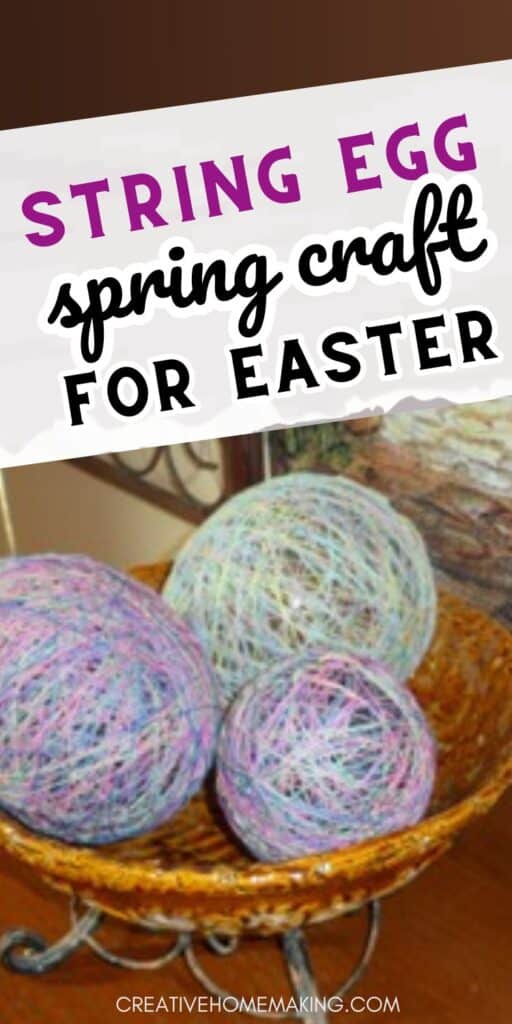
You can display your finished string eggs in a decorative bowl, or hang them in front of a window. You can also use a sharp knife to cut the side out of one of the eggs and create a cute Easter scene inside.
I put some Easter basket grass in one and found some baby chicks to put inside. You can also decorate them with ribbons and bows and use them for decorative Easter baskets.
You need a couple of hours to complete this project. It is messy, but fun, and you will love how they turn out!
Related Easter Articles
- Peeps Pudding Cups
- Colored Deviled Eggs for Easter
- Easy Plastic Egg Wreath for Easter
- Easter Egg Games for Kids
- Easy Easter Baskets by Age
- Glow in the Dark Easter Egg Hunt
Follow my Easter Recipes & Crafts board on Pinterest.


