This post may contain affiliate links.
If you grow a lot of squash in your garden during the summer, you might be wondering what to do with all of it! You can definitely consider canning it, but there are first some things you need to know about canning squash.
There are a lot of different varieties of squash, and some of them can be canned, and some can’t. In general, you shouldn’t can zucchini and summer squash.
Canning Expertise: Rachel Paxton is a certified Master Home Food Preserver with over 25 years of hands-on experience in safe home canning and food preservation.
Instead of canning summer squash, the USDA recommends to freeze, pickle, or dry it in your food dehydrator. Never tried pickled squash? Here’s my recipe for canning pickled zucchini and yellow squash. It’s really good! Did you know you can also pickle red onions, cherry tomatoes and green beans?
Want to try making your own jelly at home?
Get my free guide with 8 easy, beginner-friendly jelly recipes you can confidently make.
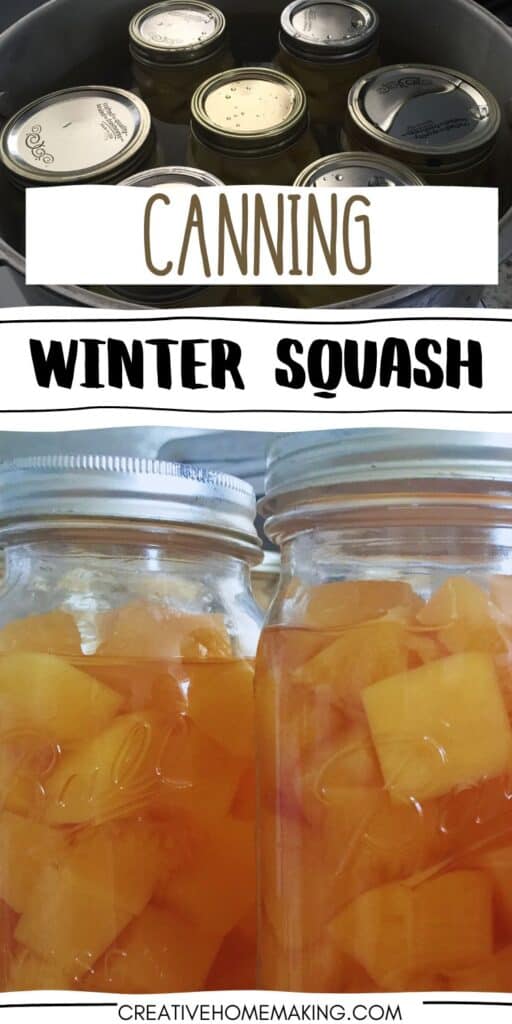
Most winter squash is safe to can with a pressure canner. It is recommended and safe to can stringless winter squash (like acorn and butternut squash) and pumpkins.
According to the University of Minnesota Extension, it is not recommended to can squash that has strings (like spaghetti squash), mashed squash, or squash puree, or any kind of canned soup containing squash or pumpkin because it is too thick for the heat to penetrate in order to completely be effective in killing any botulism bacteria that may be present. Any kind of squash or pumpkin also must be canned in a pressure canner (unless it is pickled).
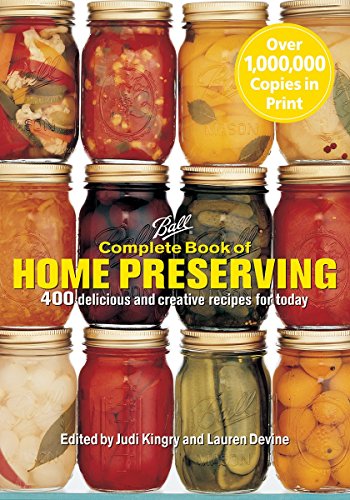
Ball Complete Book of Home Preserving The Amish Canning Cookbook: Plain and Simple Living at Its Homemade BestDIY Pickling: Step-By-Step Recipes for Fermented, Fresh, and Quick Pickles


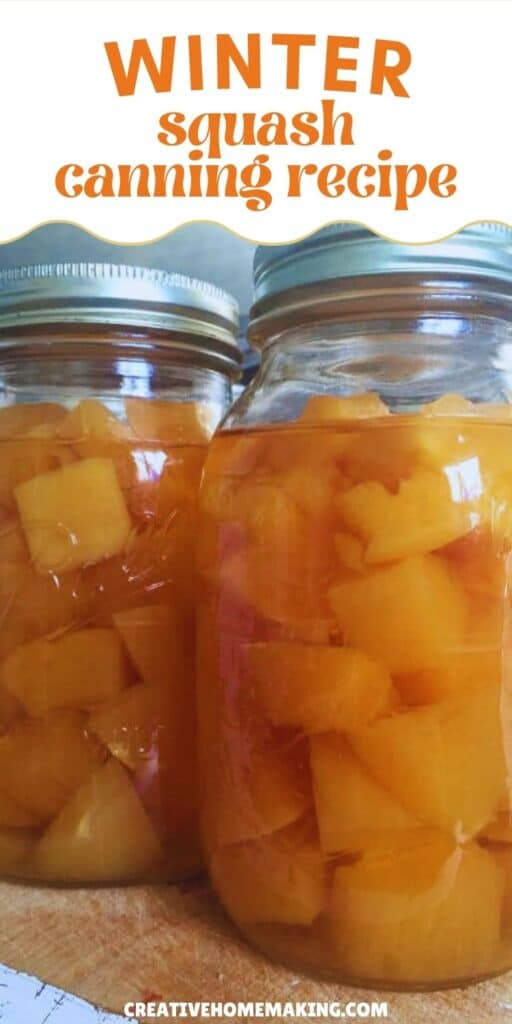
Winter Squash Canning Recipe
Ingredients:
- 2-3 medium winter squash
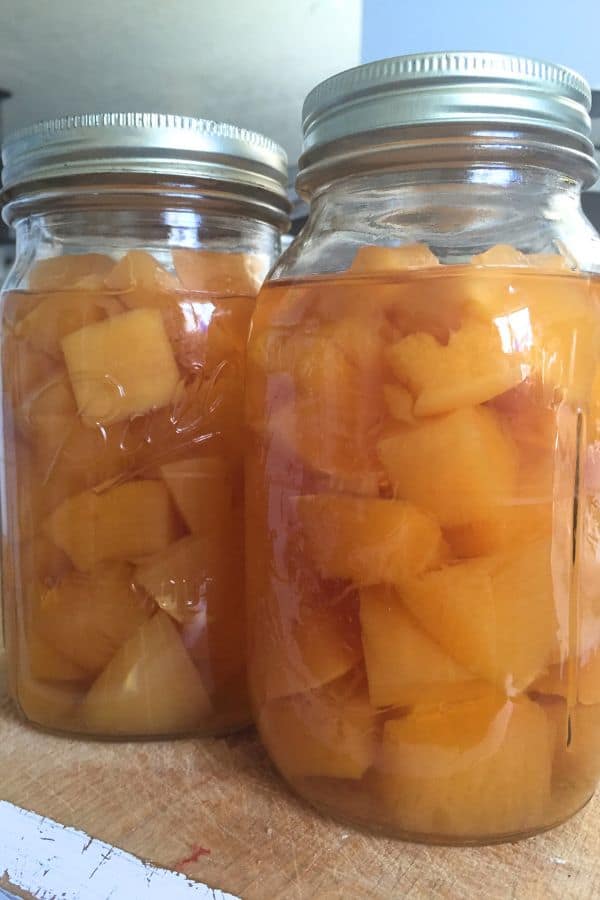
Cut the winter squash into halves. Scoop out the seeds with a metal spoon. Peel the skins off of the squash with a potato peeler, and chop squash into small cubes.
Place the chopped squash into a large stock pot and cover the squash with water. Boil for 2 minutes to heat the squash all the way through. While the squash is boiling, sterilize your canning jars, lids, and rings. I sterilize my canning jars by running them through a quick rinse in the dishwasher.
Place 1-2 inches of water in your pressure canner and place the canner on the stove to heat the water.
Ladle the heated squash into sterilized canning jars. Fill jars with boiling water, leaving 1 inch head space. You can easily measure the head space with this inexpensive canning funnel.
Wipe rims of jars, and put the sterilized lids and rings on the jars.
Place the jars into the pressure canner and process them in the pressure canner at 10 pounds pressure for 55 minutes for pints and 90 minutes for quarts.
After the pressure has released from the pressure canner, remove the jars from the pressure canner and place them on a towel on the kitchen counter until they are completely cooled.
Jars may seal in the canner, but sometimes they seal as they cool. After the jars have cooled, press down on the center of the lids to see if the lids have sealed. If you have a jar that didn’t seal, place it in the refrigerator and use it in the next week or two. You can store sealed jars for 1-2 years.
Yield: 4 quarts or 8 pints
Follow my canning and preserving board on Pinterest.