How to Can Pear Jelly
This post may contain affiliate links.
Homemade jelly is always such a treat, and this easy pear jelly is no exception. It is one of my favorite jelly recipes! If you’ve never made jelly before, it’s really easy if you have the right equipment. I will walk you through the jelly making process step by step and you’ll be making this homemade pear jelly in no time.
To make jelly, you cook the fruit to remove the juice from the fruit pulp, and then strain the juice from the pulp with a jelly straining bag. You use the juice to then make the jelly.
Related Article: Best Pears for Baking: Top Varieties You Need to Try
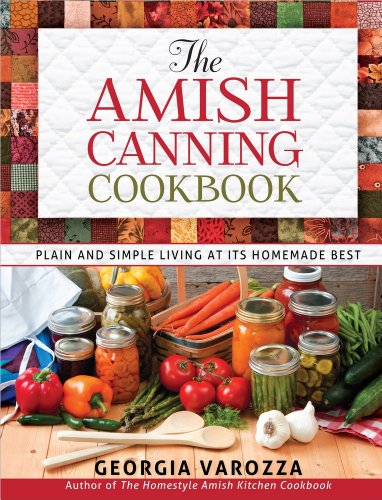
Ball Complete Book of Home Preserving The Amish Canning Cookbook: Plain and Simple Living at Its Homemade Best
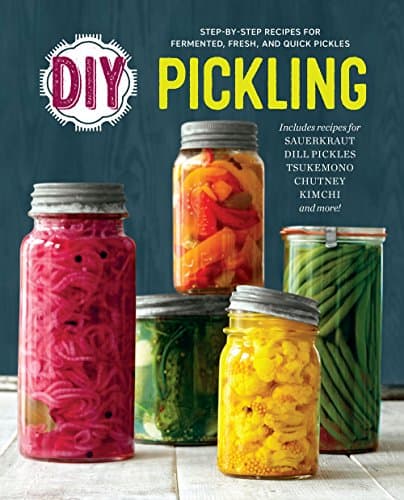
 DIY Pickling: Step-By-Step Recipes for Fermented, Fresh, and Quick Pickles
You can make homemade jelly from all different kinds of fruit juices. The juice from any kind of your favorite fruit can be used, or if you don’t have any access to fresh fruit you can even use store-bought juice to make jelly.
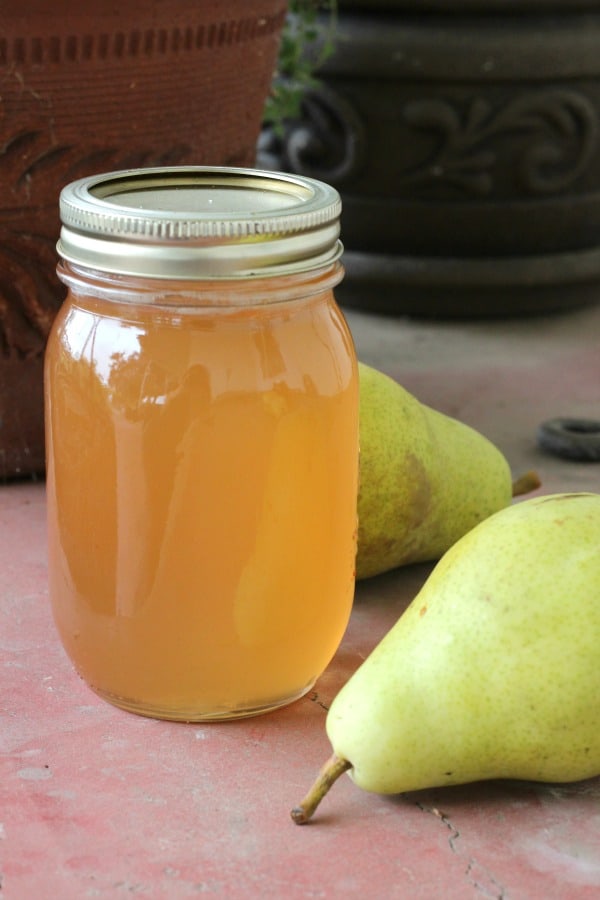
Pear Jelly Recipe
Ingredients:
- 12 c. pears, peeled and chopped
- 2 tbsp. lemon juice
- 1 package powdered pectin
- 5 1/2 c. sugar
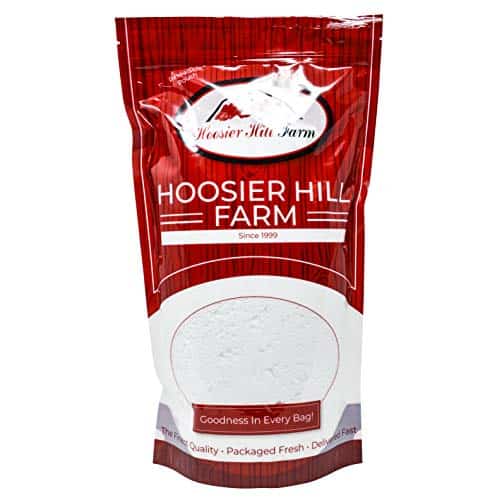
Note: If you are going to make a lot of jam and/or jelly, then you HAVE to try this powdered pectin that you can buy in bulk from Amazon. Six tablespoons of this pectin is the equivalent to one box of Suregel pectin. This is the ONLY way to buy pectin inexpensively if you are going to buy a lot of it (like I do!).
Related Article: How to Quickly Ripen Pears
Hoosier Hill Fruit Pectin, 2 lb bag
To make this jelly, first you will need to cook the pears and extract the juice from them.
Place the peeled and chopped pears in a large stock pot. You can just roughly chop the pears. You just want to be able to cook them quickly until they are soft so that you can extract the juice from them.
Related Article: Best Pears for Canning: A Guide to the Juiciest and Most Flavorful Varieties
Place about 2 cups of water in the pan with the pears so that the pears will not stick to the bottom of the pot.
Cook the pears on medium heat until the pears are soft, about 20-30 minutes. Mash the pears with a potato masher to extract some more of the juice.
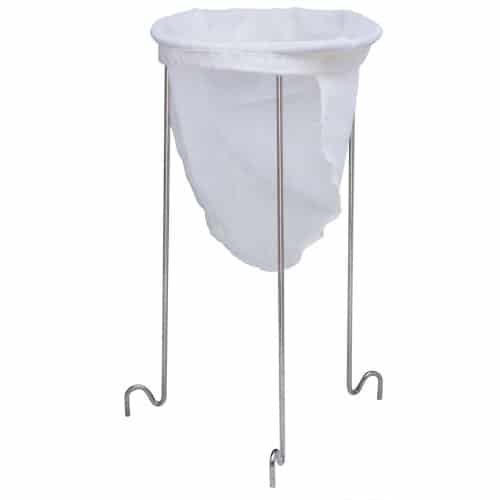
Remove the pan from the heat and pour the pear mixture, liquid and all, through a jelly strainer bag. Resist the temptation to squeeze the jelly bag so that none of the pear pulp will go through the bag into the juice.
It’s okay to have some of the pulp in the juice, it will not hurt anything, but your jelly won’t be as clear.
Measure the pear juice. You need 4 cups of juice to make this pear jelly. If you have too much pear juice, pour the extra out, and if you don’t have enough juice, add a little water to make up the difference.
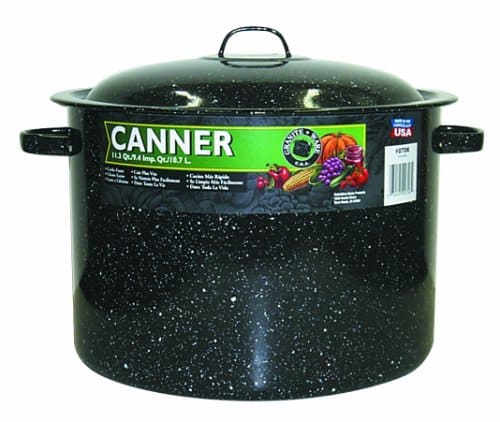
Norpro Jelly Strainer Stand with Bag Granite Ware Covered Preserving Canner with Rack, 12-Quart
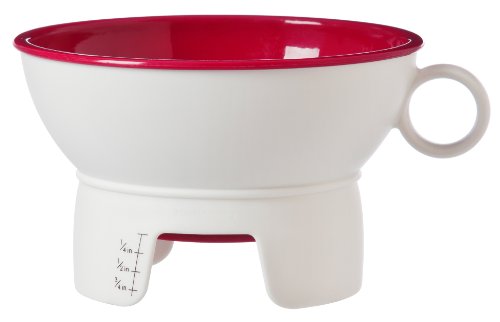
 Prepworks by Progressive Canning Funnel for Regular and Wide Mouth Jars
Canning Directions
Sterilize 3 pint jars or 6 half pint jars, rings, and lids. I sterilize mine by running them through a quick cycle in the dishwasher and leave them in there until I am ready to use them.
Fill a boiling water canner about half way full with water and bring the water to a boil.
Wash out your stock pot and place the 4 cups of pear juice to the pot. Stir in lemon juice and powdered pectin.
Bring the mixture to a boil that cannot be stirred down.
Add the sugar all at once, and stir until the sugar is dissolved. Bring mixture to a boil that cannot be stirred down, and boil for 1 minute. Remove pan from the heat.
Use a metal spoon to skim any foam off of the top of the jelly.
Pour the hot jelly into the sterilized jars, leaving 1/4 inch head space. You can easily measure the head space with this inexpensive canning funnel.
Wipe the rims of the jars with a wet paper towel or kitchen towel. Place the lids and rings on the jars finger tight.
Place the jars in the canner, and make sure that there is at least an inch of water above the jars. Bring the water to a boil.
Process the jars in boiling water canner for 10 minutes. Remove the jars from the canner and place them on a towel on the kitchen counter to cool.
You can store the sealed jars in the pantry for 1-2 years. If you have any jars that didn’t seal, place them in the refrigerator to eat in the next month or two.
Jelly can sometimes take a day or two to set completely, so if your jelly doesn’t look set, let the jars sit for a couple of days without moving them.
If after a week it still isn’t set, here is what to do if your jelly doesn’t set.
Yield 3 pints or 6 half pints
Did you like this recipe? You might also like these recipes for pear butter or ginger pear jam.
Related Jelly Recipes
- Mountain Dew Jelly
- Raspberry Jelly
- Rhubarb Jelly
- Mandarin Orange Jelly
- Strawberry Jelly
- Dandelion Jelly
- Rose Petal Jelly
- Apricot Jelly
- Grape Jelly
- Plum Jelly
- Watermelon Jelly
- Chokecherry Jelly
- Blackberry Jelly
- Pomegranate Jelly
- Lilac jelly
Follow my canning and preserving board on Pinterest.
In case you missed it:


This was our first year at canning pears from our yard – this recipe is very delicious! The only things different that I did was mix my pectin with 1/4 cup sugar and stir till dissolved then added the remaining sugar – I also only used 4 cups sugar and was SOOOOO delicious! Thank you for this recipe –
Note – I also kept the pulp and found a recipe for Amish pear bread! Can’t wait!
Could I add some hot peppers to this recipe? Or can you suggest how to make pepper JELLY using pear juice?
Hi, I know your comment is a couple years old now but did you find your answer to this? I’m curious as well. Thanks!
Could I use a sugar alternative instead of regular sugar?