
This post may contain affiliate links.
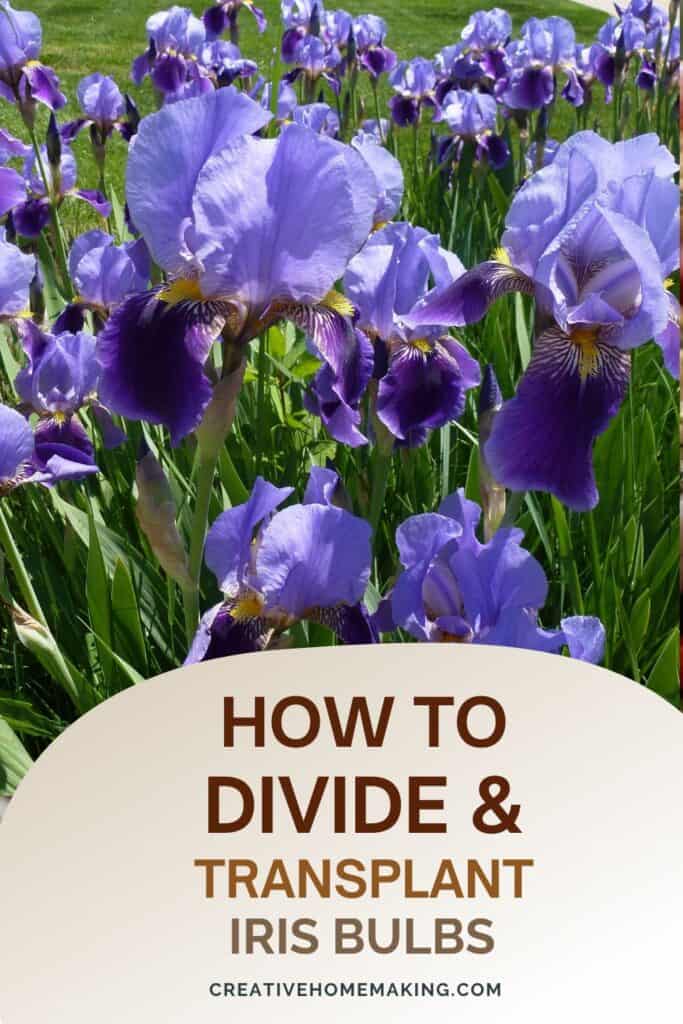
Are you looking to add some color and beauty to your garden? Irises are a great option for those looking to brighten up their outdoor space. If you already have irises in your garden, you may be wondering how to divide and transplant iris bulbs to create more blooms.
Dividing and transplanting iris bulbs is a simple process that can be done in just a few steps. By dividing the bulbs, you can create new plants and spread the beauty of irises to other areas of your garden.
Related Article: How to Store Iris Bulbs: Simple and Effective Tips
Want to try making your own jelly at home?
Get my free guide with 8 easy, beginner-friendly jelly recipes you can confidently make.
When to Divide Iris Bulbs
Dividing iris bulbs is an essential task to keep your plants healthy and blooming. But when is the best time to do it?
The ideal time to divide iris bulbs is in the late summer, just a few weeks after they have finished blooming. This is when the plants are in their dormant phase, and they are ready to be moved to a new location or separated into smaller clumps.
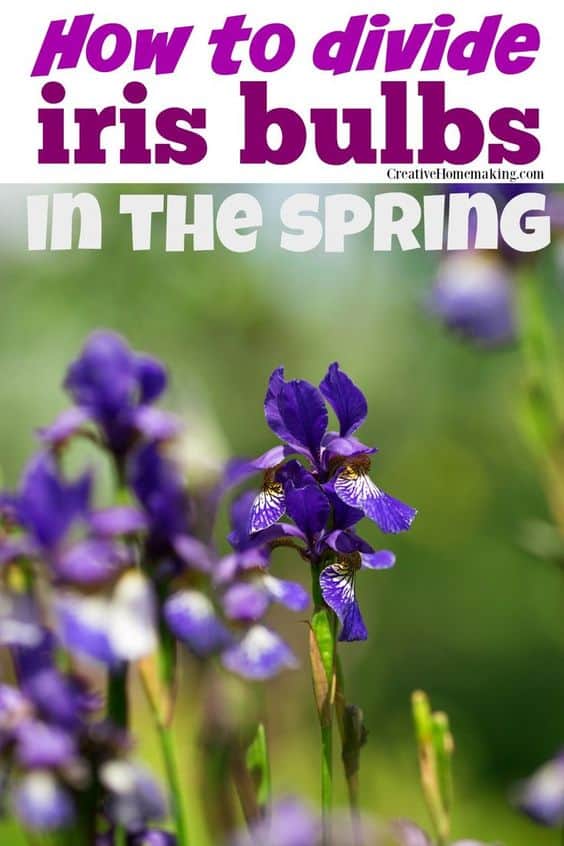
If you miss the late summer window, you can also divide iris bulbs in the early spring before they start to grow again. However, this is not the best time to do it because the plants are just starting to come out of their dormant phase, and they may not recover as quickly as they would in the late summer.
Related Article: Growing Daffodils in Pots: Tips and Tricks for a Beautiful Display
It’s important to note that you should not divide iris bulbs in the fall. This is because the plants are still growing, and dividing them at this time can damage their roots and reduce their chances of survival.
In general, you should divide iris bulbs every three to five years to keep them healthy and blooming. However, if you notice that your plants are overcrowded or not blooming as well as they used to, you may need to divide them more frequently.
By dividing your iris bulbs at the right time, you can ensure that your plants stay healthy and vibrant for years to come.
Related Article: How to Transplant Raspberries: A Step-by-Step Guide
Preparing to Divide Iris Bulbs
Dividing and transplanting iris bulbs is an easy and rewarding way to multiply your garden’s beauty. Before you start, there are a few things you need to do to prepare.
Inspecting for Pests and Diseases
Before dividing your iris bulbs, it’s important to inspect them for any signs of pests or diseases. Look for any insect damage, such as holes in the leaves or chewed-up rhizomes. If you find any, treat the bulbs with an appropriate insecticide or fungicide before dividing them.
Related Article: The Ultimate Guide to Transplanting Rhubarb
Digging Up Iris Bulbs
When it comes to dividing and transplanting iris bulbs, the first step is to dig them up. This can be done using a shovel or spade, or a fork. Here’s how to do it:
Using a Shovel or Spade
- Start by digging a circle around the clump of iris bulbs, about 6 inches away from the base of the plants. Make sure to dig deep enough to get under the entire clump.
- Once you’ve dug all the way around, use the shovel or spade to gently lift the clump out of the ground. Be careful not to damage the bulbs or rhizomes.
- If the clump is too large to handle, you can use the shovel or spade to divide it into smaller sections. Simply cut through the clump with the shovel or spade, making sure to keep each section intact.
Related Article: Pruning Raspberries in the Spring: A Step by Step Guide

Using a Fork
- Insert the fork into the soil about 6 inches away from the base of the iris clump.
- Gently rock the fork back and forth to loosen the soil around the bulbs.
- Once the soil is loose, use the fork to lift the clump out of the ground. Be careful not to damage the bulbs or rhizomes.
- If the clump is too large to handle, you can use the fork to divide it into smaller sections. Simply insert the fork into the clump and gently pry it apart.
No matter which method you use, it’s important to dig up iris bulbs when they become overcrowded or overgrown. This will help to promote healthier growth and more abundant blooms.
Related Article: Trimming or Pruning a Rhododendron
Dividing Iris Bulbs
If your iris plants have become overcrowded or you want to propagate them, it’s time to divide and transplant them. Dividing iris bulbs is a simple process that can be done in just a few steps. In this section, we’ll guide you through the process of dividing both bearded and Siberian iris bulbs.
Step-by-Step Guide
Here’s a step-by-step guide to dividing iris bulbs:
- Dig up the iris clump: Use a spade or fork to gently lift the clump of iris plants out of the ground. Be sure to dig deep enough to avoid damaging the fleshy rhizomes.
- Separate the rhizomes: Once you have the clump out of the ground, carefully separate the fleshy rhizomes from each other. You can do this by gently pulling them apart or by using a sharp knife to cut them.
- Trim the foliage: Cut the leaves back to about 6 inches to reduce stress on the plant.
- Replant: Replant the rhizomes at the same depth they were originally planted, with the top of the rhizome just above the soil level.
- Water: Water the newly transplanted iris well to help them establish.
Related Article: Irises Not Blooming: Possible Reasons and Solutions
Dividing Bearded Iris
Bearded iris is the most commonly grown iris and is known for its showy flowers. Here’s how to divide bearded iris:
- Wait until after flowering: The best time to divide bearded iris is in late summer after flowering has finished.
- Lift the clump: Lift the clump of iris out of the ground, being careful not to damage the rhizomes.
- Separate the rhizomes: Gently separate the rhizomes from each other, making sure each division has at least one healthy fan of leaves.
- Replant: Replant the divisions at the same depth they were originally planted.
Dividing Siberian Iris
Siberian iris is a hardy and low-maintenance plant that is perfect for beginners. Here’s how to divide Siberian iris:
- Wait until early spring or late summer: The best time to divide Siberian iris is in early spring or late summer.
- Lift the clump: Lift the clump of iris out of the ground, being careful not to damage the rhizomes.
- Separate the rhizomes: Gently separate the rhizomes from each other, making sure each division has at least one healthy fan of leaves.
- Replant: Replant the divisions at the same depth they were originally planted.
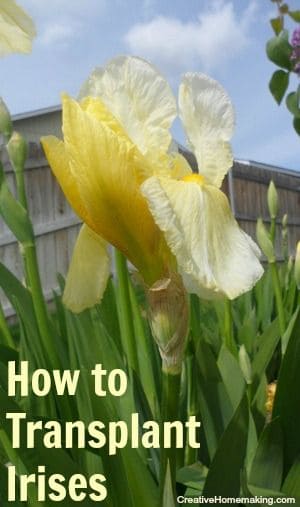
Transplanting Iris Bulbs
Transplanting iris bulbs is a simple process that can be done in just a few steps. Whether you are moving them to a new location or dividing and transplanting existing plants, these tips will help you get the job done right.
Related Article: How to Divide Daylilies
Preparing the Planting Hole
Before you start transplanting iris bulbs, you need to prepare the planting hole. Make sure to choose a location with well-draining soil and the right amount of sunlight. Irises prefer full sun, but they can also tolerate some shade.
To prepare the planting hole, dig a hole that is about twice the size of the iris rhizome. Add some compost or peat moss to the soil to improve drainage and fertility. Check the pH of the soil with an inexpensive soil PH meter and adjust it if necessary, as irises prefer a slightly acidic soil with a pH between 6.0 and 7.0.
Related Article: How to Transplant Aloe Vera: A Beginner’s Guide
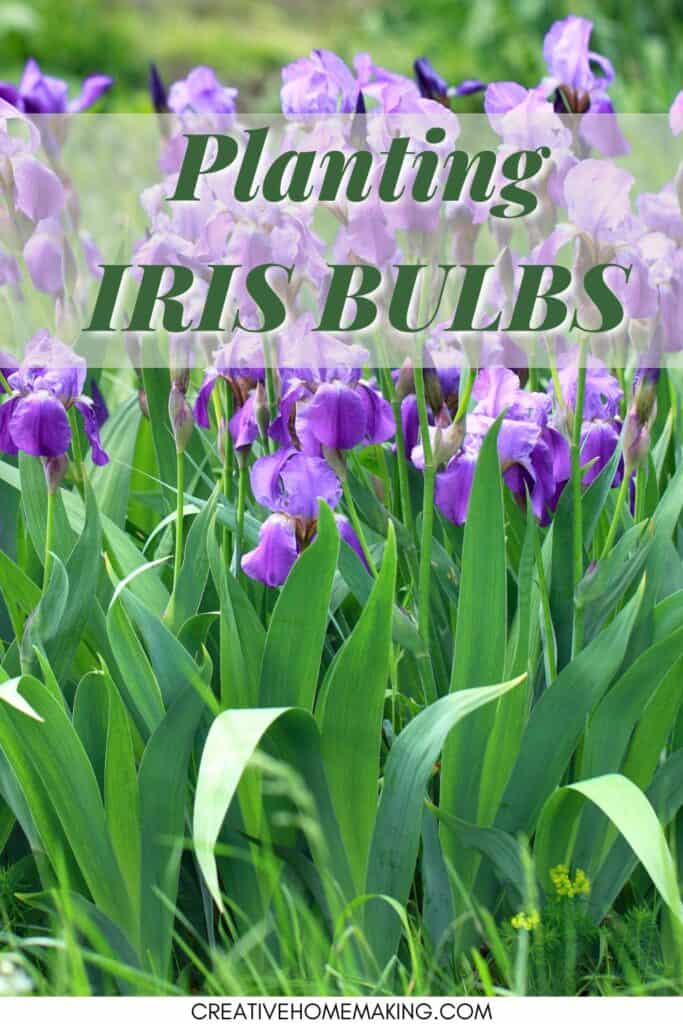
Planting the Iris Bulbs
Once you have prepared the planting hole, it’s time to plant the iris bulbs. Place the rhizome in the hole with the roots facing downwards and the top of the rhizome just below the soil surface. Space the bulbs about 10 inches apart to allow for proper growth and air circulation.
Cover the bulbs with soil and gently firm it down to remove any air pockets. Water the area well to help settle the soil and encourage root growth.
Watering and Mulching
After you transplant irises, it’s important to keep the soil moist but not waterlogged. Water the area deeply once a week, or more often during hot and dry weather. Avoid getting water on the leaves, as this can promote disease.
Mulching around the iris bulbs can help retain moisture and regulate soil temperature. Use a layer of organic mulch, such as shredded leaves or bark chips, and avoid using rocks or gravel, as they can reflect heat and dry out the soil.
Caring for Transplanted Iris Bulbs
Supporting the New Growth
After you transplant irises, they may need some support to help them grow. You can use stakes or cages to keep the leaves and flowers from bending or breaking. Be sure to place the stakes or cages around the plants early in the growing season, so they have time to grow up through them.
Fertilizing
To ensure your transplanted iris bulbs have all the nutrients they need, it’s a good idea to fertilize them. Fertilize your iris bulbs twice a year, once in the spring and once in the fall. Use a balanced fertilizer with an N-P-K ratio of 10-10-10 or 5-10-10. Apply the fertilizer around the base of the plants and water thoroughly.
Replanting Iris Bulbs
Your transplanted iris bulbs will need to be replanted every few years to keep them healthy and blooming. The best time to replant iris bulbs is in the late summer or early fall, after the growing season is over. To replant, dig up the bulbs and separate them into clumps. Discard any damaged or diseased bulbs. Replant the healthy bulbs in a new location, following the same steps you used for transplanting.
Related Article: How to Transplant Hollyhocks
Remember to keep an eye on your transplanted iris bulbs during the growing season. Water them regularly, especially during dry spells, and remove any dead or damaged leaves or flowers. With proper care, your transplanted iris bulbs will reward you with beautiful blooms in a variety of colors.
Frequently Asked Questions
Can iris bulbs be transplanted in winter?
It is not recommended to transplant iris bulbs in winter. The cold weather can damage the roots and rhizomes, making it difficult for them to establish new growth. It is best to wait until late summer or early fall when the plants are dormant and the weather is mild.
Related Article: How to Grow Asters
Is it okay to dig up iris bulbs now?
If you need to dig up iris bulbs now, it is possible, but it is not the ideal time. The best time to dig up iris bulbs is in late summer or early fall when the plants are dormant. However, if you need to move them now, be sure to water them well before and after transplanting to help reduce stress on the plants.
How long can iris rhizomes stay out of the ground?
Iris rhizomes can stay out of the ground for a few hours without any harm, but it is best to replant them as soon as possible. If you need to store them for a longer period of time, keep them in a cool, dry place and make sure they are not exposed to direct sunlight.
Related Gardening Articles
- The Best Shade Plants for a Shady Side of a House
- 10 Frequently Asked Questions on Planting Tulip Bulbs
- How to Grow Hyacinths
- Planting Guide for Hostas
Follow my gardening board on Pinterest.


Can iris bulbs be kept over the winter and planted in the spring?
Really appreciate the concise guide on how to separate and plant Iris bulbs!