This post may contain affiliate links.
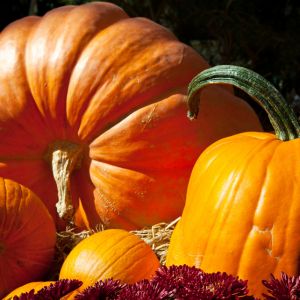
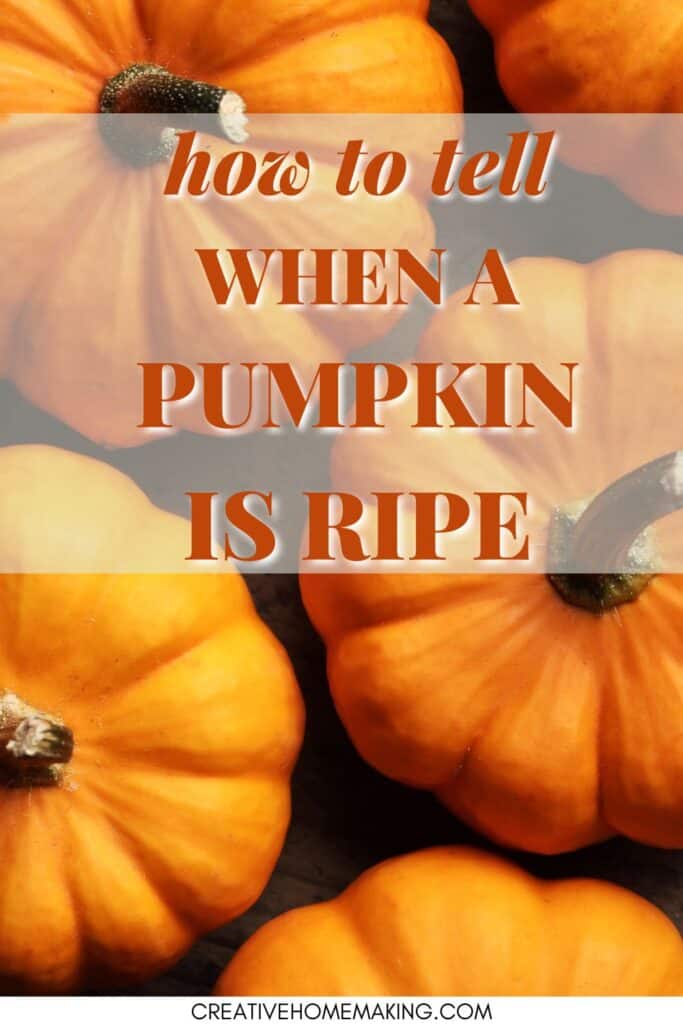
As you eagerly await the arrival of autumn, one of the most exciting things to look forward to is the harvest of your pumpkins. Whether you’re growing them for decoration, carving, or culinary purposes, knowing how to tell when a pumpkin is ripe and ready is essential. But determining the perfect time to pluck these orange beauties from the vine can be a bit tricky.
There are several indicators you can look for to ensure your pumpkins are at their prime. Color, texture, and sound are a few of these telltale signs. It’s important to carefully observe each aspect and keep in mind that not all pumpkins ripen the same way.
While some may turn a deep orange color when ripe, others might remain green. You’ll soon be able to expertly identify the perfect time to harvest your prized pumpkins!
Want to try making your own jelly at home?
Get my free guide with 8 easy, beginner-friendly jelly recipes you can confidently make.
Related Article: Growing Huge Pumpkins: Tips and Tricks for a Bountiful Harvest
Recognizing a Ripe Pumpkin
Color Change
The first step in knowing if your pumpkin is ripe is to check its color. A ripe pumpkin typically has a deep orange or deep-orange color.
However, it’s important to note that some varieties of pumpkins can be ripe when they are still completely green. If you see only a few green spots, it’s best to leave the pumpkin for a couple more weeks to fully ripen.
Related Article: When to Plant Pumpkins for Optimal Growth and Harvest Timing
Hard Skin
Another indicator of a ripe pumpkin is its skin. A ripe pumpkin has hard and firm skin that is difficult to puncture. To test the skin, gently push your thumbnail into the rind; it should dent but not puncture the skin. If you can easily puncture the skin with your fingernail, your pumpkin is not yet ripe.
Hollow Sound
When you give a ripe pumpkin a gentle thump, it should produce a hollow sound. This sound indicates that the pumpkin has reached maturity and is ready to be picked. If the sound is not hollow, it’s best to wait a bit longer for the pumpkin to ripen.
Pumpkin Stem
A ripe pumpkin will have a hard and firm stem. Just like the skin, you can test the stem’s firmness with your fingernail. The stem should not be easy to puncture or break. A hard stem is a reliable sign of a ripe pumpkin.
Harvesting Pumpkins
When to Harvest
Determining when to harvest pumpkins can be a bit tricky, as some pumpkins don’t need to be fully orange to be ripe. However, there are a few indicators to help you figure out the best time to pick pumpkins from your garden.
Firstly, check the color; if it’s mostly orange, it’s likely ripe. Another clue is the hardness of the rind; try poking your fingernail into it, and if it doesn’t puncture easily, the pumpkin is ready for harvesting.
Related Article: How to Make Pumpkin Butter
Proper Harvesting Technique
Once you’ve determined that your pumpkins are ripe and ready to be picked, it’s important to use proper techniques to prevent damage.
- Choose a sunny and dry day to harvest your pumpkins, as this will keep them and yourself in the best condition.
- Locate the perfect pumpkin and examine the stem attached to it. Ensure that it’s healthy and connected to the pumpkin vine.
- With a pair of sharp hand pruners or a knife, cut the stem leaving 3-4 inches attached to the pumpkin. If possible, try to leave 6 inches of stem for even better results.
Remember to be careful when handling the pumpkin vines, as they can be prickly.
Related Article: Easy Pumpkin Centerpiece
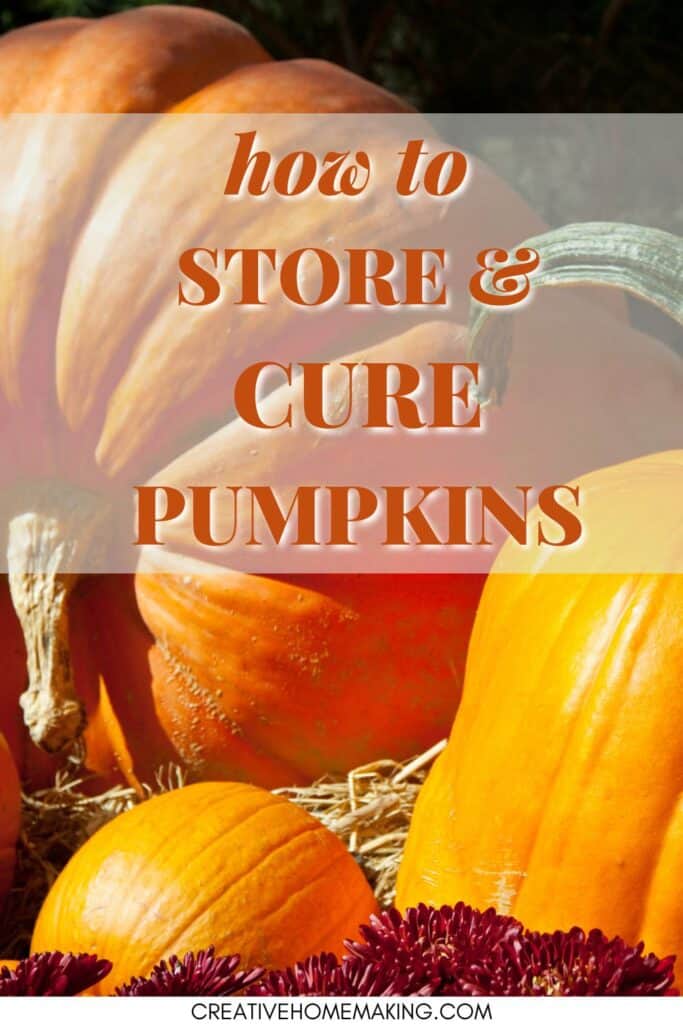
Storing Pumpkins
Proper storage plays a crucial role in extending the shelf life of your harvested pumpkins. Here are some tips for storing pumpkins:
- After harvesting, let the pumpkins sit in the sun for a few days to cure. This helps to harden their rinds, protecting them from rot.
- Store pumpkins in a cool and dry area, ideally on top of a sheet or some hay, to provide some air circulation and prevent rotting.
- Keep your pumpkins separate, ensuring they’re not in direct contact with each other, to prevent the spread of rot.
- Check your stored pumpkins regularly for any signs of rot or damage, and remove any affected ones promptly to protect the rest.
By following these guidelines, you’ll be able to harvest, store, and ultimately, enjoy the fruits of your pumpkin garden for months to come.
Related Article: Best Pumpkin Patches in Washington State
Storing and Curing Pumpkins
Curing Process
Curing your pumpkin plays an essential role in preserving its quality and ensuring that it lasts longer. To start with the curing process, cut the stem with a sharp knife, leaving about 4 inches attached to the pumpkin.
This will minimize the risk of molds or fungal spores developing within the fruit. Brush off any dirt and handle your pumpkin carefully by cupping it in your hands instead of using the stem as a handle.
Place your pumpkin in a dry, warm place, ideally with temperatures between 80-85°F (26-29°C) and 80 to 85 percent humidity. The curing process should last for about 10-14 days, during which the pumpkin’s skin will harden, making it more resistant to rot.
Various Storage Methods
Once the curing process is complete, it’s essential to choose the right storage method to keep your pumpkin fresh and prevent it from decaying. Here are three commonly used storage methods:
- Ethylene Gas Prevention: Place your pumpkin away from fruits that produce ethylene gas, such as apples and bananas. Ethylene gas can speed up the ripening process and lead to spoilage.
- Newspaper or Straw: Put your pumpkin on a layer of newspaper or straw to allow proper air circulation. This will help in maintaining its freshness and preventing it from rotting at the bottom.
- Wire Rack: Another option is placing your pumpkin on a wire rack, which will ensure adequate air circulation and prevent any moisture build-up that may lead to rot.
Once you’ve chosen how you want to store the pumpkin, it’s crucial to regularly check for any signs of rot or damage. If you spot any issues, make sure to remove the affected pumpkin to prevent the problem from spreading to other pumpkins.
Remember that keeping your pumpkins dry and providing them with proper air circulation are key factors in preserving their freshness and prolonging their shelf life. Happy pumpkin storing!
Follow my gardening board on Pinterest.