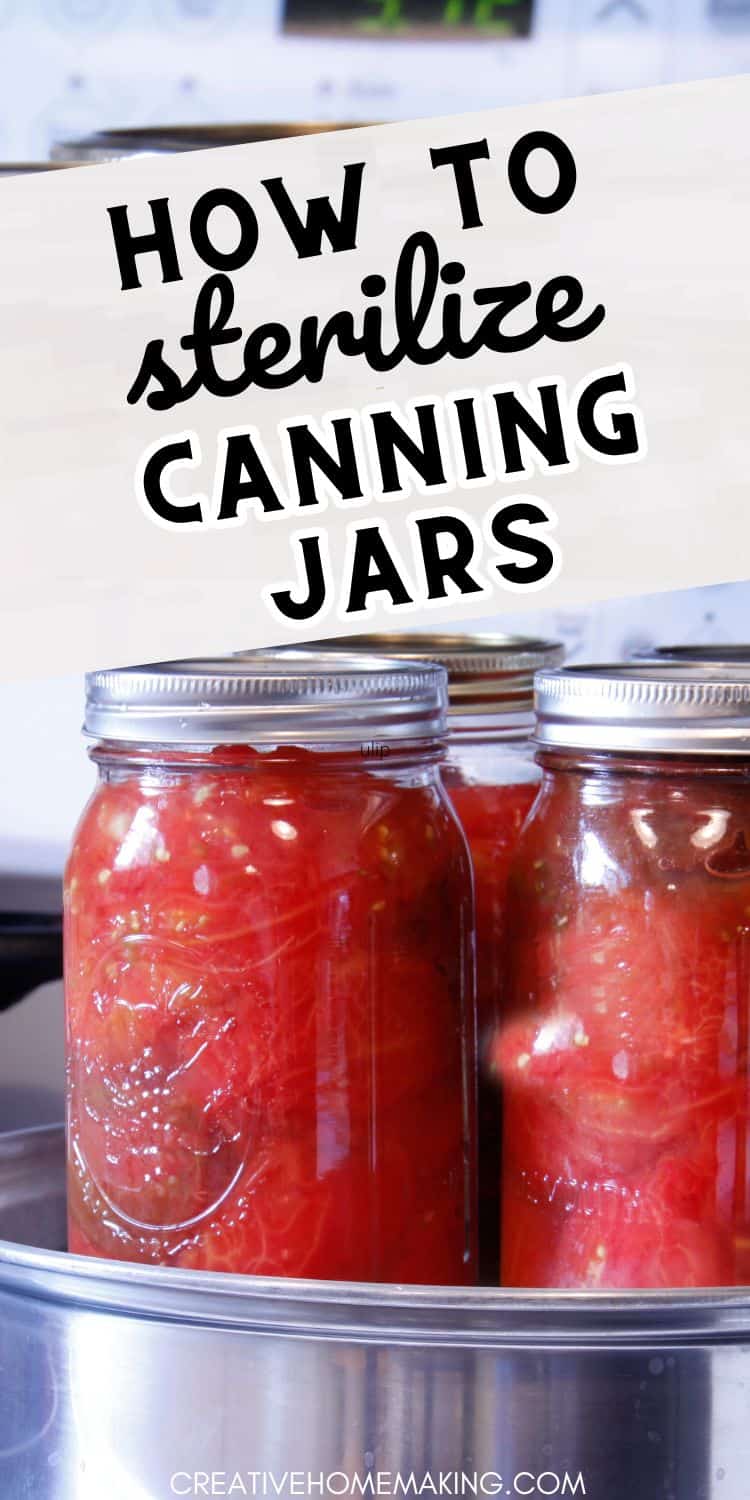
When it comes to home canning, sterilizing your canning jars is a crucial step in the food preservation process. Sterilization ensures that any harmful bacteria or microorganisms are eliminated, which in turn helps to prevent spoilage and foodborne illnesses. While the process may seem daunting, it is actually quite simple and can be done with just a few basic supplies.
This post may contain affiliate links.
To begin, gather your canning jars and wash them thoroughly with hot, soapy water. Rinse them well and place them in a large pot or boiling water canner. Fill the pot with enough water to cover the jars by at least one inch, and bring the water to a boil. Allow the jars to boil for 10 minutes to ensure that they are fully sterilized. If you are at a higher altitude, adjust the boiling time according to your altitude’s guidelines.
Another option for sterilizing your canning jars is to use your dishwasher’s sterilization cycle. Simply load your jars into the dishwasher and run them through a sterilization cycle. This method is especially convenient if you are short on stove space or if you have a large number of jars to sterilize. Regardless of which method you choose, be sure to handle your sterilized jars carefully to avoid recontamination.
Related Article: Canning Beef Stew
Preparing Your Canning Jars
Before you start canning, it is important to prepare your jars properly to ensure that they are clean and free from any cracks or chips. Follow these simple steps to prepare your canning jars for use.
Inspecting Jars for Cracks and Chips
The first step in preparing your canning jars is to inspect them for any cracks or chips. Even a small crack or chip can cause the jar to break during the canning process, ruining your food and potentially causing injury.
To inspect your jars, hold them up to the light and look for any imperfections. If you find any cracks or chips, discard the jar immediately. It is not worth the risk to try and use a damaged jar.
Related Article: Canning Pulled Pork: A Beginner’s Guide
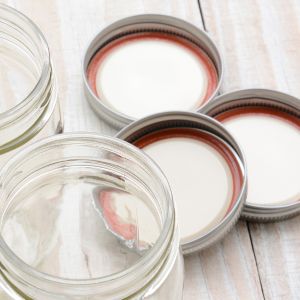
Cleaning Jars and Lids
Once you have inspected your jars and confirmed that they are free from cracks and chips, it is time to clean them. Clean jars are essential to ensure that your food stays safe and fresh.
To clean your jars and lids, start by washing them in hot, soapy water. Use a clean towel to dry them off, making sure to remove any water spots or residue. Alternatively, you can run them through the dishwasher on the hottest setting to sterilize them.
Methods of Sterilizing Jars
When it comes to canning, sterilizing jars is a crucial step that ensures the safety and longevity of your preserved foods. Here are three methods of sterilizing jars that you can choose from:
Boiling Water Method
The boiling water method is the most common way of sterilizing jars. Here’s how to do it:
- Fill a large pot pr boiling water canner with enough water to cover your jars by at least one inch.
- Place the jars in the pot, making sure they are fully submerged and not touching each other.
- Bring the water to a boil and let the jars boil for at least 10 minutes.
- Use tongs to remove the jars from the pot and place them on a clean towel to cool.
Dishwasher Sterilization Method
To sterilize canning jars in the dishwasher, first, disassemble the jars and place them in the dishwasher. Use the hottest setting and a heated drying cycle. Ensure the jars are completely dry before use.
Related Article: 5 Best Salsa Recipes for Canning
Working with the Equipment
When it comes to canning, working with the right equipment is crucial. Here are some tips for working with your canning equipment to ensure that your jars are sterilized properly.
Using a Jar Lifter
When it comes to handling hot jars, a jar lifter is an essential tool. This tool allows you to safely and easily lift jars in and out of your water bath canner or pressure canner. To use a jar lifter, simply place the lifter around the neck of the jar and lift it out of the canner. Be sure to use a jar lifter that is designed for the size of jars you are using.
Handling Sterilized Jars
Once your jars have been sterilized, it’s important to handle them properly to avoid contamination. Use tongs or a jar lifter to remove the jars from the canner, and place them on a clean towel or rack. Avoid touching the inside of the jars or the rims, as this can introduce bacteria. When filling the jars, use a funnel to avoid spilling and to keep the rims clean.
Related Article: Canning Peaches: A Beginner’s Guide
Remember to always follow the manufacturer’s instructions for your canning equipment, whether you’re using a water bath canner or a pressure canner. By working with your equipment properly, you can ensure that your jars are sterilized and your canned goods are safe to eat.
Filling and Sealing the Jars
When it comes to canning, filling and sealing the jars properly is crucial to ensure that your food stays fresh and safe to eat. In this section, we’ll cover the steps involved in filling and sealing your canning jars.
Adding Food to the Jars
Before you start filling your jars, make sure your recipe is ready and your food is prepared. Whether you’re making jams, jellies, preserves, chutney, or any other canning recipe, the process is generally the same. Here’s what you need to do:
- Sterilize your jars, lids, and screw bands according to the manufacturer’s instructions.
- Place the jars on a clean towel or rack, and fill them with your prepared food, leaving the recommended headspace (usually 1/4 to 1/2 inch).
- Use a clean, non-metallic utensil to remove any air bubbles from the jars.
- Wipe the rims of the jars with a clean, damp cloth to remove any food residue or debris.
- Place the lids on the jars, making sure the sealing compound is in contact with the rim of the jar.
- Screw the bands onto the jars until they are fingertip tight.
Securing the Lids and Screw Bands
Once you’ve filled your jars with food and added the lids and screw bands, it’s time to secure them properly. Here are some tips to help you ensure your jars are sealed correctly:
- Don’t overtighten the screw bands, as this can prevent air from escaping during processing and lead to seal failure.
- Make sure the lids are centered on the jars and the sealing compound is in contact with the rim of the jar.
- Use a jar lifter to place your jars in the canner, and make sure they are covered with at least one inch of water.
- Process your jars according to your recipe’s instructions, and let them cool completely before checking the seals.
- To check the seals, press down on the center of the lid. If it doesn’t move, the jar is sealed. If it pops up and down, the jar is not sealed.
By following these steps, you’ll be able to fill and seal your canning jars like a pro, and enjoy your homemade preserves, jams, and other canned goods for months to come.
Processing and Storage
Water Bath and Pressure Canning
Once you have filled your sterilized jars with your homemade preserves, it’s time to process them. You have two options: water bath canning or pressure canning. Water bath canning is suitable for high-acid foods such as fruits, pickles, and tomatoes. Pressure canning is necessary for low-acid foods such as vegetables, meat, and fish.
To water bath can, place your filled jars in a large pot of boiling water. Make sure the jars are fully submerged and that there is at least one inch of water covering the jars. Process the jars according to the recipe’s recommended processing time, adjusting for altitude if necessary.
To pressure can, place your filled jars in a pressure canner with the recommended amount of water. Follow the manufacturer’s instructions for operating the canner and process the jars according to the recipe’s recommended processing time, adjusting for altitude if necessary.
Cooling and Testing Jar Seals
After processing, remove the jars from the canner and place them on a towel to cool. As the jars cool, you will hear a “ping” sound indicating that the jar has sealed. Once the jars have cooled completely, test the seals by pressing down on the center of the lid. If the lid pops up and down, the jar did not seal properly and should be refrigerated and consumed within a few days.
Storing Canned Goods
Properly processed and sealed jars can be stored in a cool, dark place for up to a year. Label each jar with the contents and date of processing for easy identification. Check jars periodically for any signs of spoilage such as mold, off-odors, or discoloration. If you notice any of these signs, discard the contents and sanitize the jar before using it again.
Remember to always follow safe canning practices to ensure the safety and shelf life of your canned goods. Happy canning!
Frequently Asked Questions
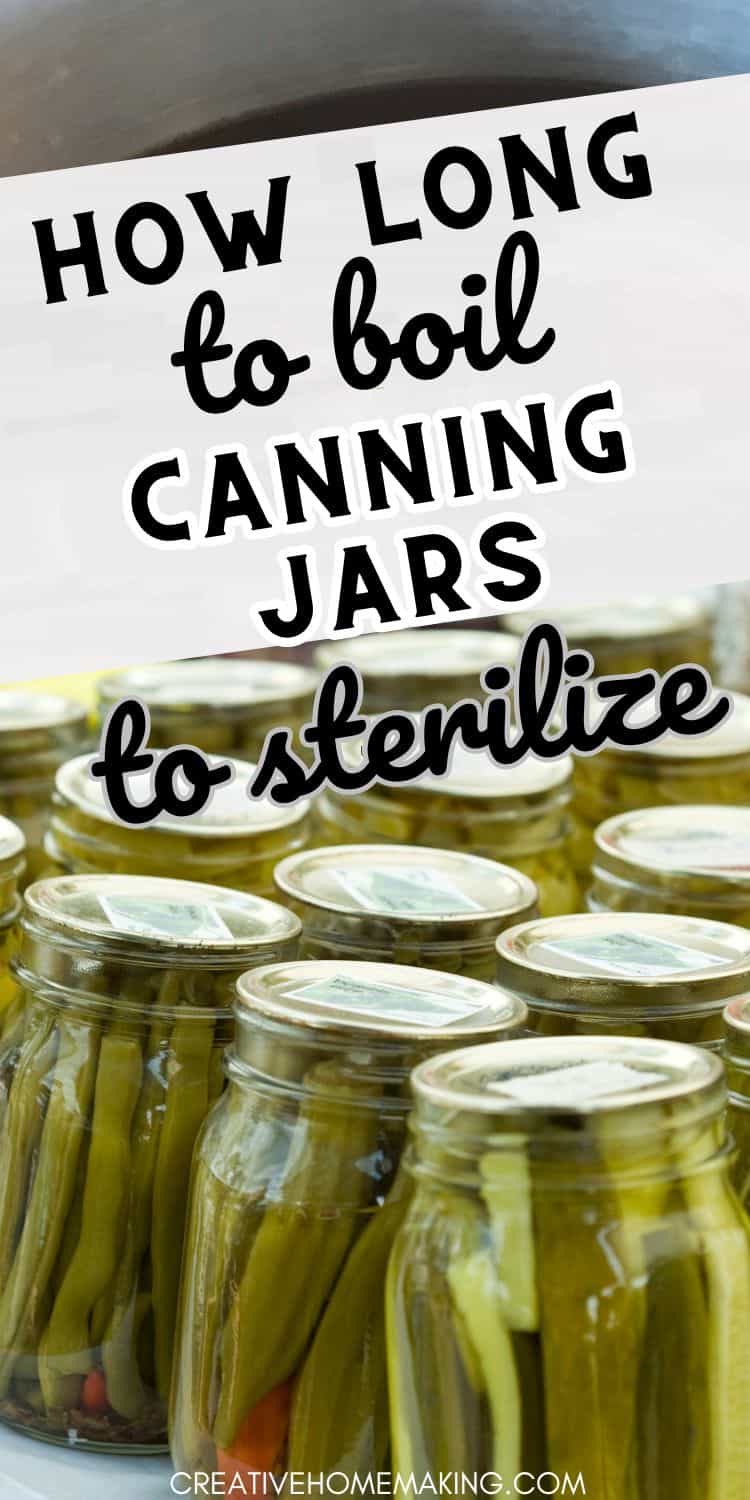
How long to boil canning jars to sterilize?
To sterilize empty jars, put the jars right side up on the rack in a boiling water canner. Fill the canner and jars with hot (not boiling) water to 1 inch above the tops of the jars. Boil jars for 10 minutes.
What is the proper method to sterilize canning jars using boiling water?
To sterilize canning jars using boiling water, you will need to fill a boiling water canner with water and place the jars inside. Bring the water to a boil and let the jars boil for 10 minutes. Afterward, use tongs to carefully remove the jars from the pot and let them cool on a clean towel.
Can I sterilize canning jars in the oven, and if so, how?
No, sterilizing canning jars in an oven is not recommended. The dry heat of an oven is very different than placing jars in boiling water. The oven heat can potentially cause your jars to shatter.
Is it possible to sterilize canning jars without using a canner?
Yes, it is possible to sterilize canning jars without using a canner. You can use a dishwasher to sterilize your jars.
Is it safe to sterilize canning jars in a dishwasher, and what is the process?
Yes, it is safe to sterilize canning jars in a dishwasher. First, make sure the dishwasher is empty and set it to the hottest cycle. Place the jars on the bottom rack and run the dishwasher. Keep jars in dishwasher until ready to fill and process.
Follow my canning and preserving board on Pinterest.

