This post may contain affiliate links.
Are you tired of store-bought jams that are packed with preservatives and artificial flavors?
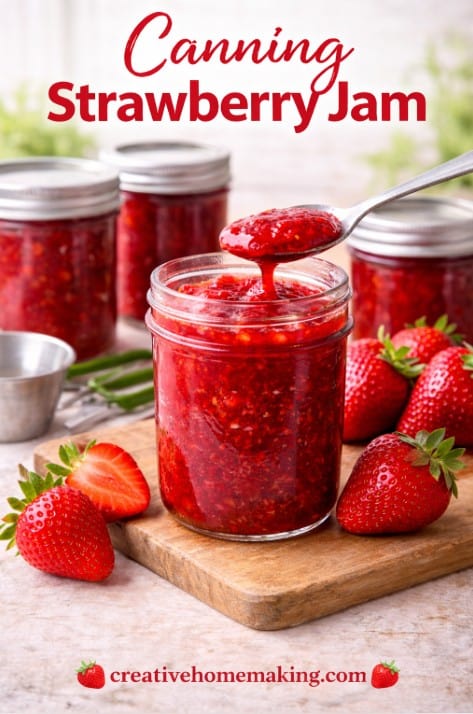
Why not try mIf you’ve ever tasted homemade strawberry jam, you know there’s nothing like it. It’s fresh, simple, and full of real strawberry flavor—without the preservatives found in store-bought jam.
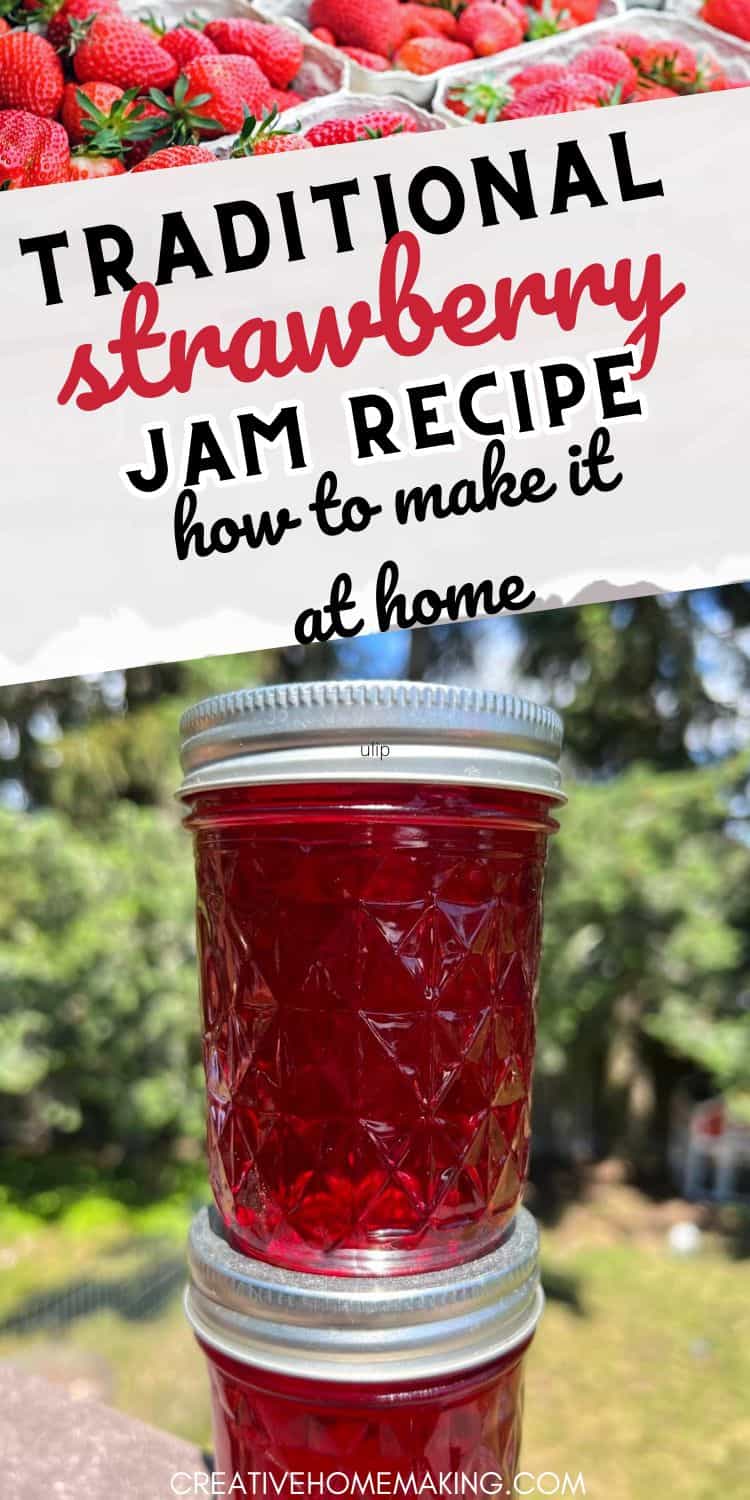
Tap to jump right to recipe.This traditional strawberry jam recipe is easy to make and perfect for preserving fresh strawberries during the peak of the season.
Canning Expertise: Rachel Paxton is a certified Master Home Food Preserver with over 25 years of hands-on experience in safe home canning and food preservation.
Whether you’re new to canning or have been making jam for years, this recipe will give you consistent, delicious results every time.
Want to try making your own jelly at home?
Get my free guide with 8 easy, beginner-friendly jelly recipes you can confidently make.
If you’re working with fresh berries, you may also find this strawberry equivalents chart helpful for measuring.
If you enjoy preserving seasonal ingredients, be sure to browse all of my canning recipes here and my full collection of jam and jelly recipes.
If you’re new to canning, be sure to read my water bath canning for beginners guide and see the canning supplies you need here before getting started.
Why You’ll Love This Recipe
- Stores well for up to a year
- Uses simple, traditional ingredients
- Perfect for beginners
- Great way to preserve fresh strawberries
Ingredients
- 2 pounds fresh strawberries, hulled and sliced
- 4 cups granulated sugar
- 1/4 cup fresh lemon juice
- 1 package powdered fruit pectin
Learn more about how pectin works in jam in my pectin for jam and jelly guide.
Choosing the Best Strawberries
For the best flavor, use fresh, ripe strawberries that are:
- Bright red
- Fragrant
- Firm (not mushy)
Strawberries do not ripen after picking, so always start with ripe fruit.
Equipment Needed
- Large saucepan or stockpot
- Potato masher or fork
- Canning jars and lids
- Jar lifter
- Canning funnel
How to Make Strawberry Jam
Step 1: Prepare the Strawberries
In a large bowl, crush the strawberries using a potato masher or fork.
Step 2: Add Sugar
Stir in the sugar and let the mixture sit for about 10 minutes.
Step 3: Cook the Jam
Transfer the mixture to a large saucepan. Add lemon juice and pectin.
Bring to a full rolling boil over high heat, stirring constantly.
Step 4: Boil
Boil for 1 minute, then remove from heat.
Step 5: Skim Foam
Skim off any foam from the surface using a spoon.
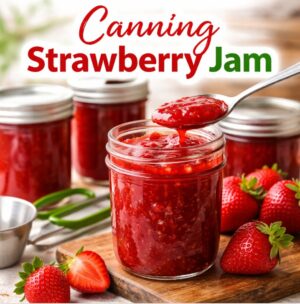
Step 6: Fill Jars
Ladle hot jam into sterilized jars, leaving 1/4 inch headspace.
Wipe rims clean and apply lids.
Water Bath Canning Instructions
Place jars in a boiling water bath canner, ensuring they are covered by at least 1 inch of water.
Process for 10 minutes.
Remove jars and let cool completely.
Not sure about the process? Follow my full water bath canning for beginners guide.
After cooling, learn how to check seals in my how to test jar seals after canning post.
Storage
- Store sealed jars in a cool, dark place for up to 1 year
- Refrigerate after opening and use within 3 weeks
Serving Ideas
Use your homemade strawberry jam:
- On toast, biscuits, or English muffins
- Over pancakes or waffles
- As a topping for ice cream
- In baked goods
More Strawberry Recipes
If you have more strawberries to use up, try:
- Strawberry rhubarb jam
- Strawberry lemonade jam
- Strawberry syrup
- Strawberry rhubarb pie filling
- Easy small batch strawberry jam for beginners
See all of my ideas here: strawberry preserving recipes
Frequently Asked Questions
Can I make strawberry jam without pectin?
Yes, but it requires longer cooking and may result in a softer set. Learn more in my pectin for jam and jelly guide.
Why add lemon juice?
Lemon juice helps balance flavor and allows the pectin to set properly.
How do I know if my jars sealed?
After cooling, check seals using my how to test jar seals after canning guide.
- 2 pounds strawberries hulled and sliced
- 4 cups sugar
- 1/4 cup lemon juice
- 1 package powdered pectin
-
Crush strawberries in a large bowl.
-
Stir in sugar and let sit 10 minutes.
-
Transfer to saucepan and add lemon juice and pectin.
-
Bring to a full rolling boil, stirring constantly.
-
Boil for 1 minute.
-
Remove from heat and skim foam.
-
Ladle into sterilized jars, leaving 1/4 inch headspace.
-
Wipe rims, apply lids, and process in water bath for 10 minutes.
-
Cool completely and check seals.
Use ripe strawberries for best flavor
Do not reduce sugar or jam may not set properly
Always follow proper canning safety guidelines
Follow my canning and preserving board on Pinterest.