This post may contain affiliate links.
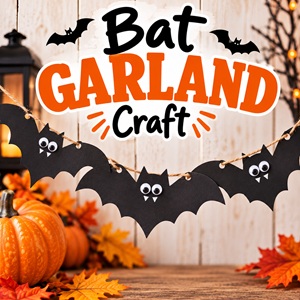
Looking for a simple Halloween decoration you can make with the kids? This bat garland is an easy craft that turns black construction paper into a fun and spooky decoration for your home.
You can make the bats as simple or as detailed as you like, and it’s an inexpensive way to add a little Halloween fun to a mantel, doorway, wall, or window.
What You Need
- Black construction paper or cardstock
- White paper
- Pencil
- Scissors
- Glue
- Black marker
- String, yarn, or twine
- Hole punch
- Optional: googly eyes, white gel pen, or silver marker
How to Make a Bat Garland
1. Make a bat template
Start by drawing a simple bat shape on a piece of paper.
You can make your bat as detailed or as simple as you want. A basic bat shape with two wings and a small body works perfectly.
Cut out the template.
Want to try making your own jelly at home?
Get my free guide with 8 easy, beginner-friendly jelly recipes you can confidently make.
Tip: If you’re making this craft with younger kids, an adult can make the template ahead of time.
2. Trace the bats
Place your bat template on a sheet of black construction paper and trace around it.
Repeat until you have as many bats as you want for your garland.
For a longer garland, you’ll probably want at least 10–15 bats.
3. Cut out the bats
Carefully cut out each bat.
This is a great part of the craft for older kids to help with, although younger children may need help cutting around the wings.
4. Add the faces
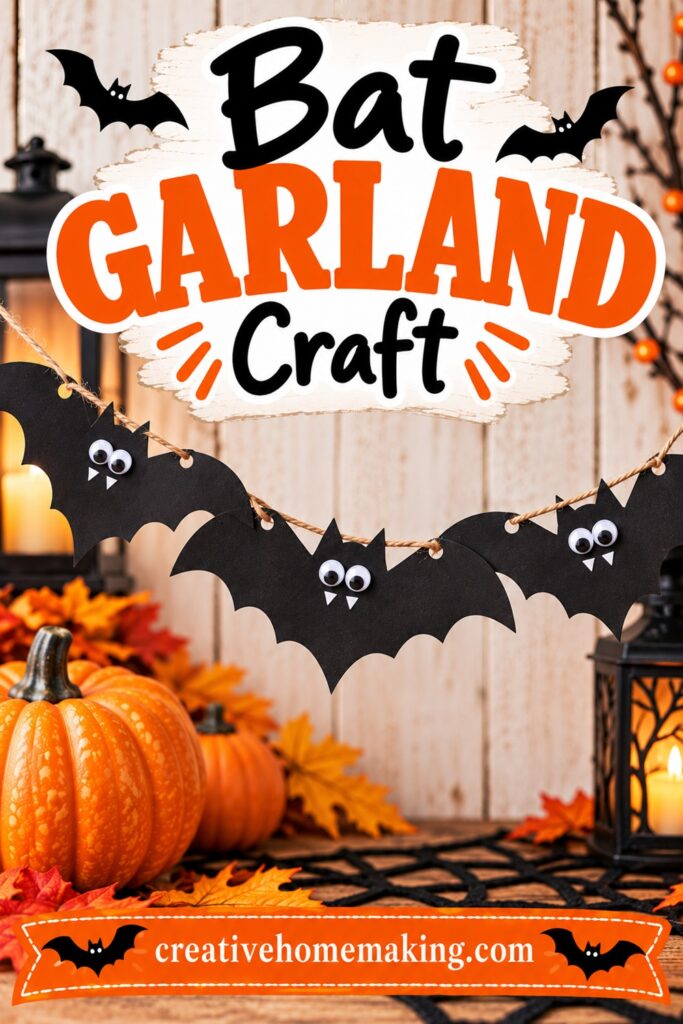
You can leave your bats completely black for a simple look, or give them little faces.
Use a white gel pen or marker to draw eyes and tiny fangs.
You could also glue on small googly eyes.
5. Turn them into a garland
Punch two small holes near the top of each bat.
Thread your string or yarn through the holes, spacing the bats evenly along the garland.
If you don’t want to punch holes in the bats, you can also attach them to the string with small pieces of tape.
Leave a little extra string at each end so you can hang your garland.
Ways to Use Your Bat Garland
There are lots of places you can hang your homemade Halloween garland.
Try it:
- Across a fireplace mantel
- Along a staircase
- Across a doorway
- On a bedroom wall
- Across a window
- Above a Halloween party table
- Along a shelf
You can also make several shorter garlands and hang them at different heights for a fun Halloween display.
Make Different-Sized Bats
For a little more variety, make your bats in several different sizes.
Use large bats in the middle of the garland and smaller ones toward the ends, or mix the sizes randomly.
You could even make a few tiny bats and attach them to a longer piece of string so it looks like a whole swarm of bats flying across the wall.
More Easy Halloween Crafts
If you’re looking for more inexpensive Halloween crafts to make with the kids, check out my Toilet Paper Roll Halloween Crafts.
You can make bats, mummies, Frankenstein, vampires, witches, ghosts, pumpkins, spiders, monsters, and scarecrows.
You might also like my Paper Plate Ghost Craft and Handprint Spider Craft.
And if you’re looking for another fun way to decorate with things you already have around the house, try making a collection of these little bats and let the kids create their own Halloween display.
A few sheets of black paper and some string are all you need to turn an ordinary wall into a little Halloween scene.
Follow my Halloween Recipes & Crafts board on Pinterest.