This post may contain affiliate links.
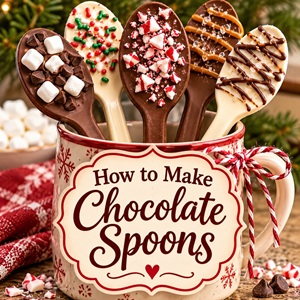
If you love a cozy cup of hot chocolate, you’ll have fun making these chocolate spoons! They’re easy to make with just a few ingredients, and they’re a fun way to dress up an ordinary mug of hot cocoa.
Chocolate spoons are simply spoons dipped in melted chocolate and decorated with your favorite toppings.
When you stir one into a mug of warm milk or hot chocolate, the chocolate melts and adds an extra rich chocolate flavor.
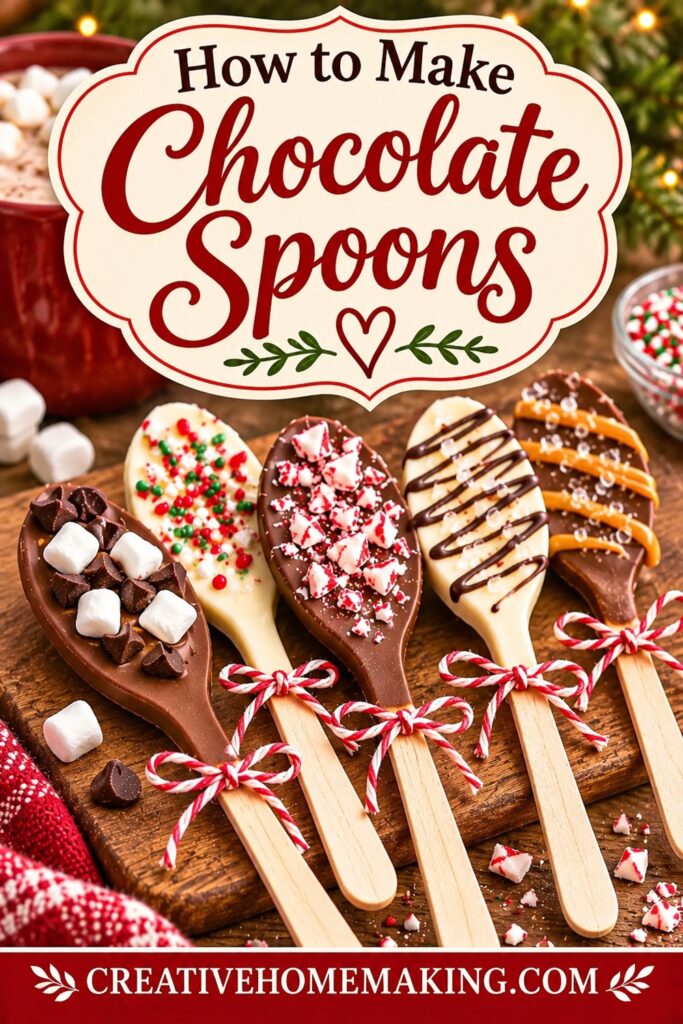
You can make them with milk chocolate, dark chocolate, or white chocolate, and decorate them with crushed peppermint, sprinkles, mini chocolate chips, or chopped candy.
They also make wonderful homemade gifts. Package a few chocolate spoons in clear treat bags, tie them with ribbon, and add a little gift tag with instructions for making hot chocolate.
Want to try making your own jelly at home?
Get my free guide with 8 easy, beginner-friendly jelly recipes you can confidently make.
Ingredients for Chocolate Spoons
You only need a few simple ingredients to make chocolate spoons.
- 1 cup chocolate chips (milk, semi-sweet, dark, or white chocolate)
- 12 sturdy plastic or wooden spoons
- 1 teaspoon coconut oil or shortening, optional, to help thin the chocolate
- Mini chocolate chips, crushed peppermint, sprinkles, or other toppings
You can use one kind of chocolate or make a variety of different flavors.
How to Make Chocolate Spoons
1. Prepare your spoons.
Line a baking sheet with parchment paper or wax paper. Arrange the spoons on the baking sheet with the bowls facing up. If you’re using wooden spoons, make sure they’re clean and completely dry.
2. Melt the chocolate.
Place the chocolate chips in a microwave-safe bowl. Microwave in 20-second intervals, stirring between each interval, until the chocolate is smooth and completely melted.
If the chocolate seems too thick for dipping, stir in a small amount of coconut oil or shortening.
You can also melt the chocolate in a double boiler on the stovetop.
3. Dip the spoons.
Dip the bowl of each spoon into the melted chocolate, turning it gently so the chocolate covers the inside and outside of the spoon bowl.
Use a small spoon to add a little extra melted chocolate if needed. Let the excess chocolate drip back into the bowl.
4. Add toppings.
While the chocolate is still soft, sprinkle your favorite toppings over the chocolate.
Try crushed candy canes, mini chocolate chips, colorful sprinkles, or chopped nuts. You can also drizzle a little melted white chocolate over milk or dark chocolate for a pretty decoration.
5. Let the chocolate set.
Place the spoons on the prepared baking sheet. Refrigerate for about 20–30 minutes, or until the chocolate is completely firm.
Once the chocolate has hardened, your chocolate spoons are ready to use or package for gifts!
Chocolate Spoon Flavor Ideas
You can make several different kinds of chocolate spoons using the same basic method. Here are some fun combinations to try.
Peppermint Chocolate Spoons
Dip spoons in melted milk or dark chocolate and sprinkle with crushed candy canes. These are especially delicious stirred into peppermint hot chocolate.
White Chocolate Spoons
Dip spoons in melted white chocolate and decorate with colorful sprinkles, mini chocolate chips, or crushed cookies.
Salted Caramel Chocolate Spoons
Dip spoons in milk chocolate and drizzle with a little caramel sauce. Finish with a tiny sprinkle of sea salt.
Double Chocolate Spoons
Dip spoons in dark chocolate and sprinkle with mini chocolate chips or chocolate shavings. These are perfect for anyone who loves an extra-rich cup of cocoa.
Holiday Chocolate Spoons
For Christmas, use red and green sprinkles, crushed peppermint candies, or a drizzle of white chocolate. You can also make pink and red versions for Valentine’s Day or use pastel sprinkles for spring.
How to Use Chocolate Spoons
Chocolate spoons are easy to use. Simply place one in a mug of warm milk or prepared hot chocolate and stir until the chocolate melts.
They’re especially fun to serve alongside a hot chocolate bar. Set out a few different flavors so everyone can choose their favorite.
Here are some of my favorite hot chocolate recipes to serve with chocolate spoons:
- Slow Cooker Hot Chocolate – Perfect for parties and serving a crowd.
- Creamy Peppermint Hot Chocolate – A delicious combination with peppermint chocolate spoons.
- French Hot Chocolate – A rich, thick hot chocolate made with real dark chocolate.
- Salted Caramel Hot Chocolate – Try pairing it with a milk chocolate spoon topped with caramel.
- Pumpkin Spice Hot Chocolate – A cozy fall drink that would be delicious with a white chocolate spoon.
How to Package Chocolate Spoons for Gifts
Chocolate spoons make inexpensive homemade gifts that are easy to prepare in batches.
Once the chocolate has completely hardened, place each spoon in a small clear cellophane treat bag. Tie the bag closed with ribbon or baker’s twine.
You can also arrange several spoons in a mug and wrap the mug in clear cellophane. Add a small package of hot chocolate mix and a gift tag with instructions.
They’re wonderful for:
- Teacher gifts
- Neighbor gifts
- Christmas stocking stuffers
- Valentine’s Day treats
- Birthday party favors
- Homemade gift baskets
- Hostess gifts
For a cute gift, package three different flavors together so the recipient can try a variety of hot chocolate combinations.
How to Store Chocolate Spoons
Store chocolate spoons in an airtight container in a cool, dry place. If your kitchen is warm, keep them in the refrigerator so the chocolate doesn’t soften.
For the best flavor and appearance, use them within about two weeks. If you’ve added perishable toppings or fillings, storage time may be shorter.
Keep the spoons away from heat and direct sunlight, especially if you’re packaging them for gifts.
Enjoy Homemade Chocolate Spoons!
Making chocolate spoons is such an easy way to add something special to a cup of hot chocolate.
You can make several flavors at once, decorate them with your favorite toppings, and package them up for homemade gifts.
Set out a few different varieties at your next hot chocolate bar and let everyone choose their favorite. They’re simple, delicious, and almost as fun to make as they are to eat!
Follow my Christmas Food board on Pinterest.