This post may contain affiliate links.
Dividing daylilies is an essential gardening practice that not only promotes healthy growth but also enhances the beauty of your garden. These hardy perennials, known for their vibrant blooms and resilience, can become overcrowded over time, leading to reduced flowering and overall vigor. By learning how to divide daylilies, you can rejuvenate your plants, create new garden displays, and even share the beauty with friends and family.
In this post, we’ll explore the best techniques and timing for dividing daylilies, ensuring that your plants continue to thrive and bring joy to your landscape for years to come. Let’s dig in and discover the secrets to successful daylily division!
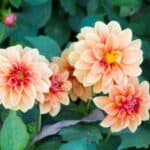
Related Article: When to Divide Dahlias for Healthy Blooms and Growth
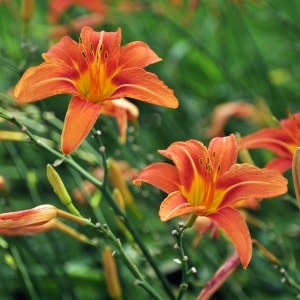
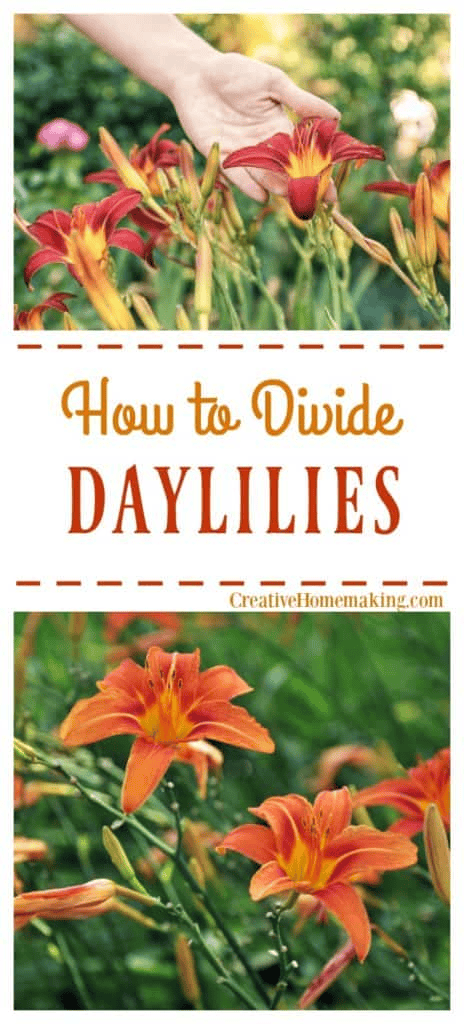
Daylilies, members of the genus Hemerocallis, are brightly colored flowers that bloom during mid summer. Daylilies range in color from near white through yellow, orange, and red, to brown and violet.\
Want to try making your own jelly at home?
Get my free guide with 8 easy, beginner-friendly jelly recipes you can confidently make.

Related Article: How to Store Iris Bulbs: Simple and Effective Tips
Very low maintenance, these perennial flowers are very low maintenance and need little special care. Daylilies will grow in almost any kind of soil and bloom best in full sun. Dividing them from time to time will encourage them produce more flowers.
How to Prune or Cut Back Daylilies
Late summer or early fall are the best times for cutting back your daylilies. When cutting back, use your hands to pull off any dead foliage and then cut back the rest of the leaves to within a few inches of the ground.
How to Divide Daylilies
Late summer is the best time for dividing daylilies. Early September is best, their roots will have time to grow before winter.
It is easiest to remove your daylilies from the ground by using a garden fork to lift the clump from the ground. Start by placing the fork in the ground 6 to 12 inches away from the base of the plant.
Related Article: What to Plant in October: A Guide to Fall Gardening
Gently push down on the handle to pry the clump up and out of the soil. Work around the root ball repeating this process until the roots are freed.
Take a look at the the root ball and look for weak areas at the center of the clump. Plunge two garden forks, placed back to back, into the clump. After the forks are fully inserted, gently push the handles apart.
This will cause the roots to separate, forming two smaller clumps. If you want more divisions, you can repeat this process until you have the desired number of root clumps.
How to Transplant Daylilies
To re-plant the daylilies you have just separated, dig a wide shallow hole. The depth should be slightly less than the height of the rootball. The width of the hole should be 6 to 9 inches greater than the width of the rootball.
Place the rootball in the hole and backfill with soil. Lightly tamp the soil into place. Apply mulch to a depth of one inch to discourage weeds and protect the roots from drying out and from temperature extremes.
The area should be watered thoroughly. The foliage can also be cut back to a length of about 12 inches, which helps the plant retain moisture while it is getting established.
Related Article: What Can I Plant in July? A Guide to Summer Gardening
How Long Can Daylilies Stay Out of the Ground?
Daylilies are very hard plants, and hard to kill. They can stay out of the ground for quite some time as long as they get some water occasionally.
If you are going to leave them out of the ground for a month or two, place something between the plants and the ground, such as a sheet of plastic, or the daylilies will try to take root in into the ground right where they are. If they are going to be out of the ground for some time, place them in a five gallon container in a little water to keep the roots moist.
Your divided daylilies will continue to bloom for years to come. Most daylily varieties may be left untouched for a period of four or five years before they need to be divided again.
Follow my gardening board on Pinterest.
Related Articles
- How to Divide and Transplant Irises
- How to Fertilize Hostas
- Why Doesn’t My Hydrangea Bloom?
- 10 Frequently Asked Questions on Planting Tulip Bulbs
- Planting Guide for Chrysanthemums
- Peonies: A Favorite Cut Flower
- How to Transplant Hollyhocks