
This post may contain affiliate links.
As the vibrant hues of autumn paint the landscape, many of us find ourselves captivated by the beauty of fall leaves.
Their rich reds, oranges, and yellows not only signal the change of seasons but also inspire a sense of nostalgia and appreciation for nature’s artistry.
If you’re looking to preserve this seasonal splendor and bring a touch of fall into your home, waxing fall leaves is a fantastic and creative solution.
This simple yet effective technique allows you to capture the stunning colors and intricate shapes of leaves, making them perfect for decorations, crafts, or even as unique gifts.
In this article, I’ll guide you through the step-by-step process of waxing fall leaves, sharing tips and tricks to ensure your leaves remain vibrant and beautiful for months to come.
Whether you’re a seasoned crafter or a beginner, you’ll find that this delightful project is a wonderful way to celebrate the beauty of autumn while adding a personal touch to your seasonal decor.
Want to try making your own jelly at home?
Get my free guide with 8 easy, beginner-friendly jelly recipes you can confidently make.

How to Wax Fall Leaves
Supplies Needed:
- Fall leaves
- Paraffin wax
- Mini crock pot
To do this project you will need a mini crock pot. If you don’t already have one you will be sure to find one at your local thrift store. At the first Goodwill I went to I found one for $3.99.
Related Article: Fall Leaf Placemats
You can find paraffin wax at most grocery stores in the canning section or you can also order it from Amazon. Paraffin wax is what they used to melt and use to seal jelly and jam jars.
You will only need about half a small box for this project. I’ve read that you can also use beeswax to do this project, but it will cost you more than the paraffin wax.
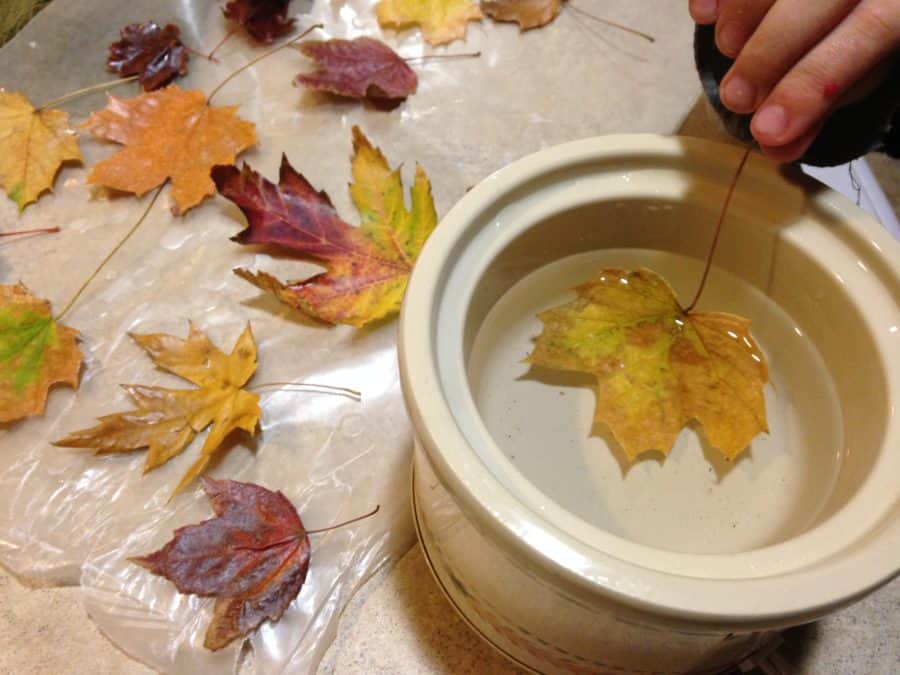
It takes about 30 minutes for the wax to completely melt in the crock pot. When the wax is melted you can dip the leaves.
You don’t have to wait until the leaves are dried to dip them in the wax. In fact, they turn out better if they are still “fresh”. The softer they are the better you will be able to flatten them after they are dipped in wax.
Related Article: Fall Leaf Mason Jar Candle Holders
Directions
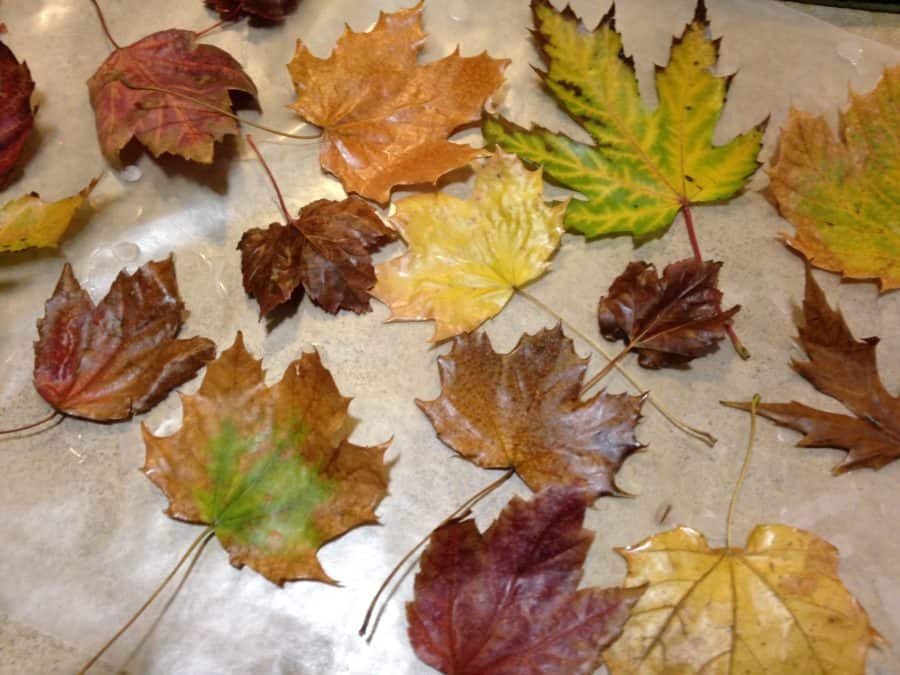
Lay a piece of waxed paper on the counter where you are working and start dipping the leaves in the wax, being careful not to touch the hot wax with your fingers. Lay the leaves on the waxed paper to dry. The leaves will dry in a minute or less.
You can dip the leaves in the wax more than once, however, the more wax you put on the leaves, the more you will be able to see the wax on them.
Related Articles
- 10 DIY Fall Wreaths to Make for Your Front Door
- DIY Scarecrow for Fall
- Best Pumpkin Patches in Washington State
- DIY Cinnamon Scented Pine Cones
One or two coats should be fine. Make sure to dip the stems too, it will help keep them from breaking. When the leaves are done you can use them for decoration in a number of ways. Lay them on end tables, your dining room table, or in a pretty bowl.
You can also string them onto a leaf garland, which is what I did. Just use a needle and thread to string the leaves together for a garland.
Related Article: 7 Creative Fall Decor Ideas for Transforming Your Home into a Cozy Haven
The wax will help keep the leaves from tearing apart when you poke the needle through them.
I was really happy with how my leaf garland turned out. Who knew you could wax fall leaves!? I will definitely be doing it again next year.
Follow my Fall and Thanksgiving board on Pinterest.