This post may contain affiliate links.
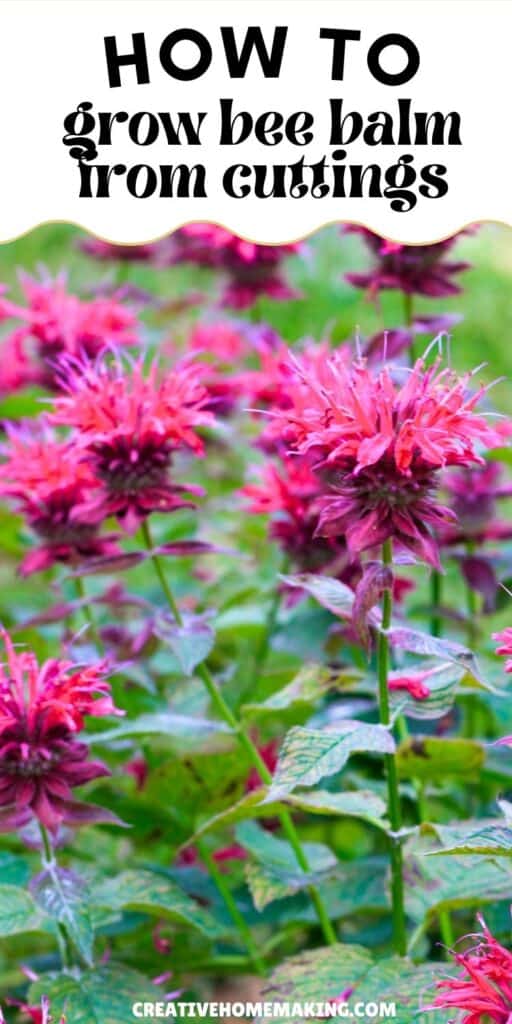
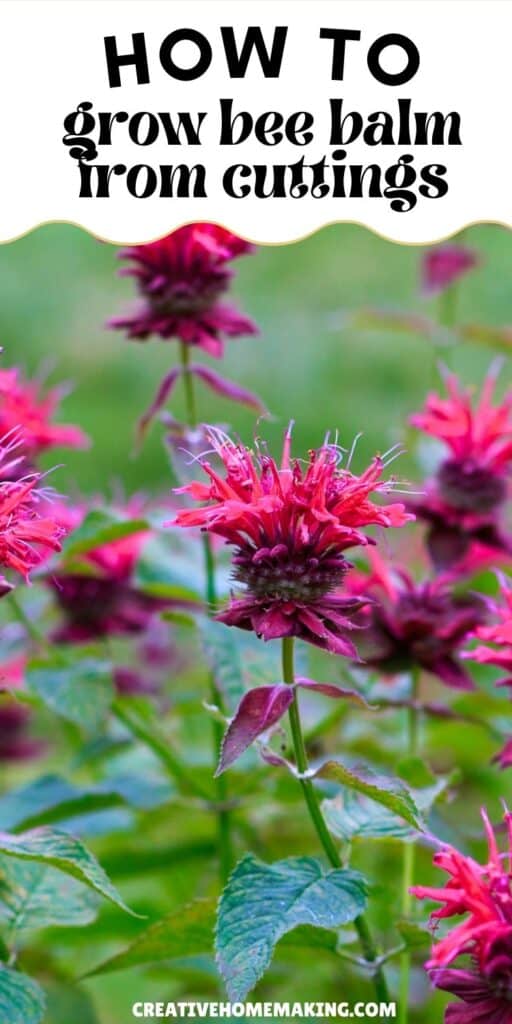
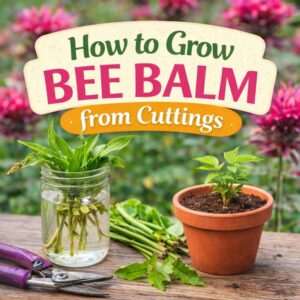
Growing bee balm from cuttings is one of the easiest ways to create new plants without buying seeds or starters.
With just a healthy stem and a little patience, you can grow new bee balm plants in a few weeks.
Looking for more tips? Visit my full Bee Balm Recipes, Uses & Growing Guide.
When to Take Bee Balm Cuttings
The best time to take cuttings is:
- Late spring to early summer
- When the plant is actively growing
- Before it starts flowering
Choose soft, green stems—not woody ones.
Want to try making your own jelly at home?
Get my free guide with 8 easy, beginner-friendly jelly recipes you can confidently make.
How to Take Bee Balm Cuttings
- Choose a healthy, non-flowering stem
- Cut a 4–6 inch section just below a leaf node
- Remove the lower leaves
- Leave a few leaves at the top
Tip: Take cuttings in the morning when the plant is hydrated.
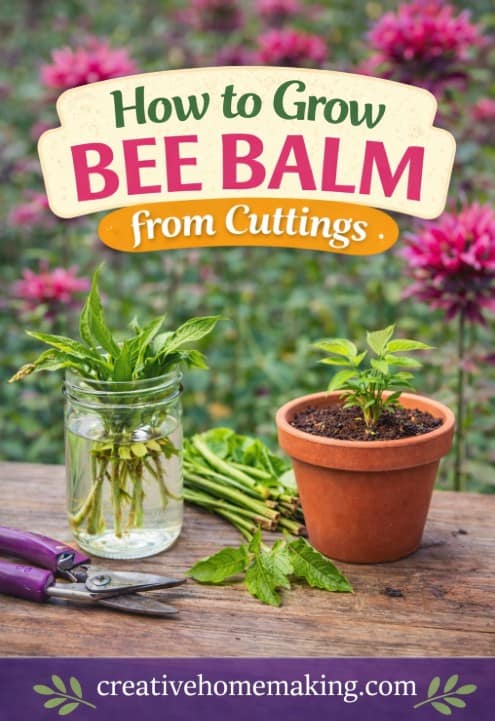
How to Root Bee Balm Cuttings
You can root cuttings in water or soil.
Option 1: In Soil (Best method)
- Dip stem in rooting hormone (optional)
- Plant in moist potting mix
- Keep soil lightly moist
Option 2: In Water
- Place cuttings in a jar of water
- Change water every few days
Ideal Conditions
- Bright, indirect light
- Warm temperatures
- High humidity (optional: cover loosely with plastic)
Roots usually form in 2–3 weeks.
When to Transplant Cuttings
Once roots are strong:
- Harden off plants over 7–10 days
- Move outdoors gradually
- Plant in full sun with well-drained soil
Space plants 12–18 inches apart
Care After Planting
- Water regularly until established
- Keep soil moist (not soggy)
- Watch for pests and mildew
Learn more: Top Mistakes to Avoid While Growing Bee Balm
Common Mistakes to Avoid
- Using woody or flowering stems
- Letting cuttings dry out
- Too much direct sun
- Overwatering
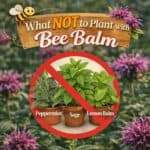
Learn more: What Not to Plant with Bee Balm
Keep Your Bee Balm Healthy
Once your plants are growing well:
When to Cut Back Bee Balm
How to Deadhead Bee Balm
Don’t Forget—You Can Use Bee Balm Too
After your plants mature:
How to Harvest and Dry Bee Balm
How to Make Bee Balm Tea
FAQs
How long do bee balm cuttings take to root?
About 2–3 weeks.
Can you grow bee balm from cuttings in water?
Yes, but soil tends to produce stronger roots.
Do cuttings need rooting hormone?
No—but it can speed up the process.
Follow my Bee Balm board on Pinterest.