This post may contain affiliate links.
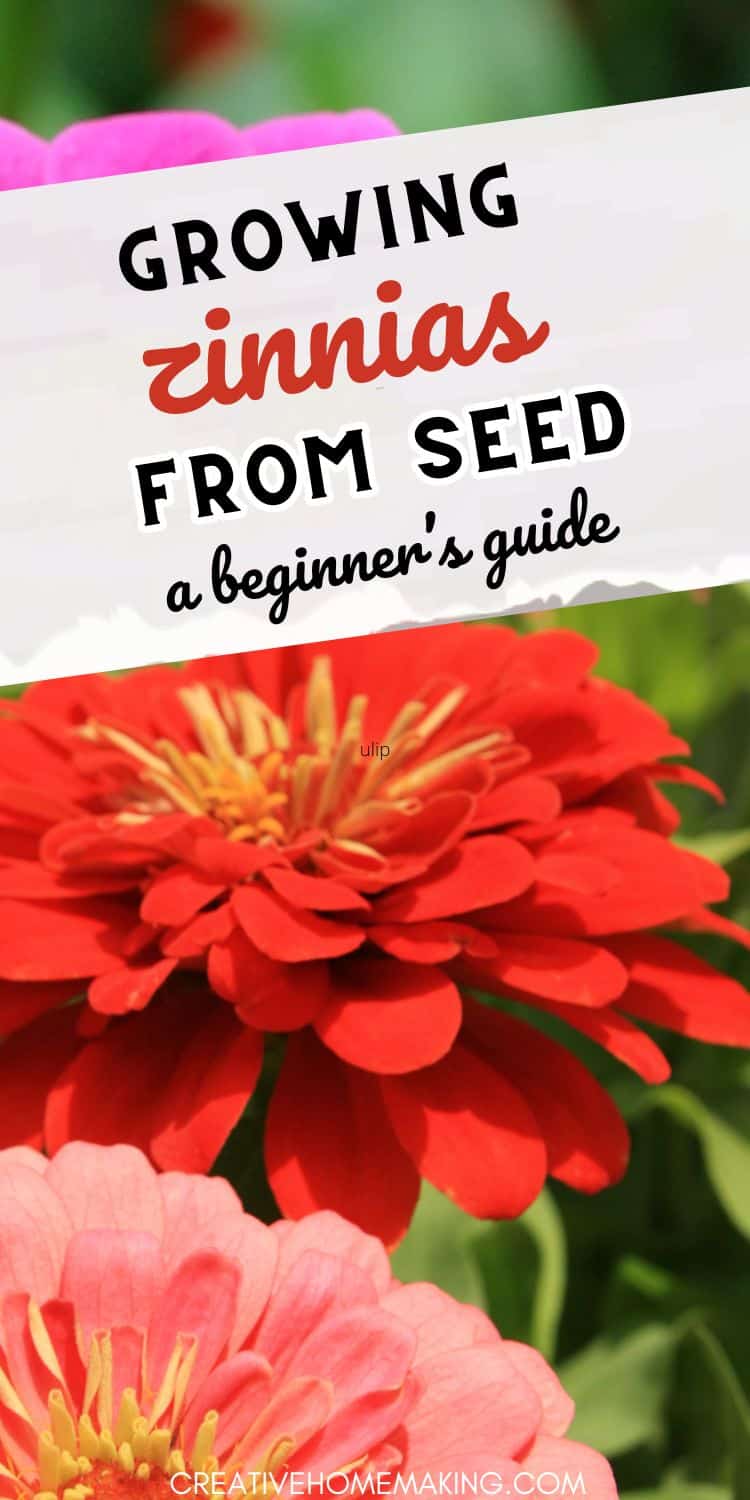
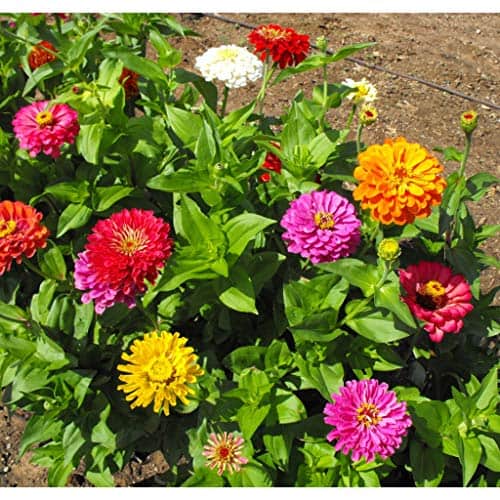
Are you looking to add a splash of color to your garden this year? If you learn to grow zinnias from seeds, you can do just that. These vibrant and long-lasting flowers come in a variety of colors and sizes, making them a popular choice among gardeners.
To get started, you’ll need to gather a few supplies. You’ll need zinnia seeds, potting soil, containers, and a watering can.
Zinnias prefer full sun, so choose a spot in your garden that gets plenty of direct sunlight. If you don’t have a garden, don’t worry! Zinnias can also be grown in containers on a balcony or patio.
Want to try making your own jelly at home?
Get my free guide with 8 easy, beginner-friendly jelly recipes you can confidently make.
Once you have your supplies, it’s time to get planting. Follow these simple steps to grow your own beautiful zinnias from seeds.
Related Article: How to Save Seeds from Zinnias: A Beginner’s Guide
Choosing the Right Zinnia Seeds
If you want to grow zinnias from seeds, it is essential to choose the right zinnia seeds. Here are some factors to consider when selecting zinnia seeds:
Understanding Zinnia Varieties
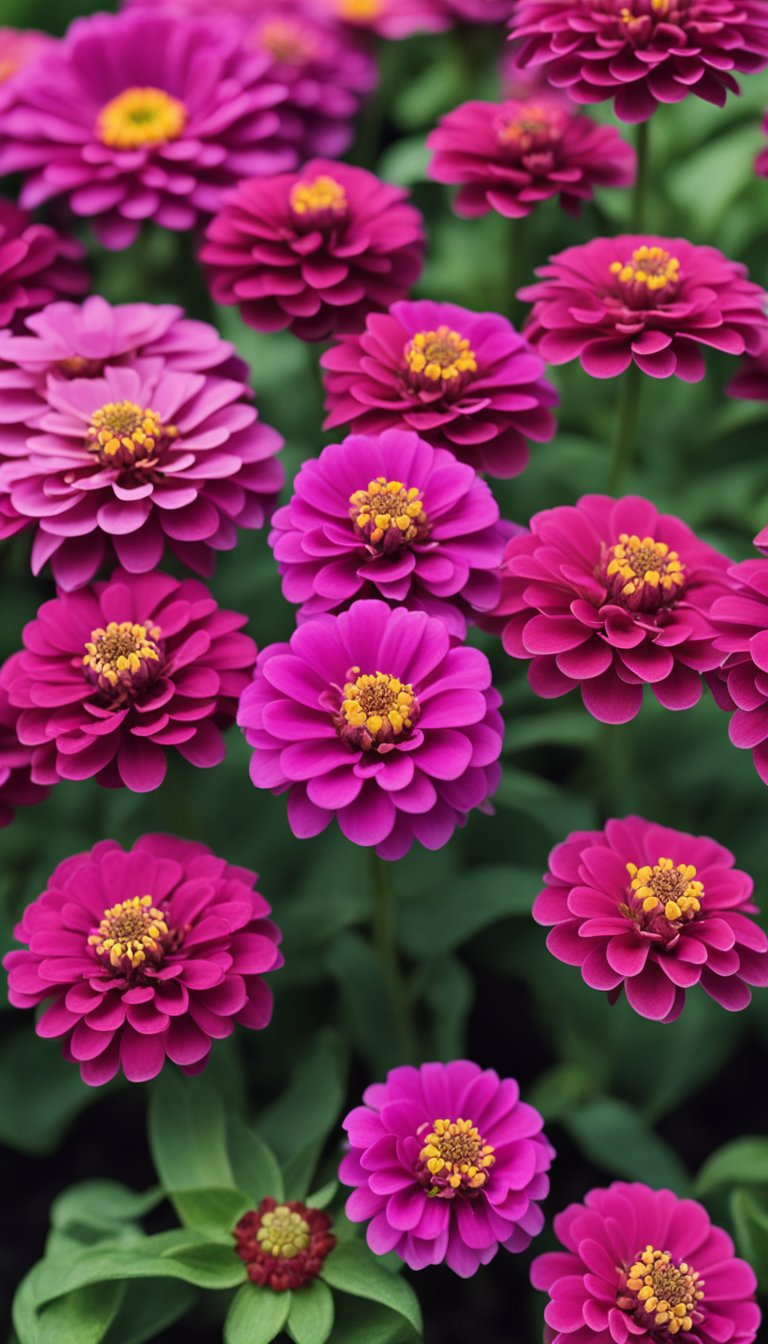
Zinnia varieties come in different types, including dwarf, tall, and medium-height. Each type of zinnia has its unique characteristics, such as flower size, color, and growth habit. It is essential to understand the different types of zinnia varieties to choose the right seeds.
Related Article: Are Zinnias Edible? A Friendly Guide to Zinnia Flowers as Food
Selecting Seeds for Your Climate
Zinnias are warm-season annuals and grow best in warm temperatures. When selecting zinnia seeds, choose varieties that are suitable for your climate.
If you live in a hot and dry area, choose drought-tolerant zinnia varieties. If you live in a cooler climate, choose zinnia varieties that can tolerate cooler temperatures.
When selecting zinnia seeds, look for open-pollinated or heirloom varieties. These types of seeds are not genetically modified and are more likely to produce plants that are true to the parent plant.
Related Article: What Can I Plant in July? A Guide to Summer Gardening
Seed Starting Basics
If you want to grow zinnias from seeds, you need to start with high-quality seeds and provide the right conditions for germination. Here are some basic tips to help you get started:
Germination Conditions
Before you start planting your zinnia seeds, it’s important to understand the ideal germination conditions. Zinnia seeds require warm soil and consistent moisture to germinate.
The ideal temperature range for germination is between 70-75°F (21-24°C). If the soil is too cold, the seeds may not germinate at all.
Indoor Seed Starting
One way to ensure the right germination conditions is to start your zinnia seeds indoors. This allows you to control the temperature and moisture levels. To start your seeds indoors, you’ll need a few supplies, including seed starting mix, peat pots, and a heat mat.
Related Article: How to Grow Zinnias in Pots: A Beginner’s Guide
First, fill the peat pots with seed starting mix and moisten the soil. Then, plant one or two zinnia seeds per pot, following the instructions on the seed packet for depth and spacing. Place the pots on a heat mat set to 70-75°F (21-24°C) to ensure consistent warmth.
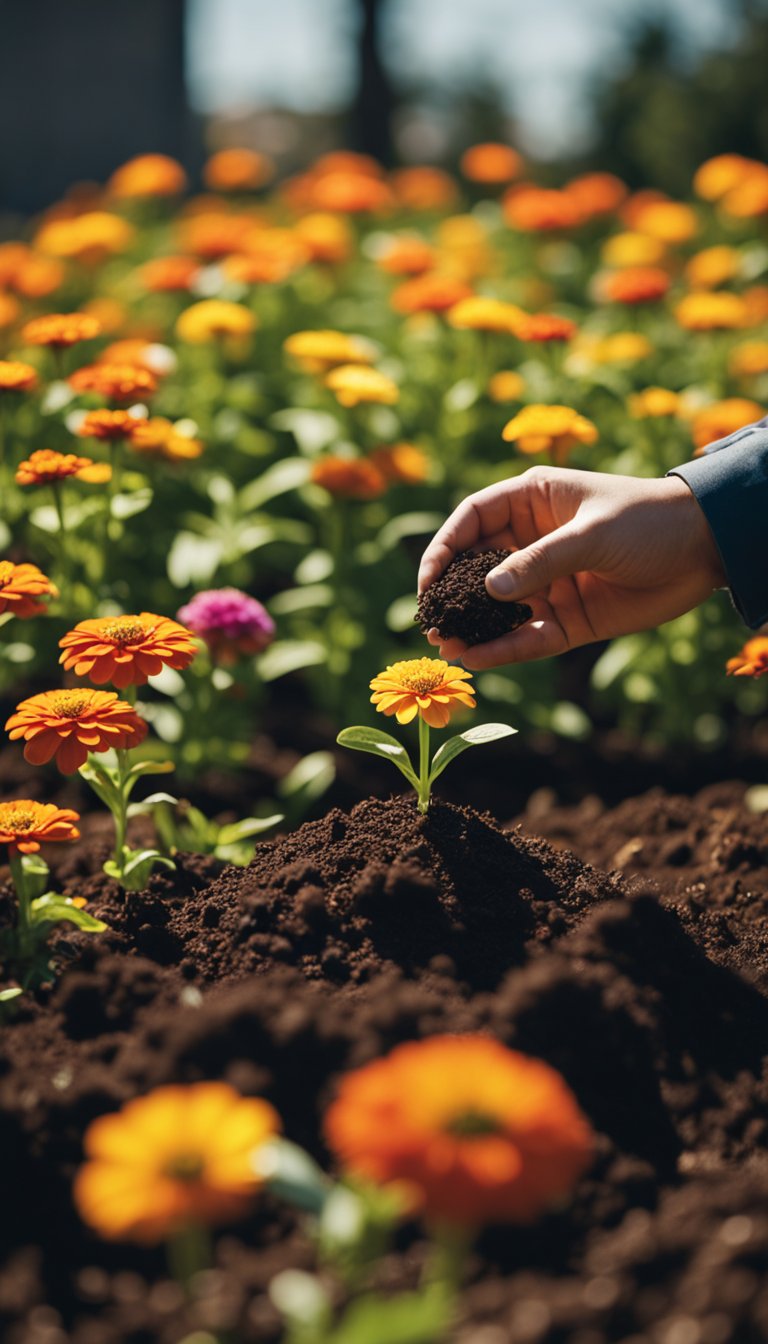
Once the seeds have germinated and the seedlings have grown a few inches tall, you can transplant them outside. Be sure to harden off the seedlings first by gradually exposing them to outdoor conditions over the course of a week.
Encap 10806-6 Zinnia Cut Flower Mix, 2 Pounds

Planting and Caring for Zinnias
Zinnias are easy to grow from seeds and can add a pop of color to any garden. Here are some tips for planting and caring for your zinnias.
Soil and Sunlight Requirements
Zinnias prefer well-draining soil with a pH range of 5.5 to 7.5. They also require full sun, which means they need at least 6 hours of direct sunlight per day. If you live in a hot climate, zinnias may benefit from some afternoon shade.
Watering and Fertilizing
Zinnias require regular watering, especially during hot and dry weather. Water deeply and thoroughly, making sure the soil is moist but not waterlogged. Fertilize your zinnias every 2-3 weeks with a balanced fertilizer to encourage healthy growth and blooming.
Related Article: How to Deadhead Zinnias: A Friendly Guide
Preventing Common Pests and Diseases
Zinnias are generally resistant to pests and diseases, but they can be susceptible to powdery mildew.
To prevent powdery mildew, make sure your zinnias have good air circulation and avoid watering them from above. If you notice any signs of powdery mildew, treat it with a fungicide.
Growing and Maintenance Tips
Pinching and Deadheading
To encourage bushier growth and more blooms, you should pinch back the growing tips of your zinnias when they are about 6 inches tall.
Simply use your fingers or a pair of scissors to snip off the top 1-2 inches of the stem. This will encourage the plant to branch out and produce more flower buds.
Deadheading, or removing spent blooms, is also important for keeping your zinnias blooming all season long.
Simply pinch off the dead flowers as soon as they start to wilt and fade. This will prevent the plant from putting energy into producing seeds and instead encourage it to produce more flowers.
Supporting Taller Varieties
If you are growing taller varieties of zinnias, you may need to provide some support to keep them from flopping over. You can use stakes or a trellis to prop up the stems and prevent them from bending or breaking.
When staking your zinnias, be sure to do it early in the season before the stems get too tall and brittle. You can also use soft ties or twine to gently secure the stems to the stake or trellis. This will help prevent damage to the plant and keep it looking neat and tidy.
Harvesting and Enjoying Zinnias
Zinnias are a great addition to any garden, with their bright colors and long-lasting blooms. But what do you do when those blooms start to fade? Here are some tips for harvesting and enjoying your zinnias all season long.
Cutting Flowers for Bouquets
One of the best things about zinnias is that they make excellent cut flowers. To get the most out of your zinnias, it’s important to cut them at the right time.
You want to cut the flowers when they are fully open but before they start to fade. This will ensure that the flowers last as long as possible in your bouquet.
When cutting zinnias, use a sharp pair of scissors or pruning shears. Cut the stem at a 45-degree angle, and make sure to cut it long enough so that it will fit in your vase. If you’re not sure how long to cut the stem, err on the side of cutting it too long. You can always trim it down later.
Once you have your zinnias cut, place them in a vase filled with clean water. Change the water every few days, and trim the stems a little bit each time you change the water. This will help your zinnias last as long as possible.
Saving Seeds for Next Season
If you want to grow zinnias again next season, you can save the seeds from your current plants. To do this, wait until the flowers have started to fade and the petals have fallen off. The center of the flower will start to form a seed head, which looks like a small, round ball.
Once the seed head has formed, cut it off the plant and place it in a paper bag. Label the bag with the variety of zinnia and the date you harvested the seeds. Hang the bag in a cool, dry place for a few weeks to allow the seeds to dry out.
When the seeds are dry, remove them from the seed head and store them in a cool, dry place until you’re ready to plant them next season. You can also share your zinnia seeds with friends and family who are interested in growing their own zinnias.
Frequently Asked Questions
What are the best conditions for germinating zinnia seeds indoors?
To germinate zinnia seeds indoors, you need to provide them with warm, moist soil. You can start by filling a seed tray or small pots with a good quality seed-starting mix.
Then, water the soil until it is evenly moist, but not soaking wet. Place the seeds on top of the soil and cover them with a thin layer of soil.
Keep the soil moist by misting it regularly and placing a plastic cover over the tray or pots until the seeds germinate. Zinnia seeds usually germinate within 5-7 days when kept in a warm, bright location.
Can zinnia seeds be directly sown into pots, and how should it be done?
Yes, zinnia seeds can be directly sown into pots. Fill the pots with a good quality potting mix and water the soil until it is evenly moist.
Then, scatter the seeds on top of the soil and cover them with a thin layer of soil. Keep the soil moist by misting it regularly until the seeds germinate. Zinnia seeds usually germinate within 5-7 days when kept in a warm, bright location.
What are the key growth stages of zinnias when grown from seed?
After the seeds have germinated, the zinnia plants will go through several key growth stages. The first stage is the seedling stage, where the plants will develop their first set of true leaves.
The second stage is the vegetative stage, where the plants will grow larger and develop more leaves. The third stage is the flowering stage, where the plants will produce their colorful blooms.
Finally, the plants will enter the seed production stage, where they will produce seeds for the next growing season.
How do I properly harvest and store zinnia seeds for next season?
To harvest zinnia seeds, wait until the flowers have faded and the petals have fallen off. Then, cut off the flower heads and place them in a paper bag. Let the flower heads dry out for a few weeks until the seeds are fully mature.
Then, shake the paper bag to release the seeds. Store the seeds in a cool, dry place in an airtight container until the next growing season.
When is the ideal time of year to plant zinnia seeds?
The ideal time to plant zinnia seeds is in the spring, after the last frost has passed. Zinnias prefer warm weather and will not tolerate frost. You can also plant zinnia seeds in the summer for a fall bloom.
What care tips can ensure the tallest growth for my zinnias?
To ensure the tallest growth for your zinnias, make sure they receive plenty of sunlight and water. Zinnias prefer full sun and will grow best in well-draining soil.
Water the plants deeply once a week, or more often if the soil is dry. You can also fertilize the plants with a balanced fertilizer every 4-6 weeks to encourage growth. Finally, make sure to deadhead the spent blooms regularly to encourage the plants to produce more flowers.
Follow my gardening board on Pinterest.