There are a lot of things to keep in mind when you do your own canning, and cooling your jars and testing your jar seals are two very important steps in the canning process. Learn how to test your jar lids with these easy steps.
This post may contain affiliate links.
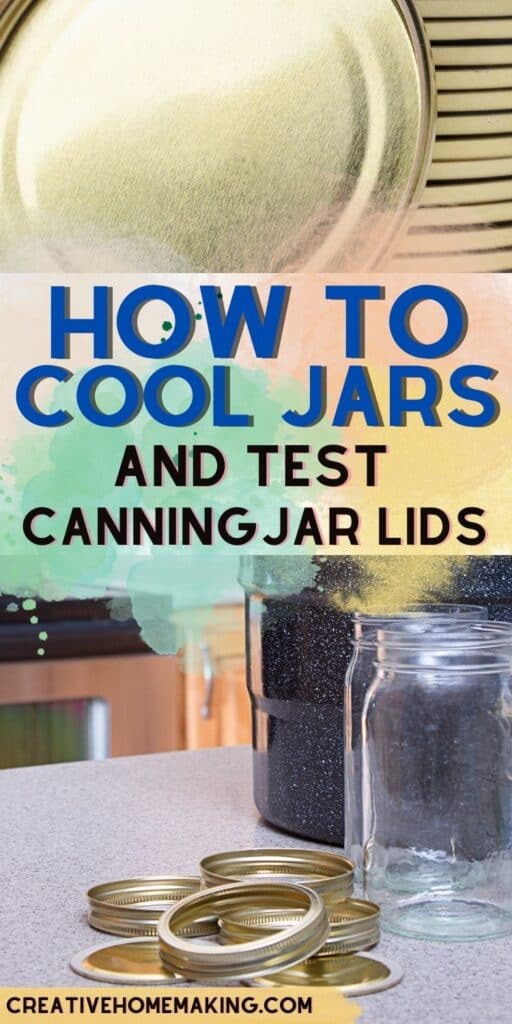
Cooling Jars
After removing your canning jars from the canner, cool the jars at room temperature for 12 to 24 hours. When removing hot jars from the canner, do not retighten the jar lids. Retightening hot lids may cause seal failures. Cool jars on racks or towels to minimize heat damage to countertops.
The food level and liquid volume of raw-packed jars will be lower after the jars have cooled. Air is exhausted during processing and food shrinks. If a jar loses a lot of liquid during processing, do not add more liquid. Check for sealed lids as described below.
Related Article: How to Sterilize Canning Jars: The Essential Guide
Ball Complete Book of Home Preserving The Amish Canning Cookbook: Plain and Simple Living at Its Homemade BestDIY Pickling: Step-By-Step Recipes for Fermented, Fresh, and Quick Pickles
Testing Jar Seals
After the jars have cooled, remove the screw bands and test seals by one of the following methods:
Method 1. Press the middle of the jar lid with your finger. The lid is not sealed if it springs up when you release your finger.
Method 2. Tap the jar lid with the bottom of a teaspoon. The lid is not sealed if it makes a dull sound when you tap it. If food is in contact with the underside of the lid, it will also cause a dull sound. And if the jar is sealed correctly, it will make a high-pitched sound.
Method 3. Hold the jar at eye level and look across the lid. The lid should be concave (curved down slightly in the center). If the center of the lid is either flat or bulging, it may not be sealed.
Reprocessing Unsealed Jars
If one of the jar lids fails to seal, remove the lid and check the rim of the jar for tiny nicks. Change the jar if necessary, add a new, properly prepared lid, and reprocess within 24 hours using the same processing time.
You can adjust headspace in unsealed jars 1-1/2 inches, and you can freeze unsealed jars instead of reprocessing them. You can also store foods in unsealed jars in the refrigerator if you consume them within several days.
This document incorporates information from the “Complete Guide to Home Canning,” Agriculture Information Bulletin No. 539, USDA (Revised 2009) and information available from the National Center for Home Food Preservation.
Related Recipes
- How to Test Canning Jar Seals
- 10 Easy Pickling Recipes for Canning
- 10 Best Fall Canning Recipes
- 6 Best Plum Canning Recipes
Follow my canning and preserving board on Pinterest.


In case you missed it: